


UPDATE: This post is about the 2019-2020 Blessed Is She Planner, which has sold out.
The new 2020-2021 Academic Planner (Aug 2020 – July 2021) is now available for pre-sale at a reduced price. Order your planner in the regular size or mini size in the Blessed Is She Shop: Planners. However, the information below is still useful for ideas of how you can use your planner.
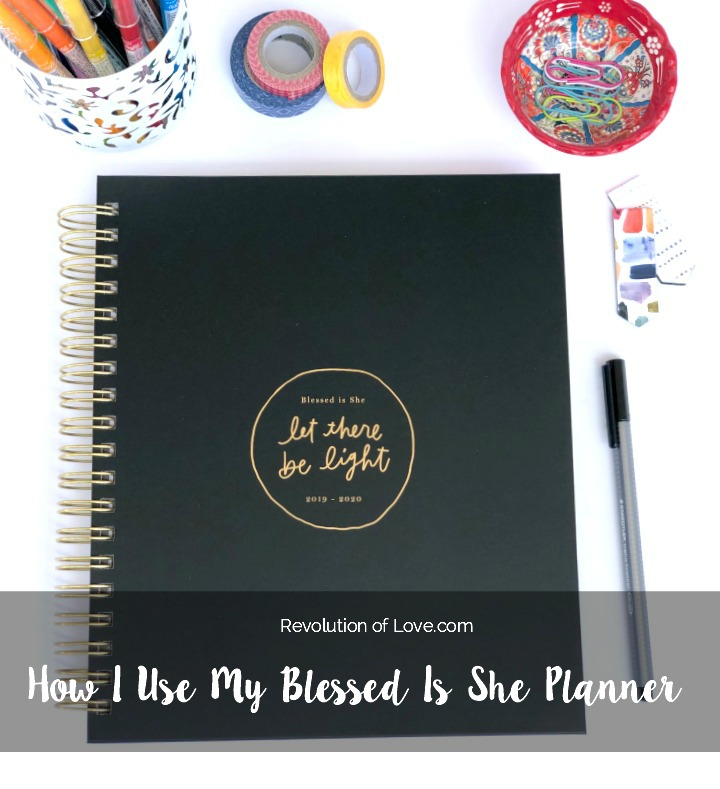
Every August, it feels a bit like New Year’s since my life is dictated by the school schedules of my children. It’s a new month and a new school year and part of me is in disbelief that the summer has gone by so fast and the other part of me is swooning at the thought of “bouquets of newly sharpened pencils.” 😉
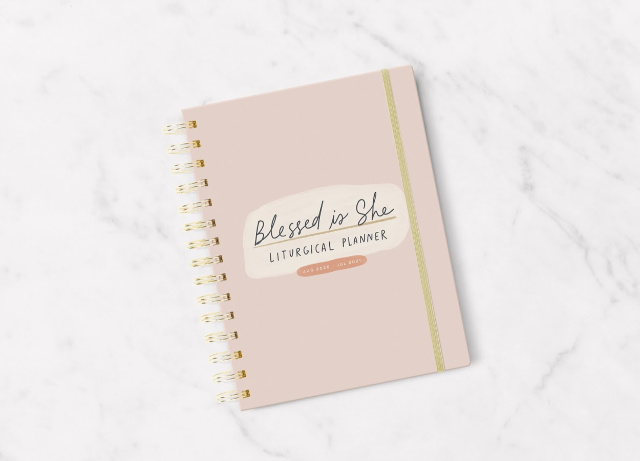
It’s also become a tradition over the last few years that I share with you, my fellow paper loving addicts, how I set up my new planner. I love brainstorming with you about how we can better utilize our planners. Last year I was using the I decided to switch to the regular sized (8 x 10) Blessed Is She Liturgical Planner.
Whether you have the regular or the mini, I’ll share ways in which I’ve made the best of both sizes in my life.
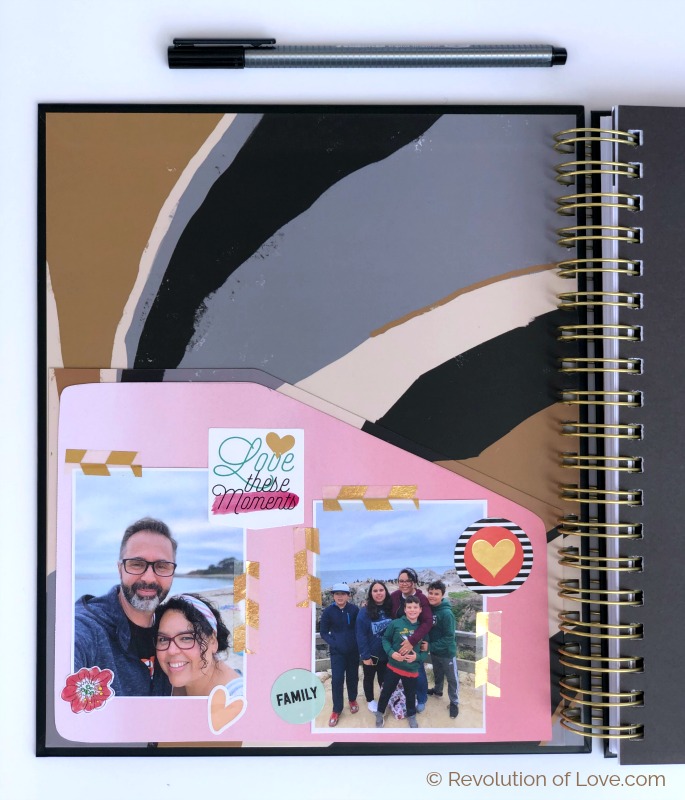
Although there is no need to decorate your planner, I love to add a little color and embellishment to make it my own. (The inner 8 year old in me still gets giddy with cute stickers.) 😉 On the inside cover I used a piece of scrapbook paper and added photos of the hubs and kiddos. They are the reason I try to keep my stuff together; it brings more harmony to our busy family life.
Inside the front cover there is also a pocket for loose items such as papers or planner stickers.
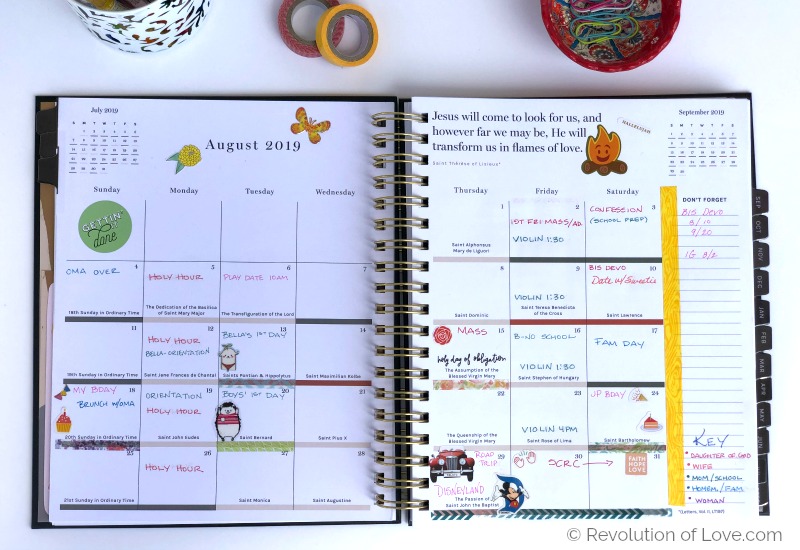
For my calendar, I like to color code my items. I switched up my system to match the color coding of my goal categories. Red (Daughter of God) is for spiritual activities such as Holy Hour, Confession, special Masses, Retreats, etc. Orange (Wife) are things like date nights. Green (Mom) are school events, violin classes, after school practice, play dates, etc. Blue is a combo of Homemaker and extended family – work on house projects, shopping/errand days, or activities with extended family members. Purple (Woman) is for me – work outside the home, girls night out, self- care, etc. Pink is fun stuff on the calendar, like road trips or birthday parties.
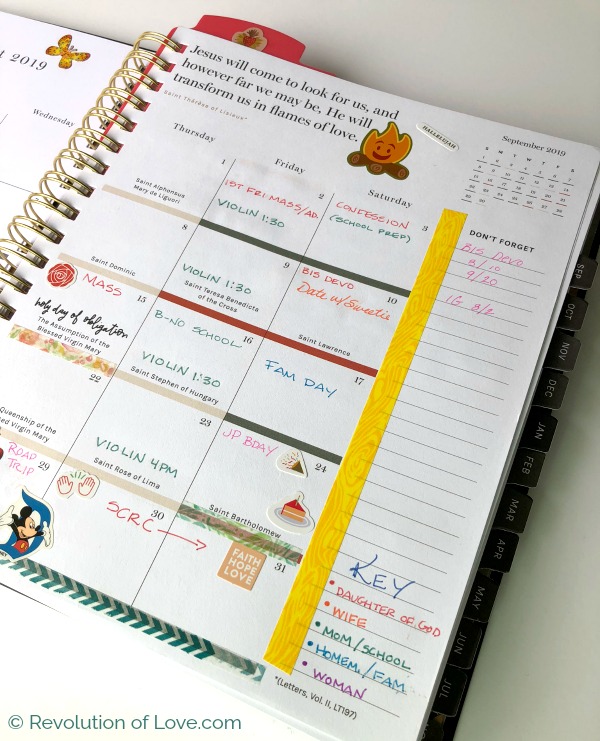
There is a small key on the bottom of my calendar page. It may seem complicated, but I’ve been using the color code so long that it is now natural to me.
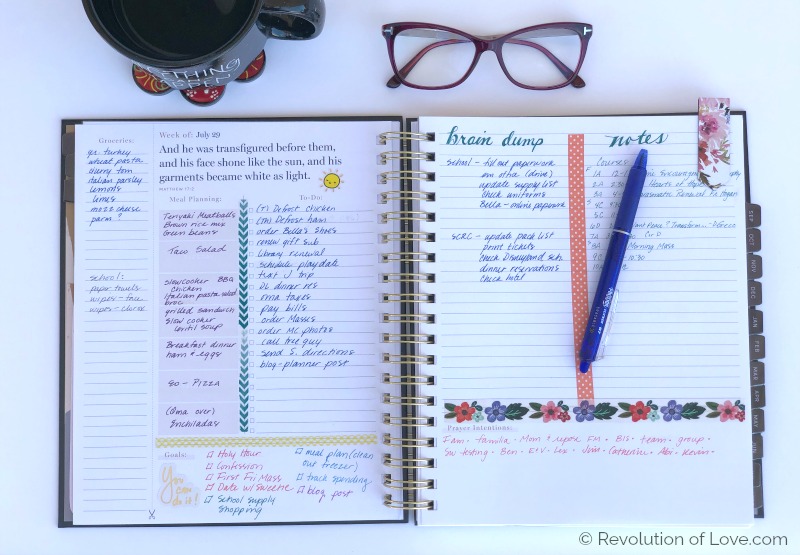
The weekly overview.
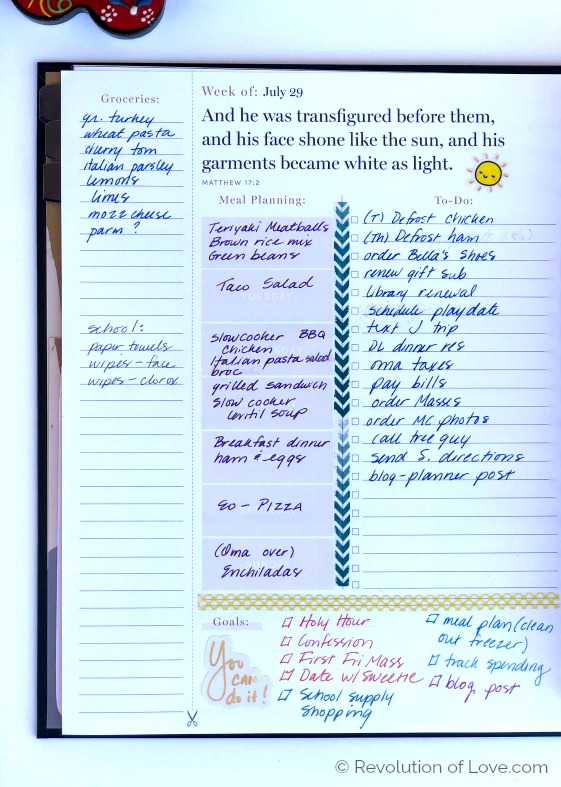
Here I have the week’s grocery items (to add to my master shopping list), meal plans, goals, and the week’s To Do’s. If I already know which day an item needs to be done, I’ll add the day of the week so it can be assigned to that day.

I divided the weekly notes section into two columns. One is still for notes and the other for a more random brain dump. Basically it’s ideas, I brainstorm and get out of my head, but I don’t necessarily need to do them at that moment. However, I know if I don’t write them down, they are easily forgotten. Since I sometimes need to reference these notes at a later date, I made it easier to find them by keeping track of where I wrote them.
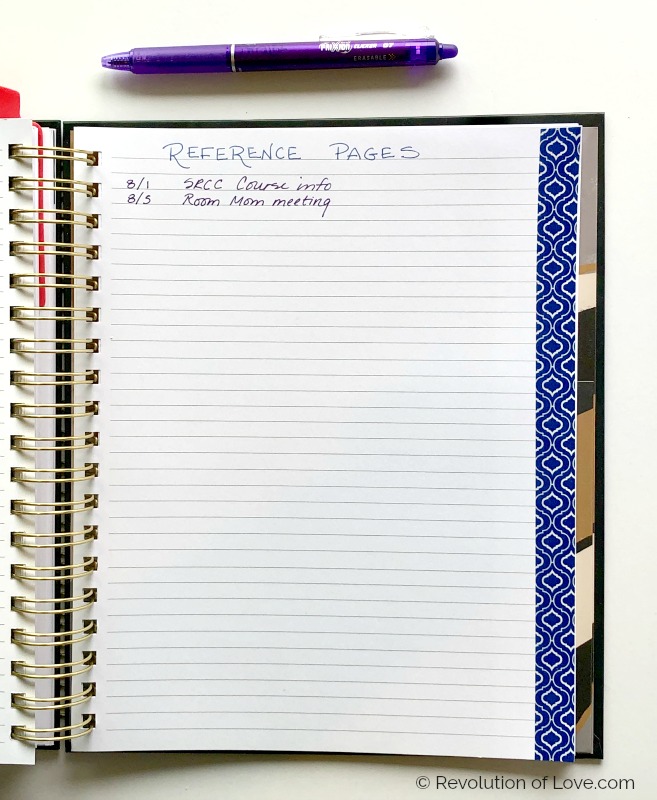
In the larger note section in the back of the planner I assigned one page to be my Reference page. I jot down the topic and the week I wrote about it. So come next month, I’m not thumbing through all the past pages trying to figure out where the heck I wrote certain notes.
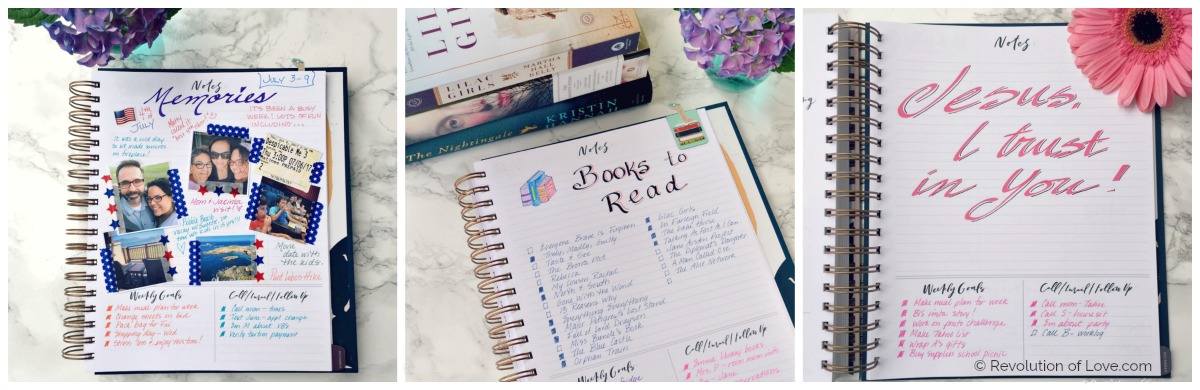
If you don’t need that larger note section, you could do different things with it such as make a Memories page to highlight the things you want to remember from the week. Or use it to make lists such as Book to Read, Movies to Watch or track things like how much money you spend or when you go to Confession. Or simply use it to write a favorite Scripture or short prayer. The possibilities are endless.
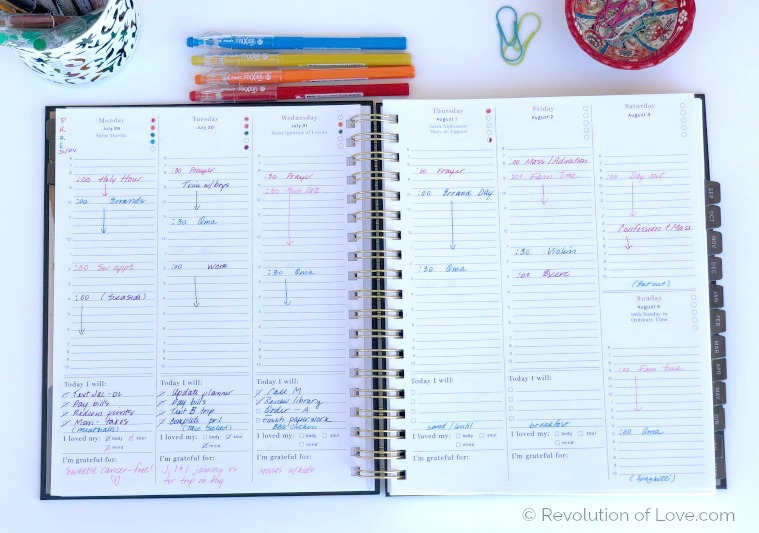
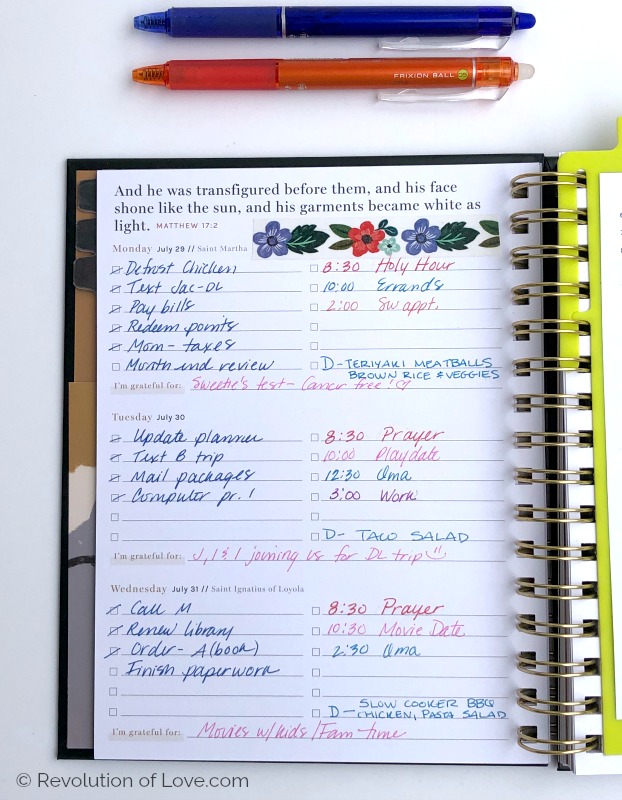
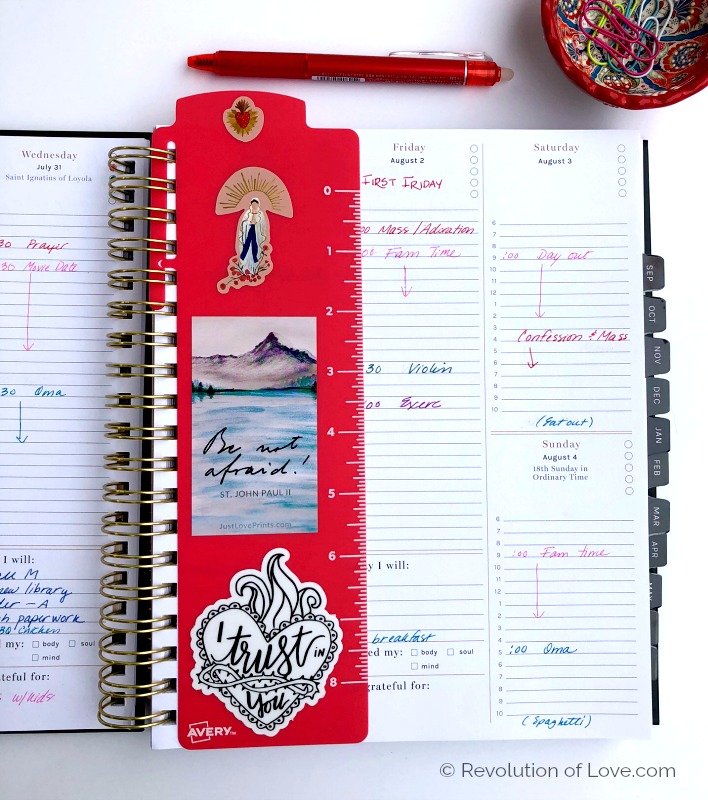
Weekly Schedule View
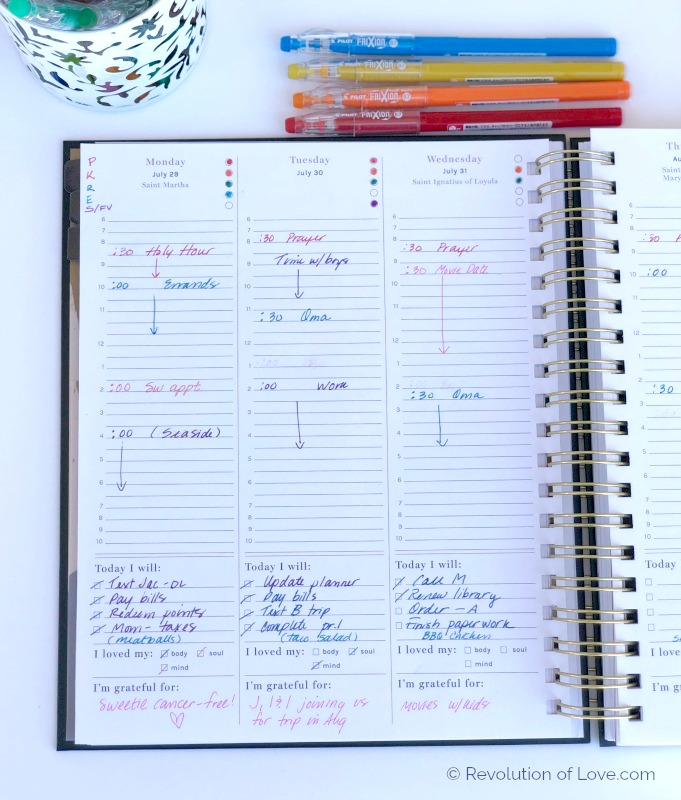
This is where I keep track of where I need to go. In the To Do’s, I list the top 5 things I have to get done that day (taken off the previous weekly master To Do list.) I use my same color code system that I had for the monthly calendar.
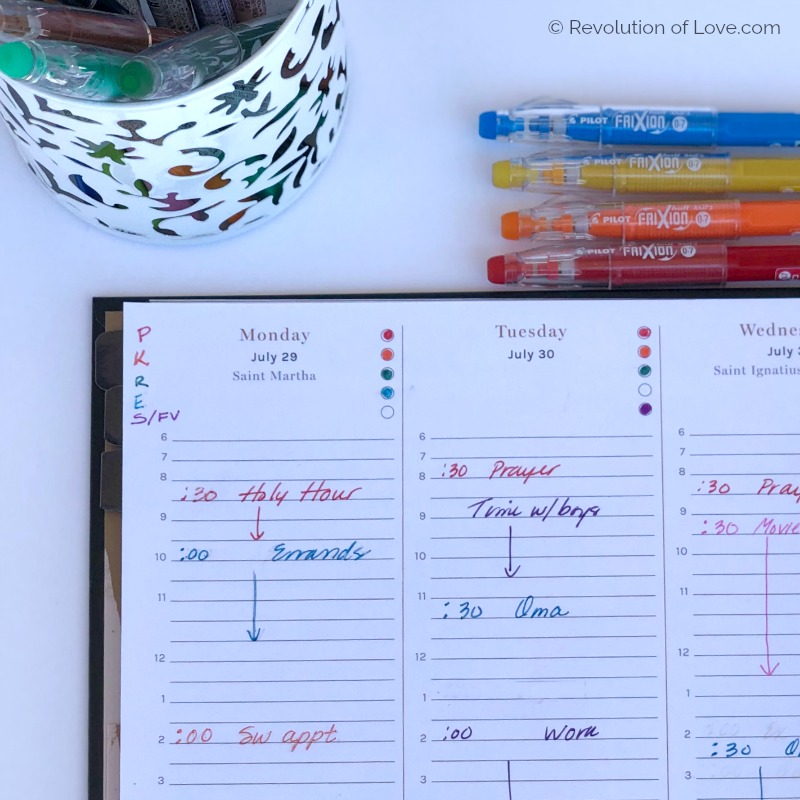
For the tracking circles at the top of the page, I trace my 5 daily goals. I put a letter for each as a reminder – P (red/Daughter of God) – daily prayer, K (orange/Wife) – daily act of kindness towards Brian, R (green/Mom) – nightly read aloud with the boys, E (blue/Homemaker)I hijacked this circle and added E for exercise since there wasn’t a pressing daily homemaking goal, and S/FV (purple/Woman) – get more sleep, fruits & veggies into my day.
If I have the extra time I’ll mark the circle with the matching color. If I’m short on time, I just mark the done ones with one color. And truth be told, there are times when I skip it all together because I’m simply in survival mode. I want the planner to help me, not burden me with more work.
Also, there are some users who skip the time schedule all together and use the daily column as a long To Do list. That’s a great adaption as well. Whatever works best for you.
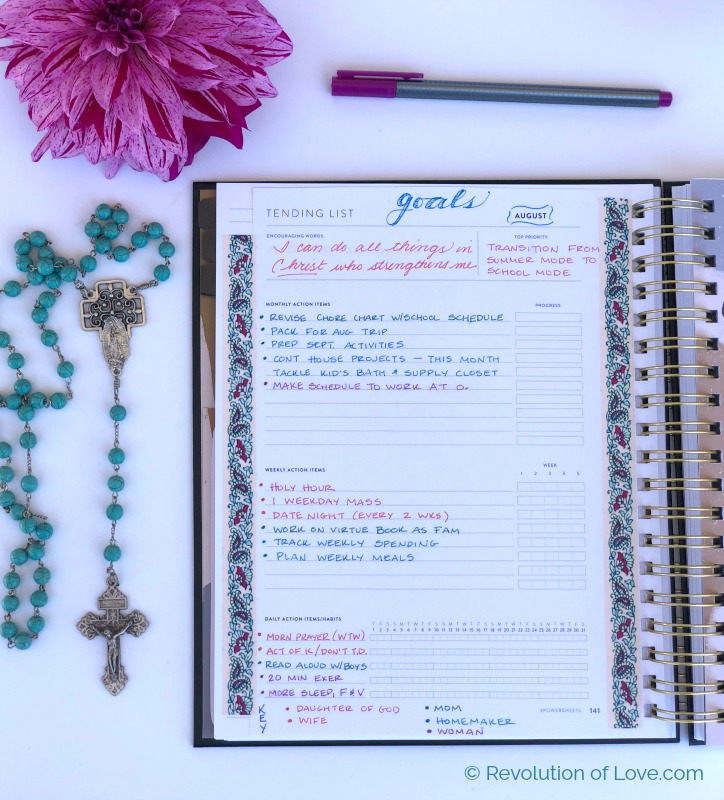
Speaking of goals, since the regular planner doesn’t have a goals page, as the MINI does, I used the last blank lined page of each month to put my monthly goals. Instead of writing them down I simply added my goal tending sheet from Lara Casey’s Cultivating What Matters.
* * * * *
Your Questions Answered
Whenever, I post photos of my planner of Instagram, I’ll often get the same questions. Here are the most common ones with my answers.
I’ve switched from a regular sized planner to a MINI. I like the smaller size, but I miss some of the larger features like the menu and shopping list. Any recommendations?
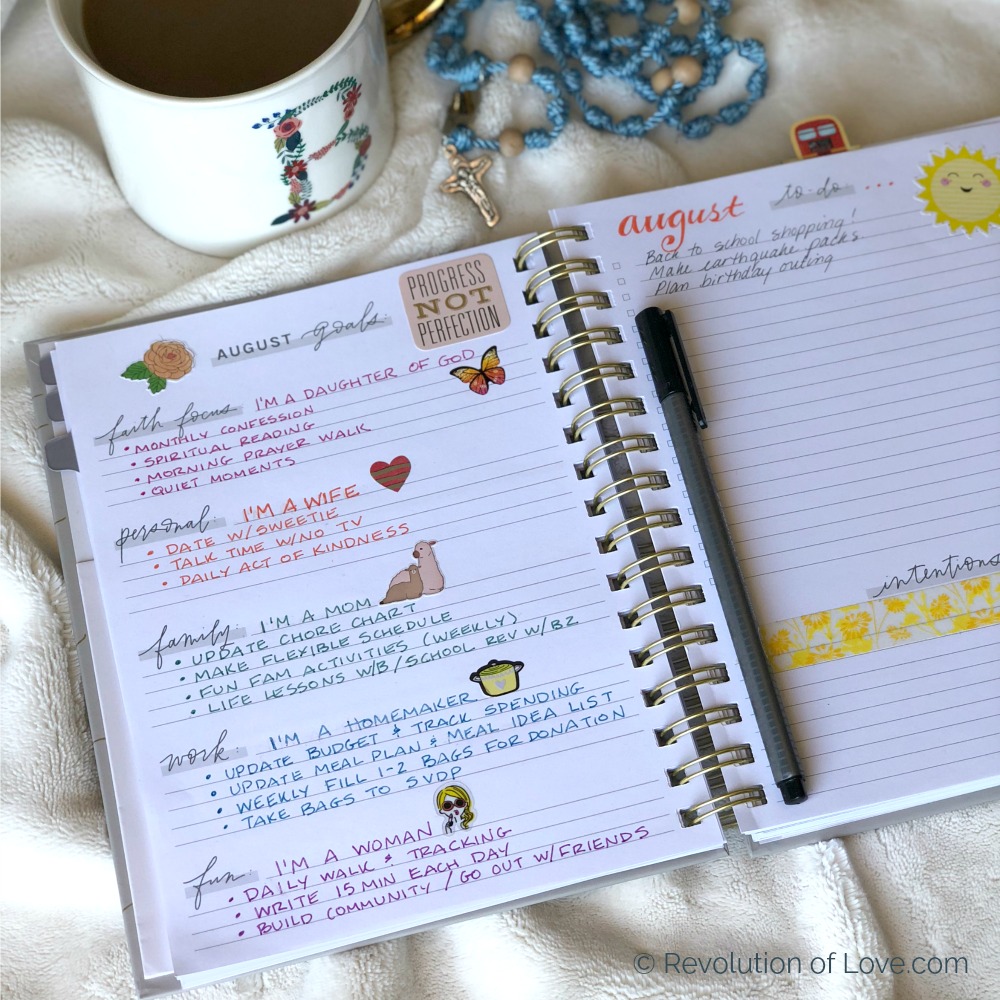
I loved the mini! I especially loved the goals page. However, it’s true that you give up other items.
After using the mini for a year, I found it best to make the most of the mini’s weekly page. I used the column on the left for my To Do’s. The right hand column I used to keep track of appointments or places I needed to be. For my menu, I simply used the last line in each day’s list to add the dinner meal of the day.
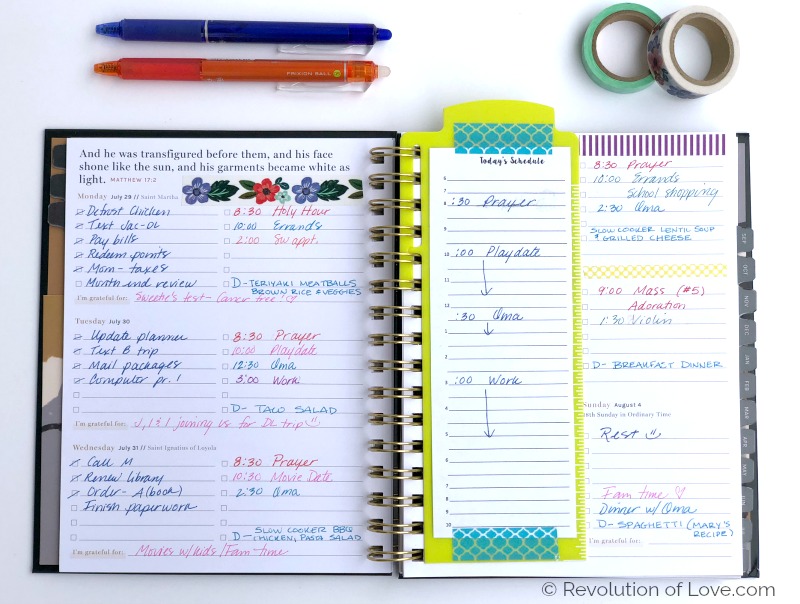
There were busier days when it would’ve been helpful to have a full hourly schedule, so I made my own in Word and printed it out. I was going to paperclip it to the page, but found that adding them to a bookmark was even better. I used Write and Erase Spiral Slide-In Bookmarks from Avery. I ordered a pack from Amazon and although they were too long, I simply cut off the bottom of the bookmark to make it shorter. I washi taped the schedule to the bookmark and it worked great. I kept the extras in the back cover pocket for the days I need one.
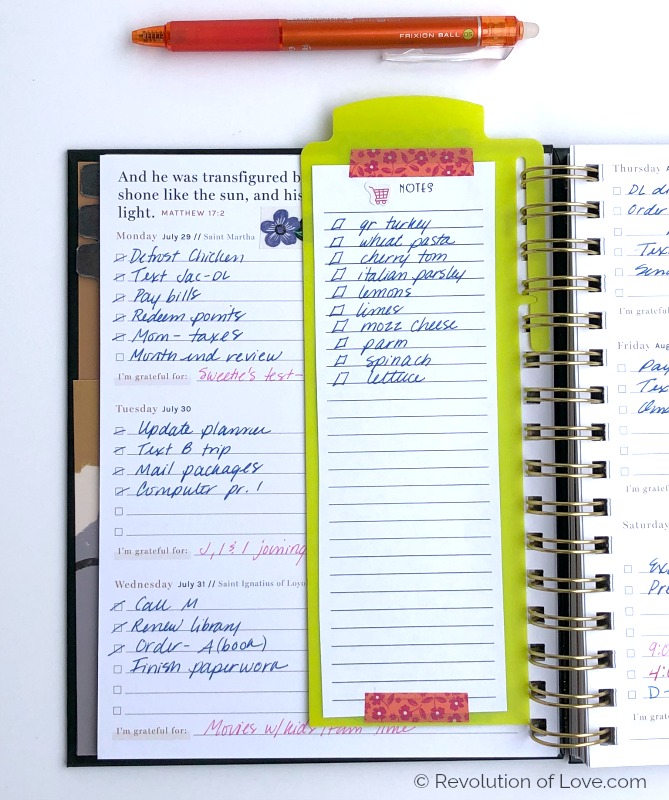
For the backside of the book mark, I made a printable with a notes section that could be used as a shopping list or notes. The “notes” title is a little off to the right so I could add a sticker. (#nerd 😉 )

If you want to print out a copy of the daily schedule or notes section for yourself, I made them available in my Google Drive folder. Here is the Daily Schedule and here is the Notes Section. You can order the same bookmark or simply us a paper clip to add it to your weekly section. (Note on the bookmark: It is a bit loose since the insert tab is shorter than the length but so far it hasn’t been a problem. Also, when you print out the schedule or list, make sure the print job is set to landscape mode and not portrait.)
What kind of pens do you use?


When I write in my planner, I MUST be able to erase. I used to use pencil until I found these awesome erasable pens. These two sizes are my favorite.
The thin Pilot FriXion Pencil, 0.7mm Ballpoint Pen, 12 Colors Set (also available in the 24 pen set) are great. I love the various colors.
The thinner Pilot Frixion Ball Knock Retractable Gel Ink Pen, 0.5mm, 10 Colors Set are perfect if you like your pens really fine or are writing in smaller spaces, such as the calendar section of the mini planner.
(One note: It has been said that the ink of these pens disappear in extreme heat, but the ink will reappear if book is placed in the freezer. I have never had an issue, but I also don’t live in extreme heat.)
Where do you get the book marks/ stickers/ washi in you planner?
This is the Avery Spiral Slide-In Plastic Bookmark Divider that I use. It can be used full size with the regular planner. The end has to be cut off when used with the mini planner. (As previously shown.) They come in a pack of three, colored red, yellow, and aqua blue.
The stickers I have on the bookmark are from: Be A Heart.com (however, I think the Mary stickers are sold out.) Be Not Afraid sticker is from JustLovePrints and I Trust in You sticker from Someday Saints.
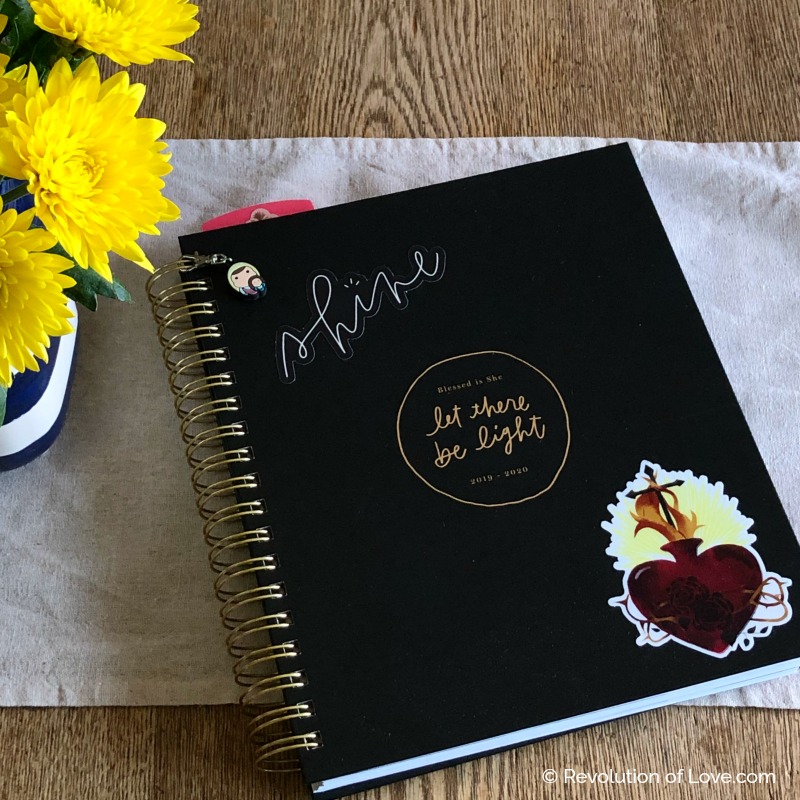
On the cover of my planner I added stickers from Blessed Is She (Shine) and Made for Christ (Sacred Heart.) She has so many awesome stickers in her new shop! I also attached a
Tiny Saints Charm of St. Anne, my patron.
You can find other great Catholic stickers from Santa Clara Design, Catholic Paper Goods, WithJoyfulHeart, and LeanneBowenFineArt. Have another favorite Catholic sticker shop? Let me know!

The magnetic book marks in the photos above were purchased from Target. The brand is Kelly Ventura for Blue Sky.
For a more complete list of all my favorite planner tools, including stickers, washi tape and pencil pouches, visit this post – My Favorite Stationary, Pens, Stickers, Planner and Hand Lettering Supplies.
When do you find time to decorate and update your planner?
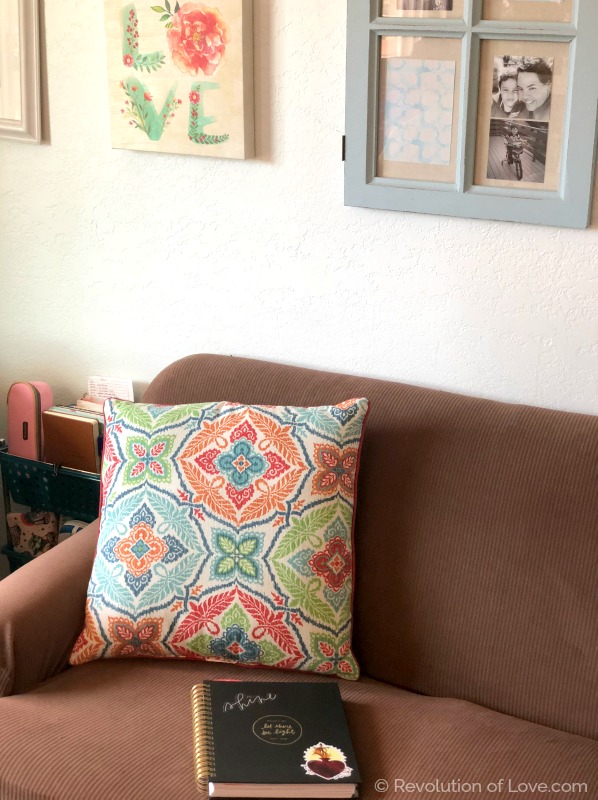
I find Sundays are the best day for me. I can usually carve out an hour to myself and I sit down at my favorite spot on the couch in our family room. I go over the upcoming week, plan my meals, brain dump all the info in my head and organize it. Sometimes I listen to music or put on an old movie and sometimes I am surrounded by a bunch of wild boys cheering for their favorite football team (their dad included.) It’s not exactly peaceful, but they enjoy having me there cheering too. 😉
If I have time (and I’m in the mood) I’ll decorate and color code my week. If I don’t, I simply get the info down and don’t worry about it. The key is to use the planner. It can look like a work of art, but if it’s not being used and making your life easier, then something’s wrong. However, if you can use it and have fun, well, that’s the best of both worlds.
Happy planning!

PS – You can follow RoL on Bloglovin, Feedly or another news feed. If you are a social media fan like me, we can stay in touch through Facebook, Twitter, Instagram, Pinterest, GoodReads, Letterboxd, or Spotify, 😉
(NOTE: Revolution of Love is a participant in the Amazon Services LLC Associates Program, an affiliate advertising program designed to provide a means for sites to earn advertising fees by advertising and linking to Amazon.com. I purchased these items on my own and am sharing my honest opinion about them.)
Duuuuuuude…
I wish I had your mad organizational skillz…