(This post has become so big that I need to divide it into sections. I’ll do the first section today but since the bulk of the work is done, I’ll hopefully post the other 2-3 sections by the end of the week.)
I have been hearing numerous blogging moms talk about their Home Management Binder. It sounded like the perfect thing I needed on my quest to get more organized but the task seemed daunting! What was I supposed to put in it? When would I find the time to make up lists and logs? How can I make it pleasing to the eye so I’d be more likely to actually use it? Well, it took me a while but I think I finally have a system down that will work well for me and my family.
My next big problem was fitting everything into one binder. Rather than having one huge binder, I found it easier to divide my information into my main large binder with the bulk of info and then three smaller binders with specific categories – Finances; Meals, Food & Shopping; and Blogging. I use these smaller ones most often and keep them in the spot where I need them. (ie Food Binder in the kitchen area. Blogging Binder on my computer desk.)
Lastly, I debated whether I should give up my regular planner for a binder To Do List. I tried out a few but wasn’t satisfied. I didn’t want to give up my planner so I tweaked it a bit instead. I’ll break it down below.
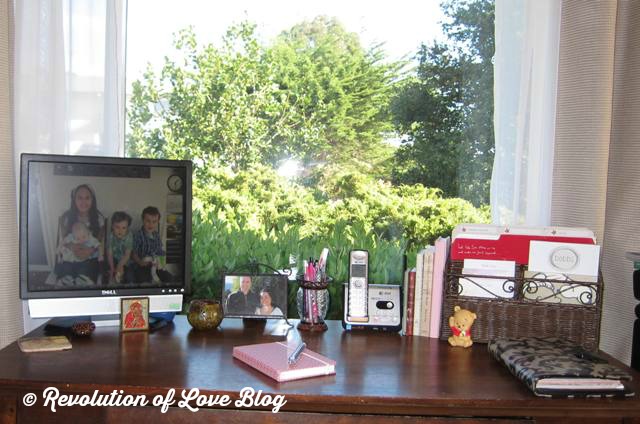
I have been using a planner for as long as I can remember because if I don’t write it down, I guarantee that I will forget to do it. You can see my trusty black and gray planner at the right hand corner of my desk.
For the last couple of years I have been using a Franklin Covey Wire-bound Planner, the Perspectives Weekly style. I liked that the headings are left blank so you can title them for each day of the week (combining Sat & Sun) or divide jobs in categories. I also like to record any spending I did online so I could make sure to subtract it from my budget.
However, I have reached the point where the two pages for one week is not enough room. By Wednesday, I would use up all the space. My planner runs for the school year so I needed a new one for July 2012-June 2013. I decided to switch to the Botanica One-Page-Per-Day Planner.
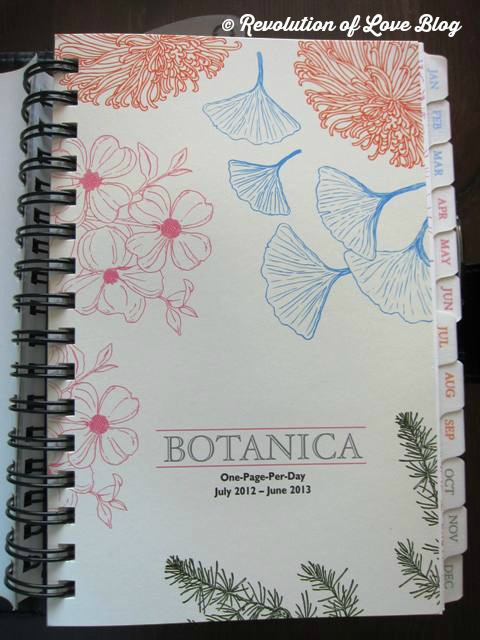
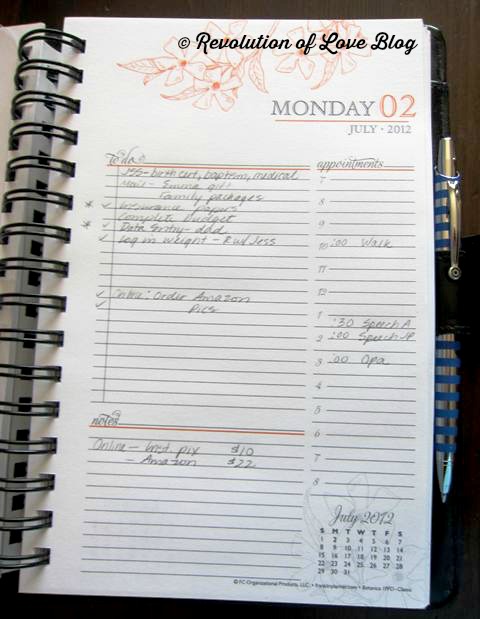
I love having more room but it did make my planner considerably bulkier. It wasn’t a big issue since it is always on my desk but I needed just a small calendar or notebook for my purse to record appointments and notes when I’m on the go.
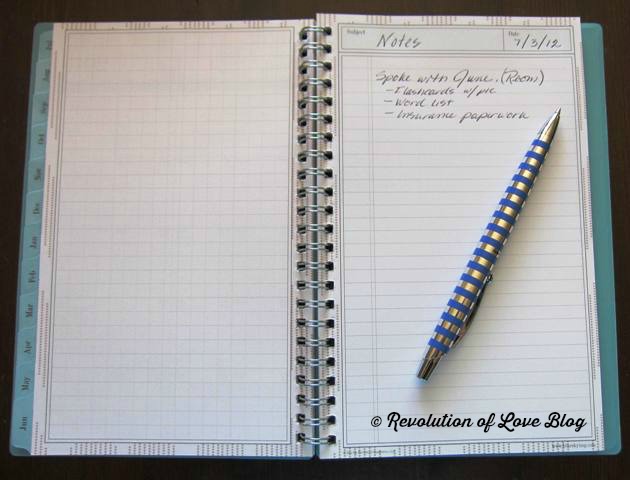
I picked up this small calendar/notebook at Target for a few dollars.
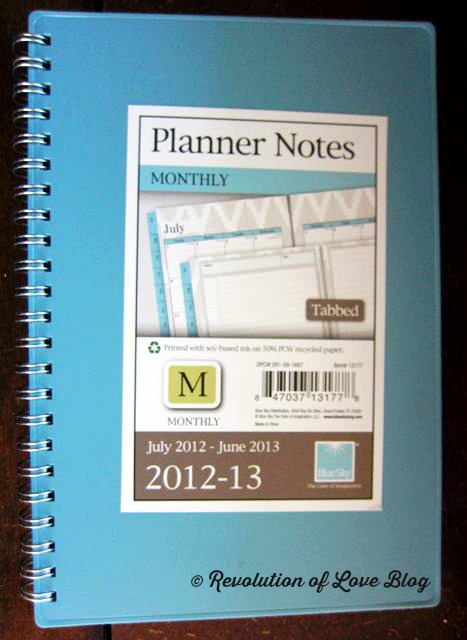
It has the months of the year in the front and in the back there are grid and lined pages for notes or drawings. It is perfect to jot things down or write appointments that can later be transferred to my master calendar.
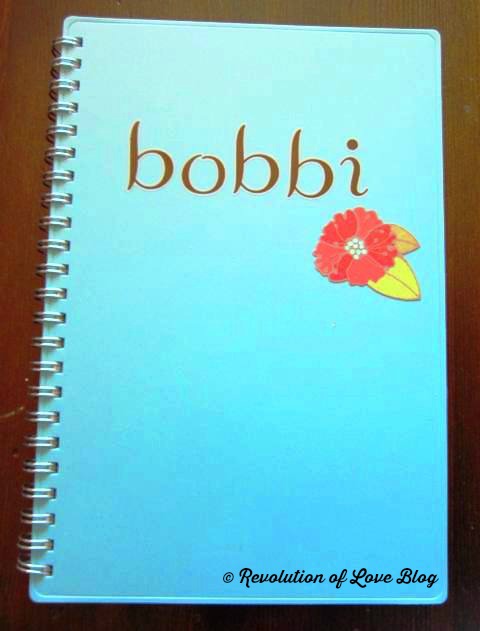
To personalize it a bit, I added some décor.
Tomorrow I’ll show you the next binder. 🙂
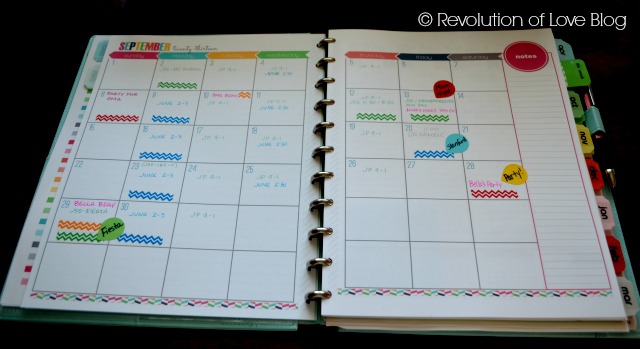
UPDATE: Since first writing this post, I have switched planners. I now use a Martha Stewart discbound with iheartorganizing planner pages. Here is the new post – A Look at My 2014 Planner
OTHER POSTS –
Part 2: Main Household Binder
Part 3: Meal Planning & Finance Binder



Leave a Comment