Revolution of Love

Revolution of Love

Do small things with great love.

Pinterest Party & Link-up (vol 12): Lower Fat Baked Mac and Cheese

It is busy, busy, busy here so for today’s Pinterest Party I am linking an updated post from two years ago that was damaged in the blog move. I’ve fixed the links and added some new photos. I hope you enjoy. 🙂

Welcome to the RoL Pinterest Party. Join me every 2nd and 4th Tuesday as we link up and share how we made, cooked, baked, crafted, did, or created one of the pins on our Pinterest boards.

Not on Pinterest? No problem. Link-up your own creation to inspire us so we can pin it to our own boards. It can be a recipe, sewing project, Catholic craft, homeschool project, organizing/ homemaking tip, themed birthday party, whatever you’d like. Don’t have a post ready? The link-up will be open for 10 days so there’s still time. Plus, feel free to link up a new post or an older post that hasn’t had much traffic lately. Don’t have a blog? No problem. Tell us about it in the comment box. Or post your photo and a description on the RoL Facebook page. 🙂

* * * * *

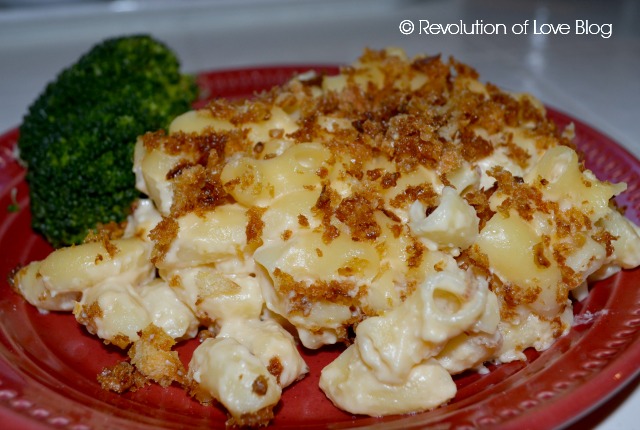
Yesterday I had an abundance of broccoli that I needed to use up so I decided to make macaroni and cheese. I am not a huge mac & cheese fan, only knowing the boxed kind but last year I made my first homemade version. It was a recipe I saw on Food Network’s “What Would Brian Boitano Make?” (Stop laughing. I actually liked his show. And not just because I had a crush on him 20 years ago.) His Cheese Cart Mac & Cheese was easy and delicious, although a bit on the “fancier” side as he used asiago, fontina and gouda. My bigger concern was how rich and fattening it was. I had to find a low fat version that the family would still eat. When Brian (my husband, not Boitano) saw me making the cheese sauce last night and he was excited until I told him it was a new lower fat recipe. He gave me “that look” and walked out of the kitchen mumbling something about “low fat, low flavor.” It was finally time for dinner and I served the mac & cheese with broccoli and Jennie-O Turkey Kielbasa. I’m happy to report that the meal was a hit (even Matthew had his first serving of mac) and everyone wanted seconds. (Which then brought up the debate of how low fat is it when you eat more than one serving…) If you want to try it out, I got the recipe from LiveStong.com. Here is the recipe. Ingredients

  • 3 tbsp olive oil
  • 3 tbsp of flour
  • 2 cups skim milk
  • 2 cups reduced-fat sharp cheddar cheese
  • 2 cups elbow macaroni (I have since started using whole wheat bow tie pasta instead of regular macaroni.)
  • 1/2 tsp salt
  • 1/4 tsp pepper
  • 1/4 tsp cayenne pepper
  • 1/2 cup dry bread crumbs
  • 2 tbsp low-fat margarine

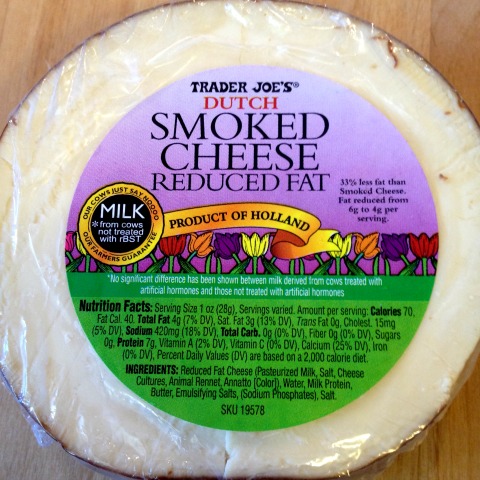
Note: I usually double this recipe so we’ll have leftovers. For the cheese I use 1/2 low fat sharp cheddar and 1/2 of this low fat smoked cheese from Trader Joe’s. It tastes similar to smoked gouda and it is delicious! Directions Preheat the oven to 350 degrees. Heat the milk in a saucepan over low heat until small bubbles form. In a separate saucepan, heat the olive oil over medium heat. Add the flour and stir for two minutes.
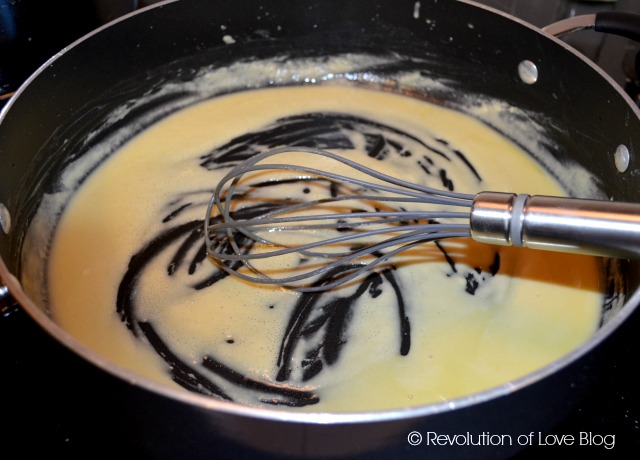
Slowly pour in the heated milk, whisking thoroughly. Stir over medium heat until the mixture thickens and begins to boil slightly. Reduce the heat to simmer. Stir in the cheese by handfuls until it is thoroughly melted. Stir in the salt, pepper and cayenne. Set aside.
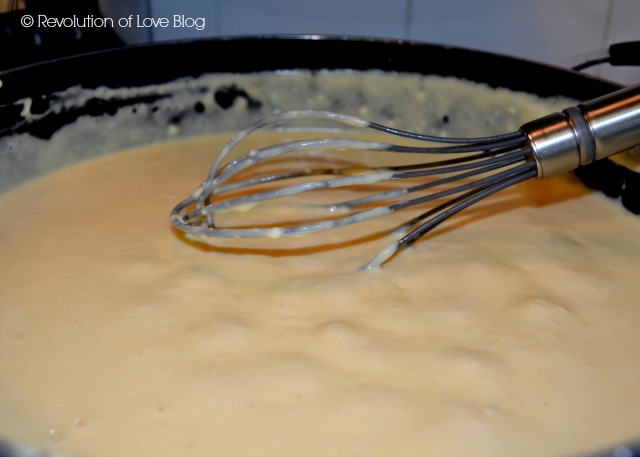
Boil 6 cups of water. Add in the elbow macaroni and boil as directed, generally 8 minutes. Drain well and pour into the cheese mixture. Lightly spray the casserole dish. Pour the macaroni into the dish.

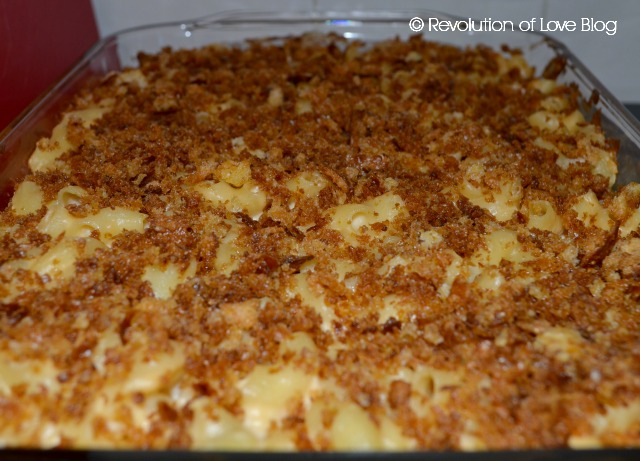
Melt the margarine in a small frying pan over medium-high heat. Add the bread crumbs and stir constantly until they are lightly browned. Spoon over the macaroni. Bake uncovered for 20 minutes. Serve immediately.

Healthy Additions Stir chopped parsley, chopped, cooked broccoli or sliced mushrooms into the macaroni and cheese mixture before placing in the casserole dish to add color and flavor.

Considerations Make sure you cook the flour for the time directed; cooking thoroughly dissipates the flavor of the flour and enhances the flavor of the sauce. Carefully stir the cheese sauce until all the cheese is melted, monitoring the temperature to ensure that it does not scorch. Avoid adding foods containing any additional fats, such as crumbled bacon or butter, when serving. Garnish with parsley for additional color.

My note: I like to make this dish with Jennie-O Turkey Kielbasa or the chicken & apple sausages from Trader Joe’s and broccoli. Also, the recipe didn’t give serving size or nutritional info but when I used this online calculator to calculate this recipe serving about 6, the amount of calories was 300 and fat 16, which is not bad for homemade mac & cheese. (Also, that was a larger main dish size portion. A smaller 3/4 cup side portion what more than cut that in half.) Adding the Jennie-O Turkey Kielbasa/chicken sausage and broccoli would add roughly an extra 100 calories and 3 grams of fat per serving. It’s a nice (occasional) comfort food treat. 🙂

* * * * *

Now it’s your turn.

1. Choose your creation, share about it and snap a photo if you can.

2. In your post, link back the original blogger/idea, rather than your Pinterest pin. That way credit goes to the proper person. 🙂 (But feel free to add your Pinterest profile link so we can follow you!)

3. Add a link back here so others can play along. Here is the html code:

<a href=”http://www.revolutionoflove.com/blog/?p=2157″><img title=”Revolution of Love Blog – Pinterest Party &amp; Link-up” src=”http://www.revolutionoflove.com/blog/wp-content/uploads/2013/04/pinterest_2_medW32-300×240.jpg” alt=”” width=”300″ height=”240″ /></a>

4. Link up below. Make sure you’re sending us to your actual post, and not to your general blog address.

You have 10 days to post your link, so if you can’t get things done by Tuesday, no worries, put it up when you can. We’ll be here. Have fun!

Lastly, you can follow me on Pinterest here: http://pinterest.com/rol_bobbi/. 🙂

PS – You can follow RoL on Bloglovin, Feedly or another news feed. If you are a social media fan like me, we can stay in touch through Facebook, Twitter, Pinterest, GoodReads or Instagram. 😉


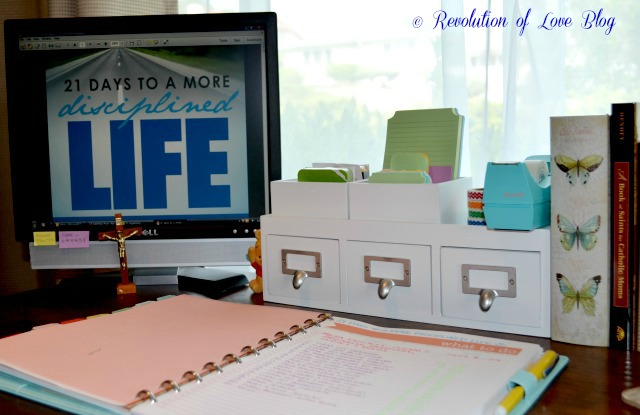
21 Days to a More Disciplined Life – Days 4-7

For the next 21 Days I will be participating in Suscipio’s E-book Discussion – 21 Days to a More Disciplined Life by Crystal Paine.


It’s been a busy week and I haven’t been able to post but I thought I’d give a quick update to my 21 Days project.

Previous posts…

Day 1: Discipline Is a Choice

Day 2: Discipline Is a Process and Day 3: Start with Small Things


This post covers…

Day 4 – Day 7: Focus on One Habit at a Time; Anticipate Obstacles; Be Realistic & Revisit Negative Thought Patterns


A favorite line…

From Day 5: “Discipline is a choice. But you can’t just say, ‘I’m going to be more disciplined,’ and then sit back and expect to see your life change. No, discipline will take work, effort, and much perseverance.”

That line matched perfectly with my devotional reading from Small Steps for Catholic Moms. It said, “When we once begin to form good resolutions, God gives us every opportunity of carrying them out.”

Notice it did not say I will suddenly be changed. It merely says God gives me all the opportunities (and grace) I need to change but I still need to get my butt in gear and do the work. (I knew there was a catch. ;-)) Seriously, though. This work goes beyond just having a clean bedroom or a nice desk. It is instilling the tools I need to be disciplined in all the areas of my life whether it is homemaking, budgeting, dieting or my spiritual life.  There are still big improvements needed, but the motto is BABY STEPS.

I can see those baby steps starting to pay off. It is one thing to clean off a dresser or straighten out a corner of the room once but the real test is days later. There were numerous times I was going to lay something on a dresser or a table and my inner voice said, “Don’t’ even think about it. Go put it away NOW.” I groaned and complained but I did it. One day it may even come naturally and I won’t have a temper tantrum first. 😉

Another fave line…

From Day 6: “Do yourself a favor when setting goals: be realistic and thoughtful about them. Even if they don’t seem quite so amazing, it’s better to set the bar lower and actually meet your goals than to set the bar too high and keep falling flat on your face.

Day 5 talked about anticipating obstacles and being prepared for them and day 6 talked about being realistic in our goals. This was good because I realized that I can set aside time each day to work on my project but it is unrealistic to think I can do  it on the weekends. My time is filled with family stuff and we are often out of the house so it just doesn’t work. Rather than having to play catch-up on Monday, I reworked my Mega Project goals so I only worked on it Mon-Fri. It may take me a little longer to finish the program but it’s what works for me and the family right now. Plus, it is better to make an adjustment than to just throw up my hands in defeat and say, “Forget it!” Believe me, I was tempted to do that a few times!

Other fave lines…

From Day 7: “…Go ahead and remove the phrase “I’ll try.’ Don’t try, do it! …’Try’ may not seem like a negative thought word, but it really is! When you use the word ‘try,’ you are telling yourself that you don’t really believe in your ability to get the job done. In your mind, you’ve already failed, and you’re accounting for your failure with your word choice.”

AND

“…Give yourself a boost by surrounding yourself with people who inspire and motivate you, rather than people who will discourage you or point out how far you have to go. Having positive influences around you makes an amazing difference.”

Not using the word “try” seems drastic to me but I’ll admit that I often use it as a safety net or excuse…”Well, I tried” when I actually didn’t try as much as I could have.

Lastly, I’m lucky to not have negative people in my immediate surroundings. Brian is supportive and the kids encouraging. Friends are supportive but I think this project is shared more with you, my online friends. The ladies at Sucipio, especially Jen, are awesome and encouraging. They keep me going. Plus sharing this with you online keeps me going. If none of you knew I was doing this I would have quit days ago but since I promised to chronicle my progress, I am motivated to keep going. So thanks for that!


My Mega Project…

Okay, time to get to bed so I leave you with a quick update of my mega project.

My big project is to clean and organize my master bedroom, bath & closet.

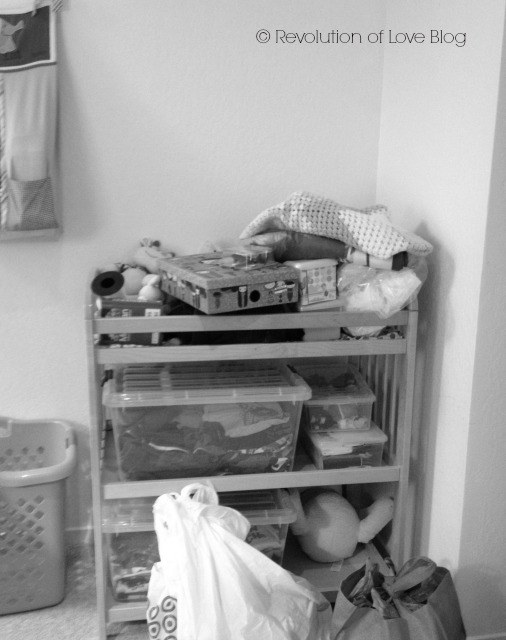
These last few days focused on the corner of my bedroom where we have Matthew’s changing table and a bookcase. (We don’t actually use it as a changing table any longer. It is more of a shelf to hold his clothes and things.)

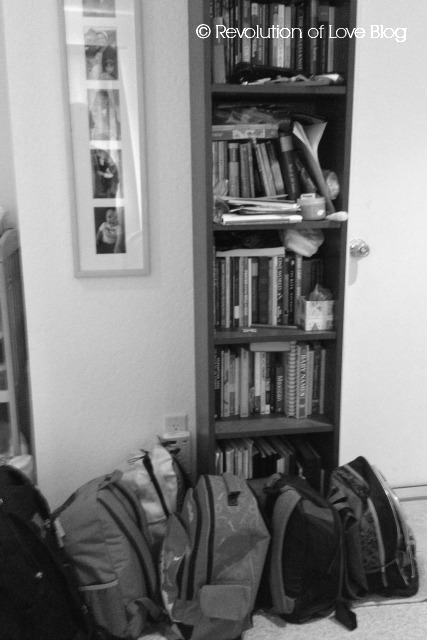
BEFORE

All the backpacks are from our emergency supplies for the zombie apocalypse 😉 but I could not find a shelf in the garage to fit all of them.

***

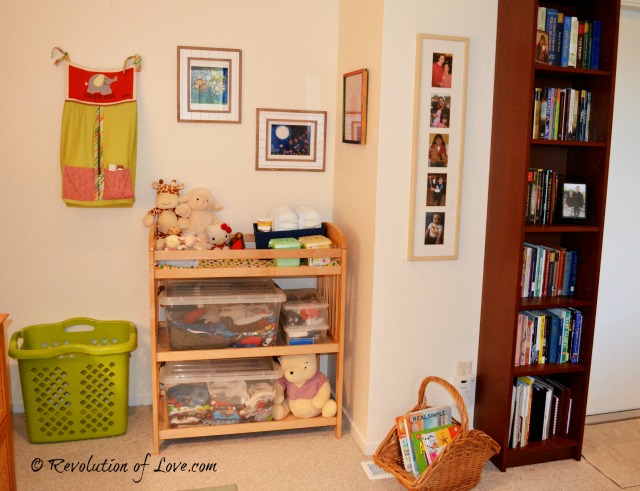
AFTER

Everything was put away and I rearranged the garage shelves to fit the backpacks in there.

***

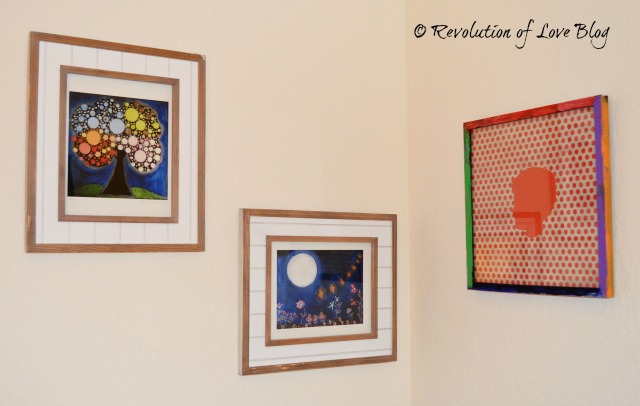
I finally hung up the prints I had sitting in my closet forever. (BTW, the artist is Flor Larios. Check out her prints of Our Lady. So pretty!)  The frames I found on clearance at Target. The silhouette of Andrew’s head is an art project he did at school last year.

***

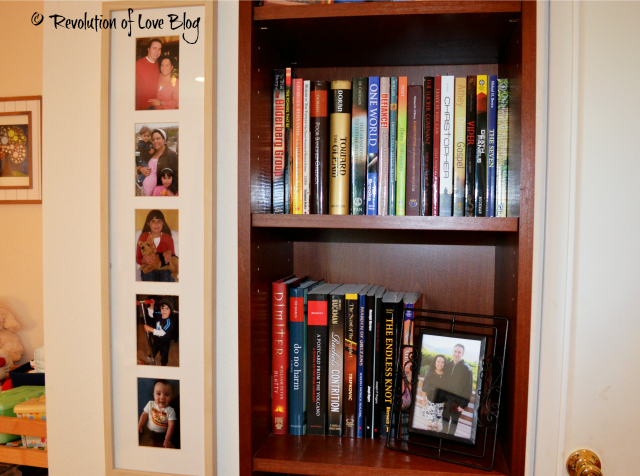
We have a ridiculous amount of books in our house but Brian loooooves to read. This is just a small section of his Catholic fiction. Oh, and I still need to update the photo collage on the wall. These were from before Matthew was born.) 🙂

Brian came into the bedroom the other day and he just looked and said, “Wow, everything looks so nice.” John-Paul came in an exclaimed, “It’s so pretty!” I love the happy, calm feeling it gives me to see everything neat and orderly. (And I’ll take all the calm I can get!!)  I guess there is something to all this organizing business and why they say cleanliness is next to godliness. I’m starting to believe it. 😉

Head over Suscipio and see how others are doing on the journey. 🙂

Okay, it’s getting late and I need sleep. Have a blessed night/day!

PS – You can follow RoL on Bloglovin, Feedly or another news feed. If you are a social media fan like me, we can stay in touch through Facebook, Twitter, Pinterest, GoodReads or Instagram. 😉


Theme Thursday: Bright & {pretty, happy, funny, real} vol 70: Kitchen Remodel Edition

It’s been busy, busy, busy here lately and I took an unintentional week off from blogging. In fact today’s photos were originally supposed to be for last week’s {p, h, f, r} and Theme Thursday’s: Rooms but since I didn’t take these photos until last night, it didn’t work out. haha! So instead of wallowing in my procrastination I looked on the bright side and started a fresh week instead. (Way to keep in theme, right!)

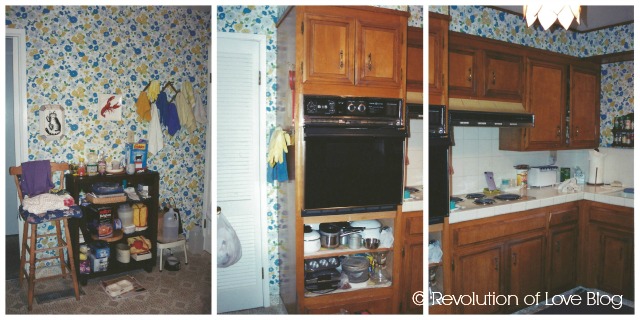
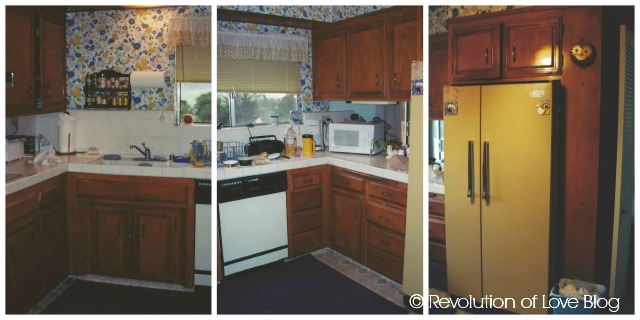
Seriously, I happened to be looking at some old photos of our kitchen before we moved in and the room is SO MUCH BRIGHTER that I thought heck, I can use the kitchen photos for this week’s theme “bright” instead. So here we go with a TT and {p, h, f, r} mash-up.

{pretty, happy, funny, real}

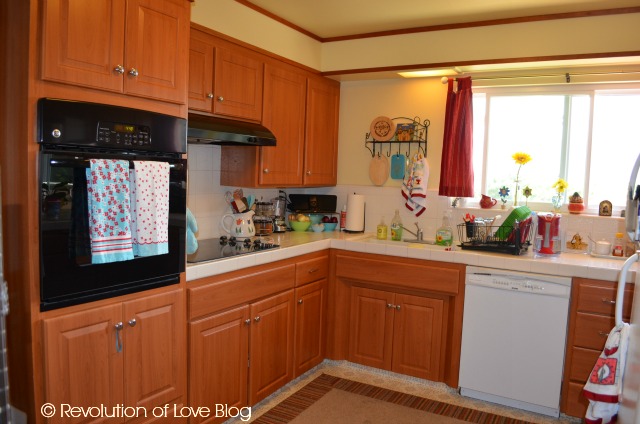
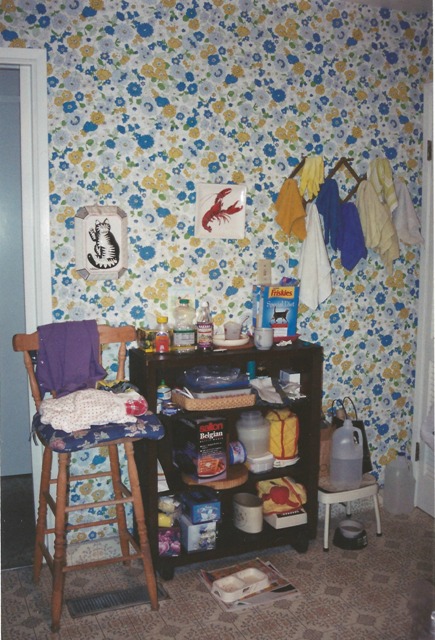
To put these photos into context, you have to see what our kitchen looked like before we moved in. The home belonged to Brian’s grandmother but she passed away and his aunt that lived with her was moving into a retirement home because she could no longer care for herself. (She has since passed away too.)

To make a long story short, Brian and I (along with a then 4 year old Bella ) would move out of our apartment and into this home. The house was built in the 70’s and I was both elated to have a place of our own and overwhelmed by the remodeling that would need to be done.

We couldn’t afford to do everything at once so slowly we worked on it and little by little and nearly 8 years later, we’ve made our kitchen one of the bright spots of our home.

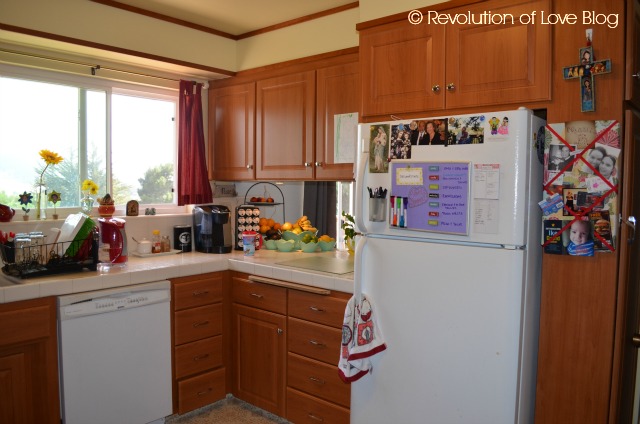
And before you start thinking, “Wow, she has such a clean kitchen!” you must understand that it took me not minutes but HOURS to wash all the dirty dishes piled in the sink, clear off all the junk and clutter of the counters, wipe off all the smears of peanut, butter, jelly and other sticky substances on the cabinets and vacuum up all the crumbs and stray legos off the floor, wipe the layers of dust and grease off the stove and oven AND start another bag of unused kitchen items overflowing from the cabinets that I will donate to charity. I started cleaning when Brian left for work in the morning and wiped off the last counter when he came home for dinner. He walked into the kitchen and said, “Whoa!” So this is my kitchen after I’ve spent all day cleaning. I would have taken photos of it a mess but that was just too stinkin depressing. Okay, carry on!

It may still seemed a little cluttered to someone who prefers a minimalist approach, but it reflects me. It’s a collage of different items that evoke happy memories or people that I love.

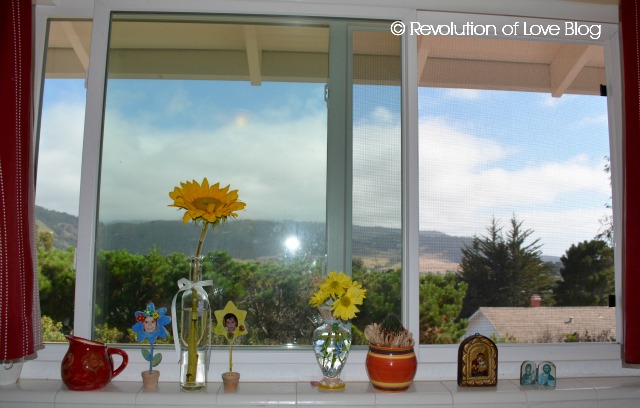
My favorite aspect of the room is the kitchen window that looks out to trees and mountains. I waited until the evening to take this shot because it was the first time we saw any blue sky. It is normal for our summers to be covered with a thick fog, which rolls in from the ocean to the right of us.

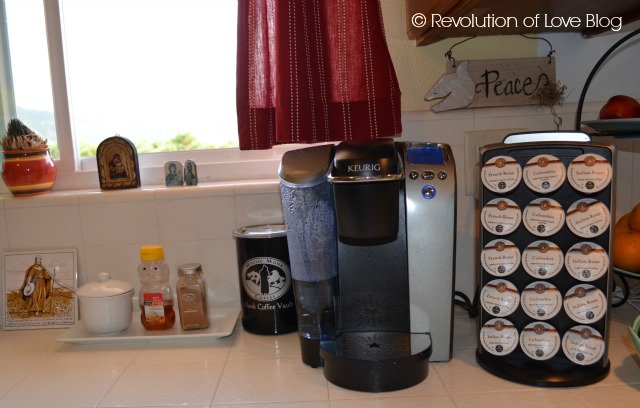
I think this is Brian’s favorite spot of the kitchen. His coffee station is ready to wake him up in the morning. Which reminds, me if you are a fan of Mystic Monk coffee they now make single cup coffee pods called Monk shots. (They work just like k-cups.)  Brian loves the stronger flavor so much he finished the last box and now I have to order more. 😉
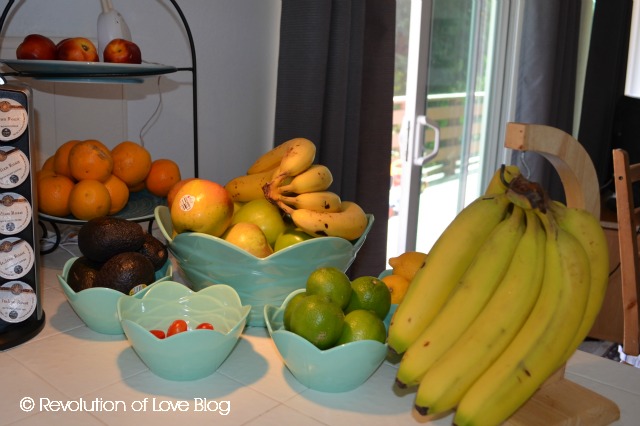
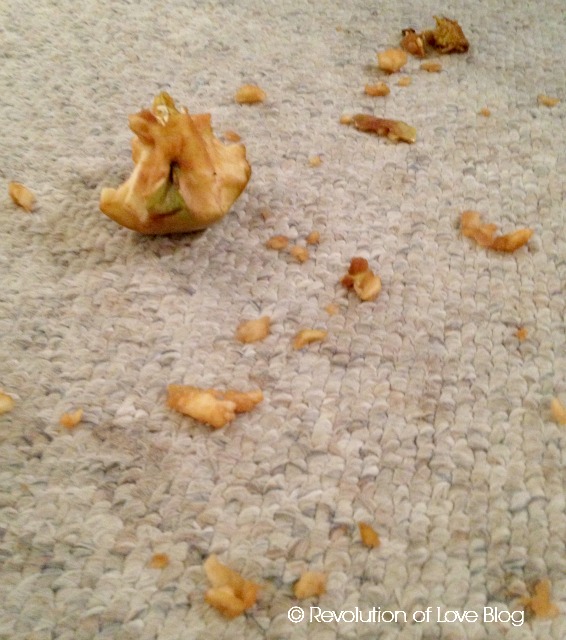
I think Matthew’s favorite spot is the fruit corner where he loves to take an apple and make his own apple sauce. This would be fine except that he uses his mouth to do it and all the peelings can be found all over the house. Something like this…

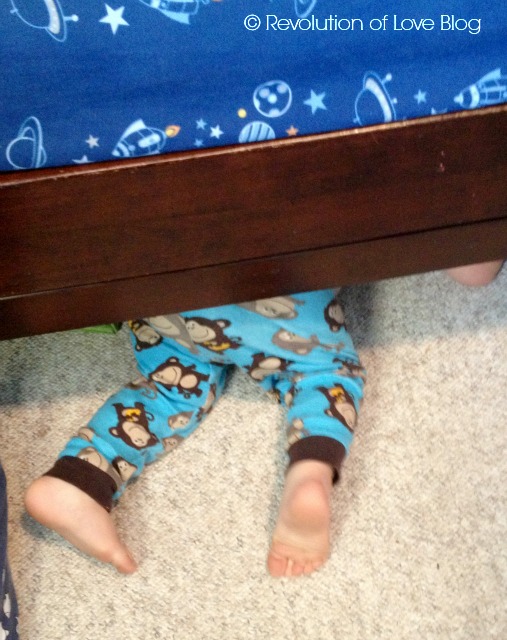
But when I look for the culprit, all I find it this under the bed…

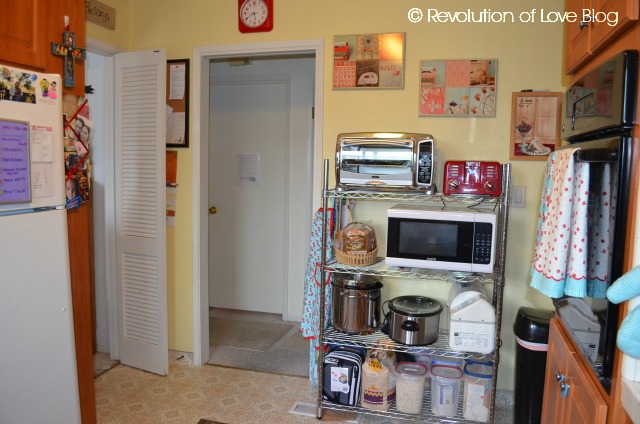
Okay, back to the kitchen. Remember this wall?

I had a hard time figuring out what to do with it.

I finally got a small metal shelf from Costco and use it to hold our microwave toaster and other larger appliances. We have finally reached a point where Matthew no longer opens up and dumps the flour on the floor (he’s too busy with his fruit) so that’s sort of a good thing I guess. Behind the door there is our family calendar and bulletin board/ command station

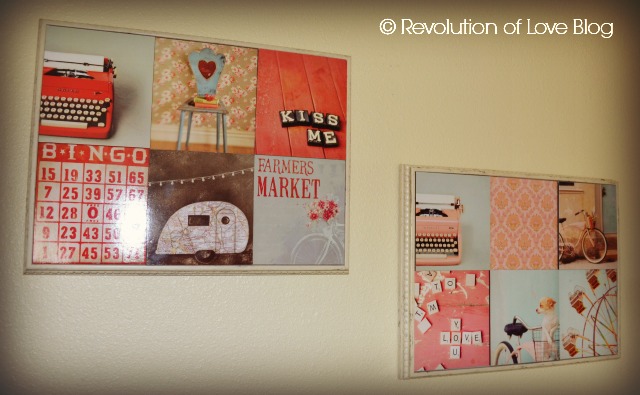
Finally, these pictures are the latest things I’ve added to the walls.

These two are my favorites. I looove the retro feel. I picked them up awhile back at my favorite store. (Target, for any newcomers. ;-))

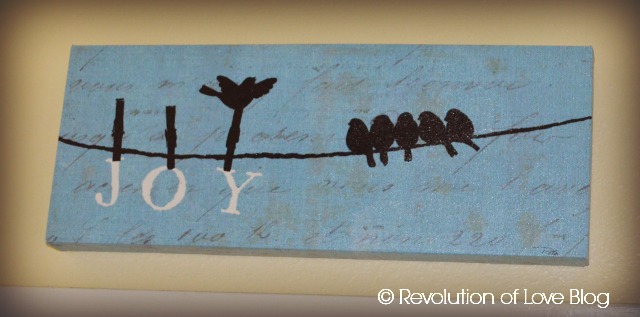
I need this reminder ALL. THE. TIME. (Picked up at Hobby Lobby.)

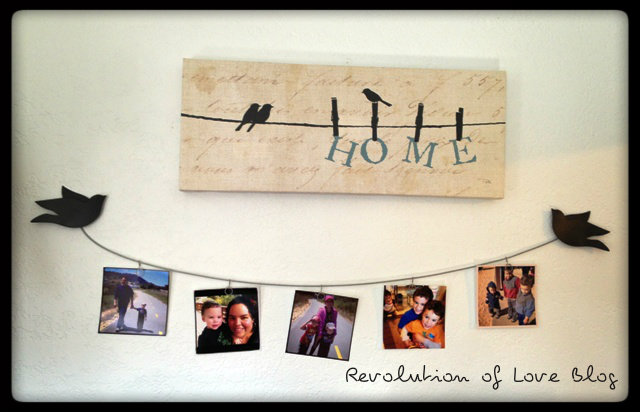
I saw this at Staples (of all places) for 75% off. I love it because it has six birds, the size of our family, and because it matches the bird “home” decor in the family room.

Okay, I think I have subjected you to enough photos for the week so I better sign off. Thanks to Cari and LMLD for hosting!

PS – Don’t forget that next Tuesday is our Pinterest Party. Share your creativity! (Or epic fails. ;-))

Follow on Bloglovin


Operation Clean and Organize: Vol 15 – Bulletin Boards & Wall Photos (Part 1)

Taming the procrastinating, ADD, mess cat within me.


It has been quite some time since I have worked on Operation Clean & Organize. Now that the kids are back in school I have been able to snag a free ½ hour here and there to work on a project. Seriously, my biggest obstacle is the upkeep. I’ve been trying to take a few moments each day to clear problem areas but my whole house could be considered a problem. However, I must admit the areas I’ve already organized are sooo much easier to keep clean on a daily basis.

I finished a small project and I especially love when I can get rid of a mess and add a touch of simple beauty instead. As you may remember, I organized the “school” bookshelf in the family room. Beside it we have a shorter shelf of kids’ books as well as a section for baby supplies like diapers, wipes, tissues etc. We recently moved the kids’ two fish tanks to the family room on top of that shelf. Originally, above the shelf, I had a large cork board with our family calendar, Brian’s schedule, church bulletins and various other information. Unfortunately, to make room for Rocky and Spike’s tanks I had to raise the cork board and it became impossible to use. Besides, since putting together our Home Management Binders, I really didn’t need all that info displayed on the wall since I had it in a central location in the binders. I didn’t take a before photo but you can get a little glimpse of the cork board on the wall before I added the fish tanks. It looks so cluttered and messy. (Photo courtesy of John-Paul, who likes to go around the house and take countless random photos with my iPhone.)

board_2b.JPG
I removed the board off the wall and found a smaller unused cork board I had stored in my closet. I hung it up in the kitchen behind the swing door that leads to the family room. Below it I added the family calendar. It’s nothing fancy but it serves its purpose.

board_1.JPG
Next I had to decide what to do with the blank spot where the old cork board used to be. I loved the ideas Postal Pix had on their Pinterest board where customers hung up their Instagram photos on what looked like a garland clothes line such as this:

post_pix1.jpg

Source:

http://pinterest.com/pin/155514993353528263/

post_pix2.jpg

A couple weeks ago I was browsing Target (a favorite pastime) and found this cute photo display with two birds holding up a line for your photos. (There were three more birds but I’m debating whether to add those or not.) Then I saw an unframed canvas with a picture that had the same theme. I loved the work “HOME” and thought they would look perfect together. Here is the result.

bird_3.JPG
So now instead of that ugly, unsightly corkboard I have this cute reminder of the people that make our house a true HOME.

bird_1.JPG
PS – If you want to know where I prefer to print my Instagrams, see this post.

2_signature.jpg


Operation Clean and Organize: Vol 14 – Home Management Binder Part 3: Meal Planning & Finances

Taming the procrastinating, ADD, mess cat within me.

I have been working on putting together a Home Management Binder(s). Previous posts include:

Part 1 – Daily Planner

Part 2 – Main Household Binder

This is Part 3 Meal Planning Binder & Finance Binder

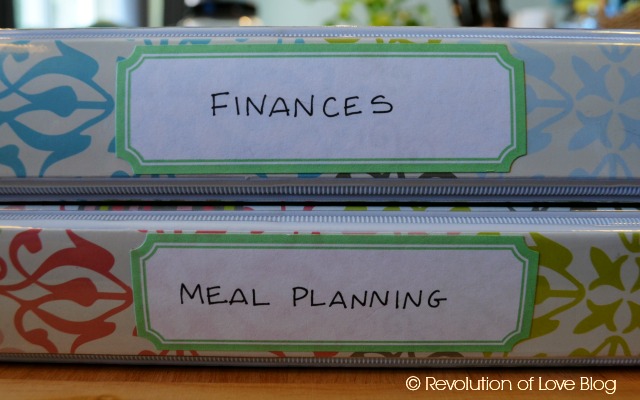
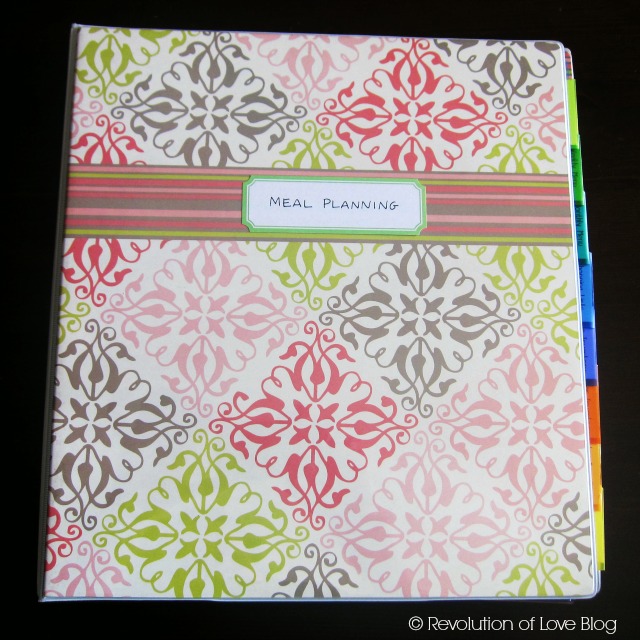
I found two binders that had the same design but in slightly different colors. They still matched well with my main green binder.


My Meal Planning/Shopping/Pantry Binder

I think this is my favorite binder since I use it so often. I like that it is separate because all these various things in one big binder would be too bulky.


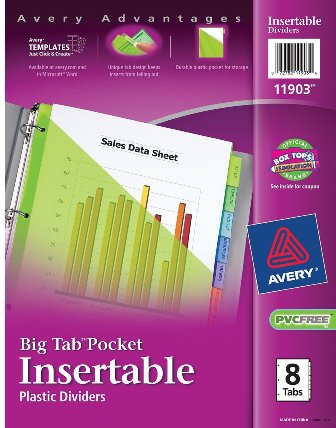
As with my main binder, I purchased Avery Plastic Dividers with Slash Pockets (11903).

dividers
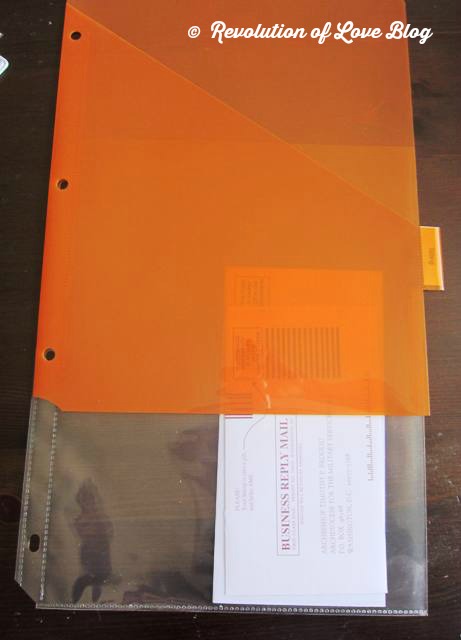
I forgot to mention in my other post, that I also liked these dividers because they were wide enough to accommodate clear sheet protectors. Your divider titles aren’t covered up by wide sheet protectors.

Revolution of Love Blog - dividers2W
I divided up my main binder into eight categories.


Also, like my main binder, many of these sheets came from iheartorganizing.blogspot.com’s etsy shop.
Here are my headings.
1. Brian’s Work Schedule

  • (I like to keep track of the days Brian works the late shift because I’ll need a dinner I can serve in two shifts – earlier for the kids and later for Brian and myself. )

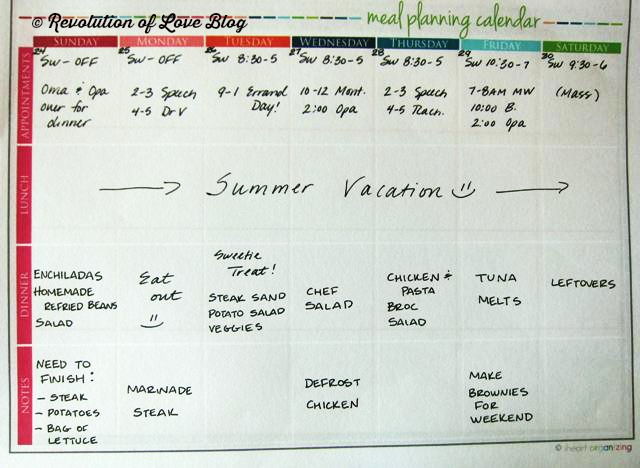
2. Weekly Menu Planner
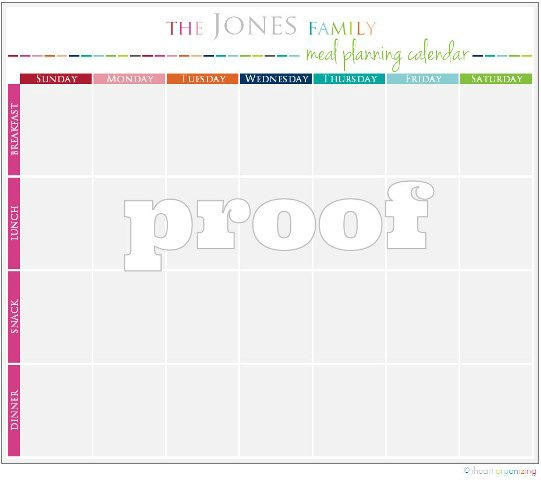
Originally this worksheet (that I purchased separately) had the categories of Breakfast, Lunch, Snack and Dinner.

Revolution of Love Blog - meal_3W
I requested that my categories be changed to Appointments, Lunch, Dinner and Notes. On less busy days I can plan meals that take more prep time. During the school year, I keep track of the school lunch menu and which days I pack lunches and which days they are allowed to have hot lunch. In the notes section I make note of days I have to defrost or marinade or if a food needs to be eaten before it expires.

Revolution of Love Blog - meal_4W
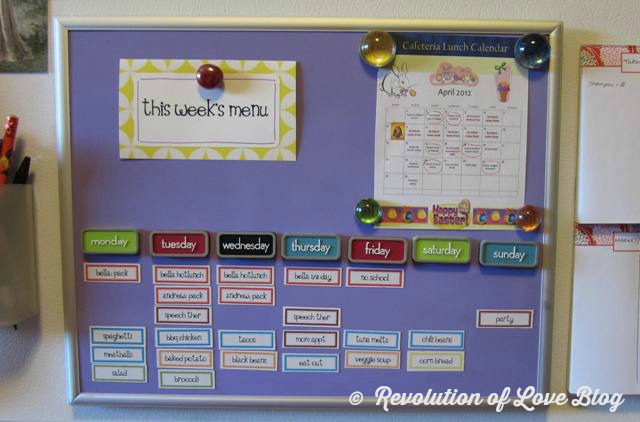
Once I have the week’s meals planned out, Bella likes to update the Magnetic Weekly Menu Board on our fridge so the family knows what we are eating that week.
Revolution of Love Blog - menu_4W
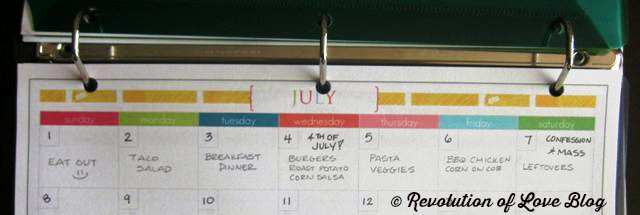
3. Monthly Menu Calendar

Revolution of Love Blog - food_monthW

  • At the end of the week I jot down what dinner meals we ate on a master monthly calendar. I like to look over it to note how we’ve been eating – Too much red meat? Not enough fish? Too much Mexican? Overkill on chicken? Haven’t had a breakfast dinner in awhile? Ate out too much? It helps me plan meals for the next week, especially when we are in a meal slump.

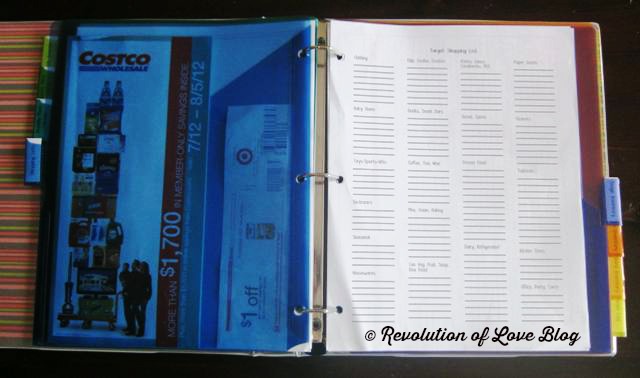
4. Shopping Lists (With a pocket for coupons.)

  • I don’t use coupons very often but for the times I do, I use the divider pocket to hold them.
  • I printed out the shopping lists I normally use and added them to the binder.

Revolution of Love Blog - food_shopW
5. Fridge Inventory

  • This is especially helpful since I have a second fridge in the garage.

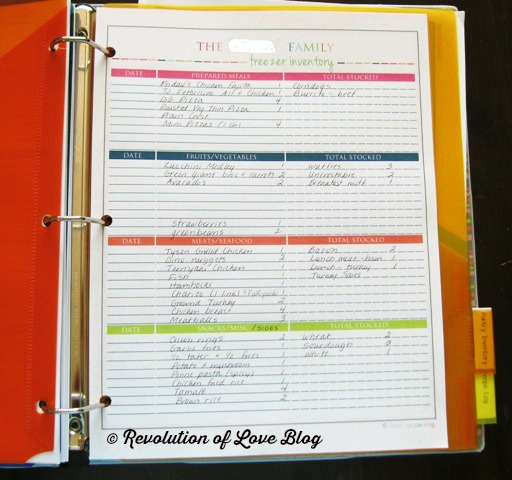
6. Freezer Inventory

  • This is especially helpful since I have a second freezer in the garage.

Revolution of Love Blog - food_pan_1W

Sample Inventory

7. Pantry Inventory

  • This is especially helpful since I have a second pantry in the garage.

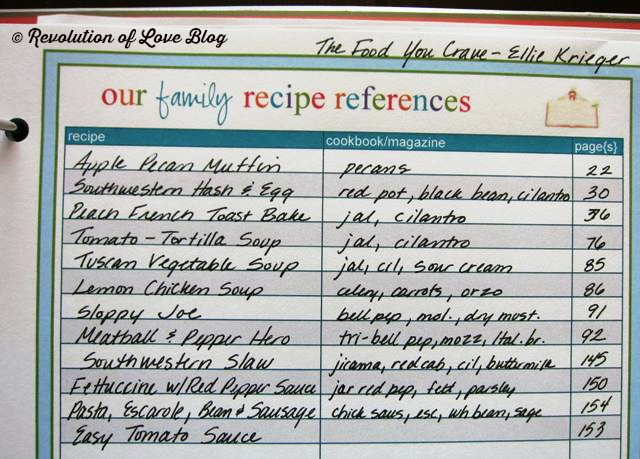
8. Recipe Log


  • I wrote down the recipes I wanted to try. I also listed any ingredients that I needed to buy fresh or that were not always in my pantry. When I need a meal idea I can look over the list or if I have an item that needs to be used up, whether chicken or cilantro, I can pick a recipe using those ingredients. Just another way to make my meal planning a little easier. (Note to self – Update the ingredients for the french toast. Jalapenos and cilantro not required. 😉 )
Revolution of Love Blog - recipe_1W

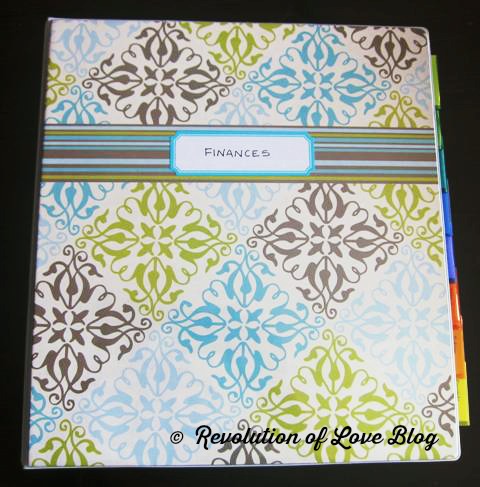
Finance Binder

It took me awhile to get my finance binder organized in a manner that works for me but here it is.

Revolution of Love Blog -  finance_mainW
I used the same dividers as above and made eight categories.

Revolution of Love Blog - finance_tabsW
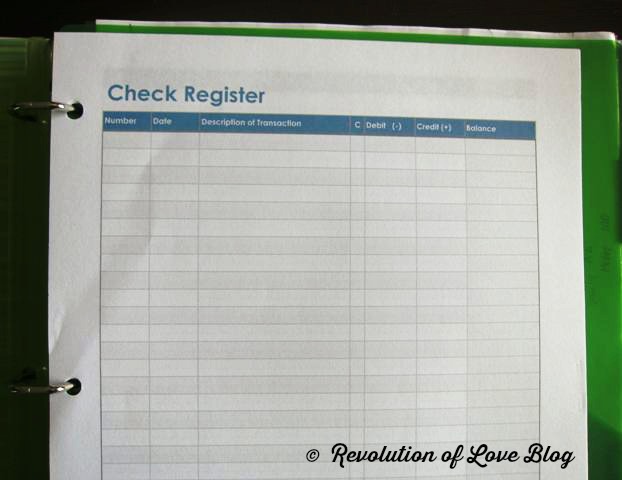
1. Check Register

  • I wanted to be able to keep my check register in my binder so I used an Excel template to make one that fit on standard size paper. It works a lot better for me.

Revolution of Love Blog - finance_regW
2. Accounts/ Funds

  • I keep track of how much money I have in our bank accounts.
  • I also keep track of the money in my “little funds” that I save for during the year. For example, each month I set aside a certain amount for my “Christmas fund” and my “one-day-i’m-going-to-visit-my-sis-on-the-east-coast fund.”


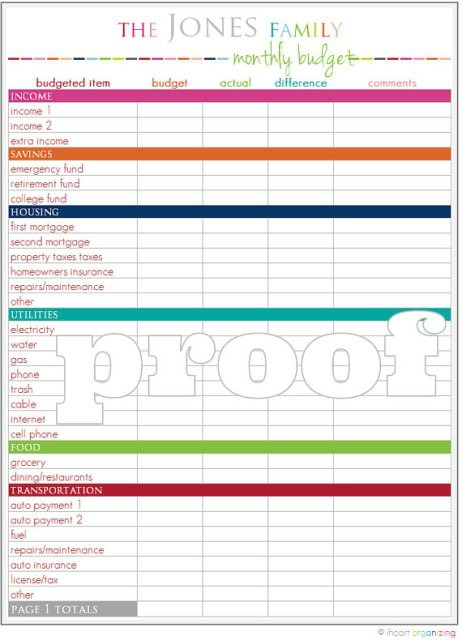
3. Monthly Budget

  • I keep track of my monthly and yearly budget.

budget_1Sample page 1 of 3 available from the iheartorganizing shop.

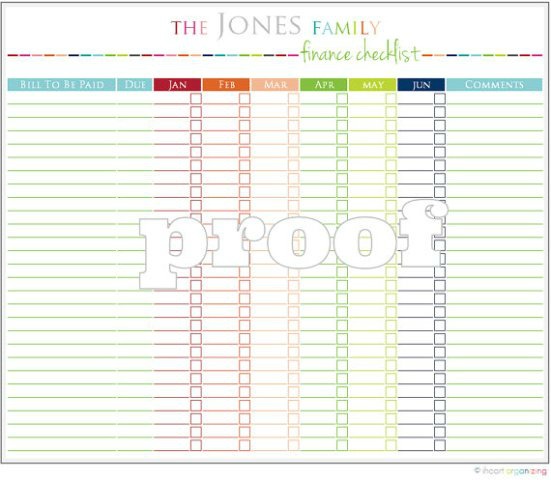
4. Bills to Pay

  • I keep track of the bills that are due.
  • When a bill comes in the mail I slip it into the pocket divider and add the amount to my monthly bill list.
  • I am terrible at remembering to pay bills on their various due dates so for any bill that I don’t have automatic payment, I have one payment date. On the 15th of the month I pay everything that will be due in the next 30 days.

finances_list

Sample Finance Checklist from iheartorganizing.

5. Medical

  • I keep track of medical expenses, speech therapy etc.

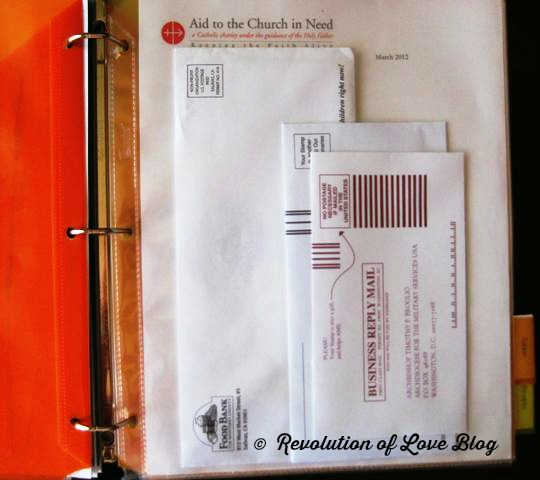
6. Tithing

  • In a clear sheet protector I keep the solicitation envelopes of charities we’ll be donating to that month.
  • In a clear sheet protector I keep any donation thank you letters we receive that we may need at tax time.
  • (Before I got married I worked for Phil Lenahan and he had a ministry helping families to not only get out of debt but the importance of linking your faith and your finances together. He taught me the importance of tithing in the spiritual life and it has stuck with me over a decade later.)

 Revolution of Love Blog - inance_titheW
7. Tuition

  • For the kid’s schooling.

8. Receipts

  • I have a clear sheet protector for temporary receipts that I may need for returns. Once a month I throw out any expired receipts.
  • I have another sheet protector for receipts of big ticket items that I need to keep.
Organizing Inspiration

Well, that’s it! I hope you enjoyed taking a look. If you are making your own Household Binder(s) and you need more ideas of what to include, I found a lot of ideas and inspiration from Dawn over at By Sun and Candlelight. If you click on the Organization category you’ll see her awesome files and binders and homemaking fun. (Although, I originally fell in love with her Downton Abbey discussions.) This post is particularly great for figuring out which subjects to add to your binder.
Do you have a favorite organizing blog? Share it with me! I need to be constantly inspired so I’ll continue this quest of organizing and de-hoarding my home!

Free Printables
  • Although, I purchased most of my forms, there are also a number of free forms you can download from iheartorganizing blog, including the Recipe Reference Sheet pictured above.

That’s it for now. Next week I’ll post about my Blogging/Project Binder. Please feel free to leave your comments and tips!

PS – This post may contain affiliate links.