UPDATE: This post is about the 2018-2019 Blessed Is She Planner, which has sold out.
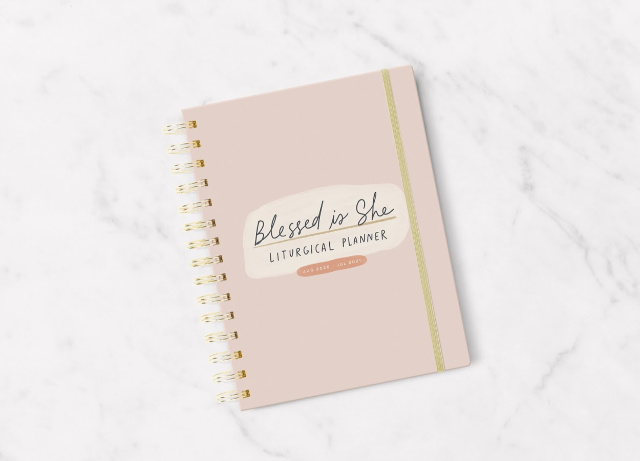
The new 2020-2021 Academic Planner (Aug 2020 – July 2021) is now available for pre-sale at a reduced price. Order your planner in the regular size or mini size in the Blessed Is She Shop: Planners. However, the information below is still useful for ideas of how you can use your planner.
* * * *
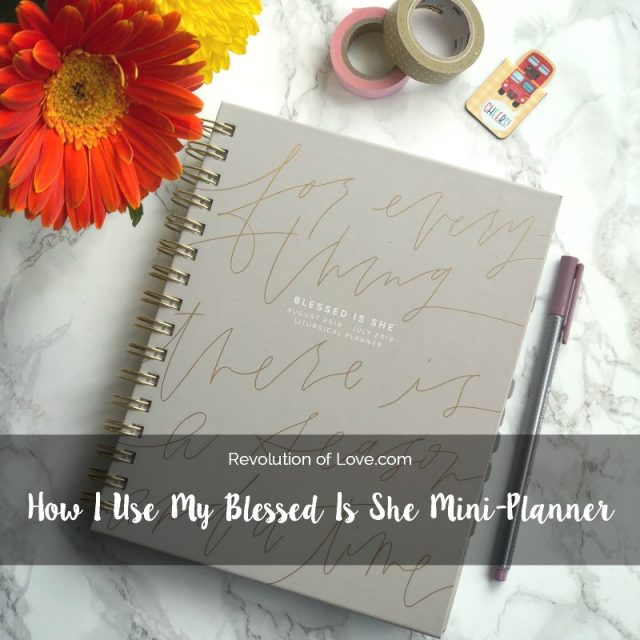
Last year, I shared with you how I set up my 2017-2018 Blessed Is She planner. I’m excited to be here once again sharing, but this time with my MINI Blessed is She 2018-2019 Liturgical Academic Year Planner. For the last two years I have been using the regular sized (8 x 10) Blessed Is She Liturgical Planner and although I loved it, I preferred it to be a little smaller and easier to take with me out of the house. So when the smaller size (6.25 x 8.25) came out, I was ecstatic. I finished setting it up and am eager to start using it next week!
Although there is no need to decorate your planner, I love to add a little color and embellishment to make it my own. (The inner 8 year old in me still gets giddy with cute stickers.) 😉
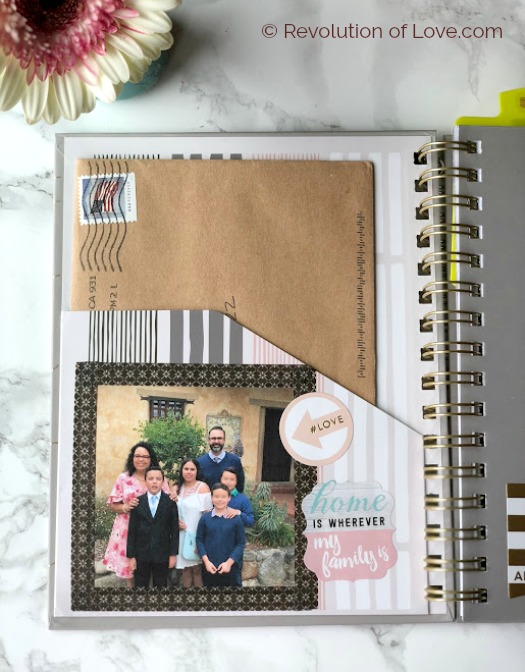
Inside the front cover there is a pocket for loose items such as papers or letters. (Remember those?!) I added a photo of my family for a little inspiration to remind me that I am working at being more organized because it makes our family life run smoother. (Confession: I’m actually naturally scatterbrained and unorganized. I use a planner to combat that and bring a little more order into my life.)
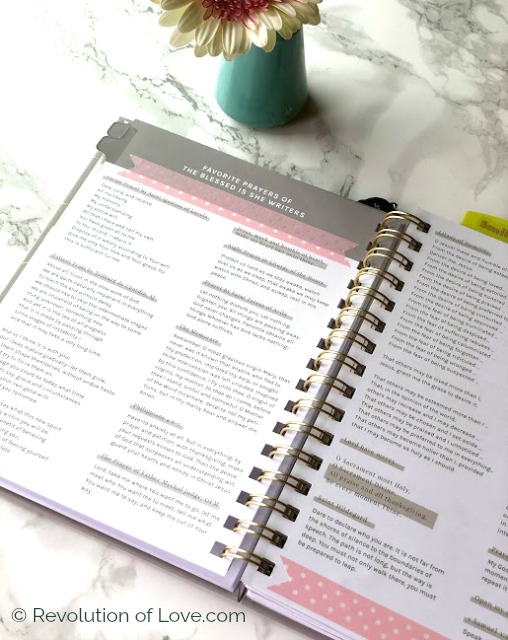
In the prayer section I added a little washi tape for color.
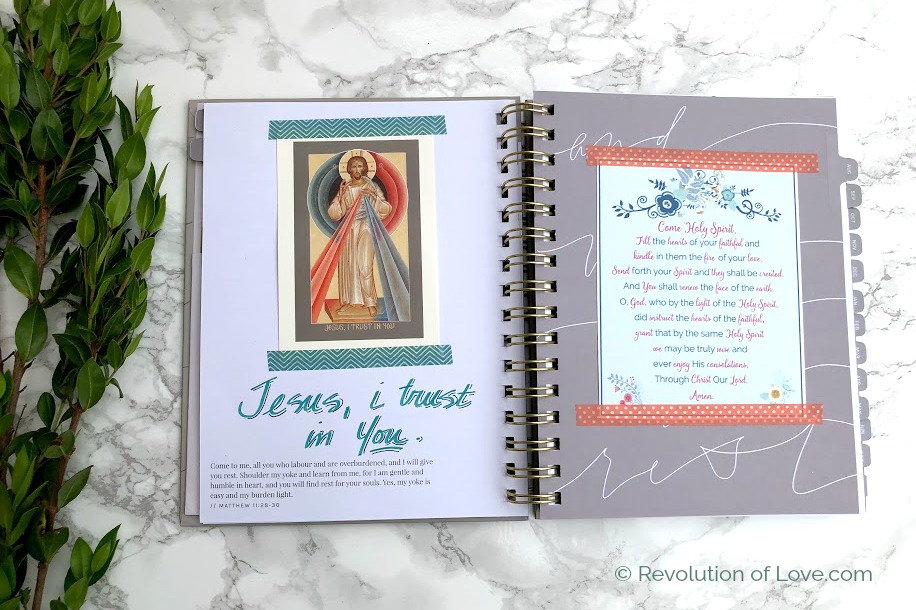
After the prayer section I added once of my favorite prayers – Come Holy Spirit – and my current favorite invocation – Jesus, I trust in You.
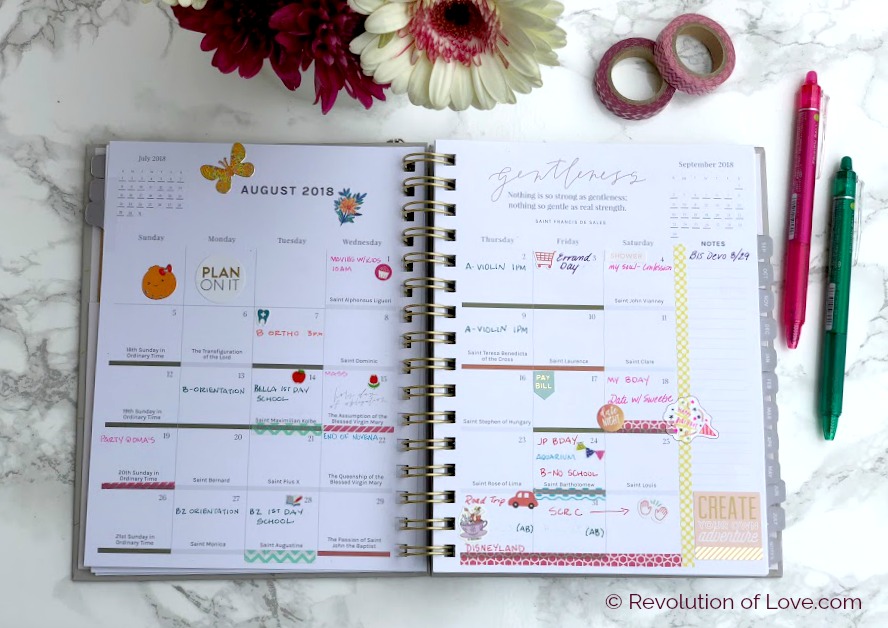
For my calendar, I like to color code my items. Green is school or lessons. Orange is medical appointments. Pink or Red is special occasions or something I need to attend.
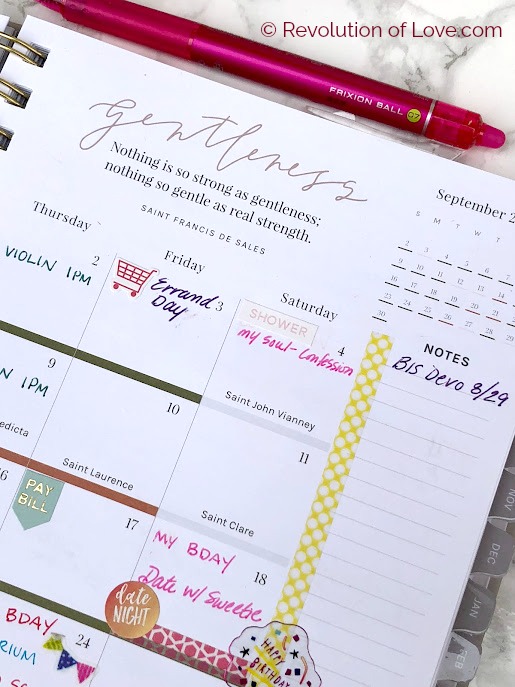
Washi tape and stickers add color and clarification. For example, I “shower” my soul with Confession on First Saturday. I chose one day (the 17th) to may my monthly bills. I mark violin lessons and birthday dates, etc. 🙂
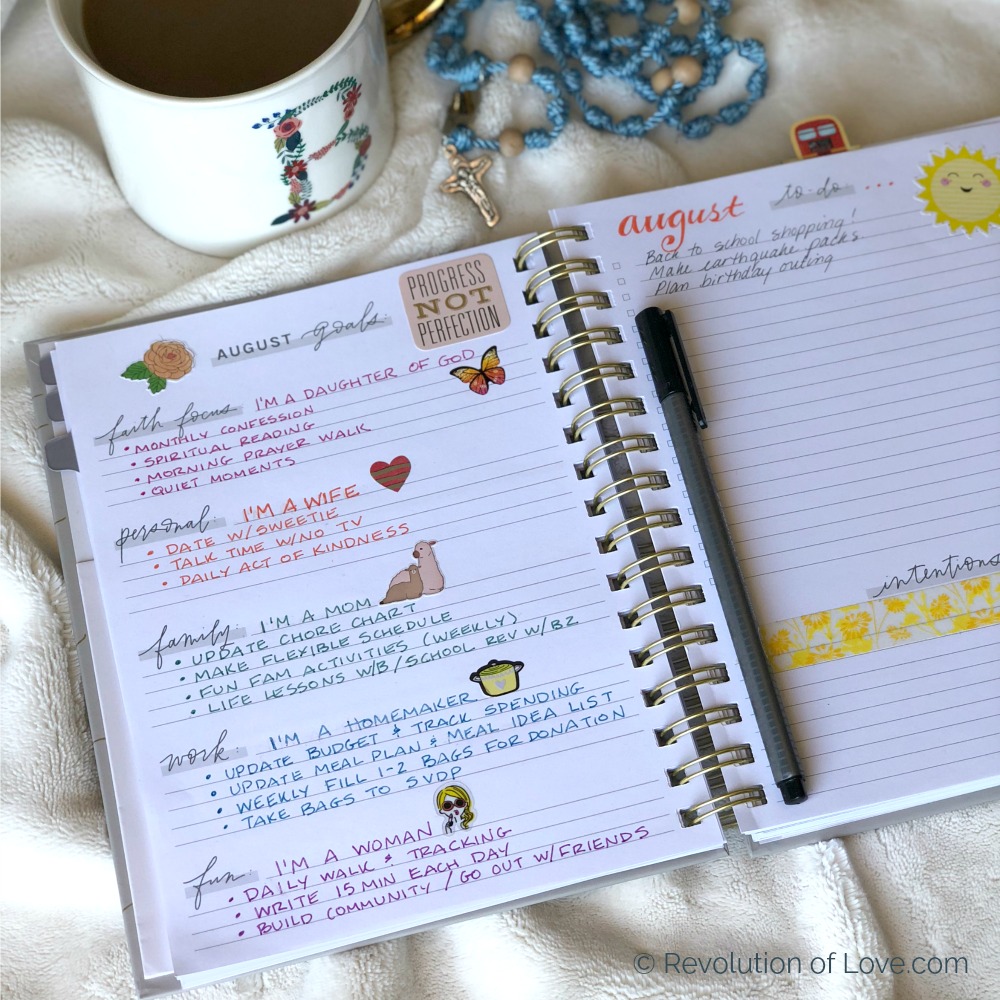
As I explained in my last goals post, because I am a little scatterbrained and I love making goals to help me stay focused and organized. Otherwise, the days just slip away from me and I feel like I’ve been busy but haven’t really accomplished much. I explained how I make big goals and then divide those into bite size actions.
If you are just starting out on making goals, then I recommend you keep it simple and concrete. Chose one thing in each area listed in the BIS planner. Then make sure it is a tangible action and not too vague. For example, for your “faith focus” you may want to write down pray more. That’s a great goal but a little vague. Get more specific. Instead you could write… I will set my alarm 10 minutes earlier to read the Scripture and daily devotion. Or on the my commute to work I will turn off the radio and pray the rosary. Or while I am nursing the baby at 3pm (or 3am) I will pray the Diving Mercy Chaplet. Get it? Be specific.
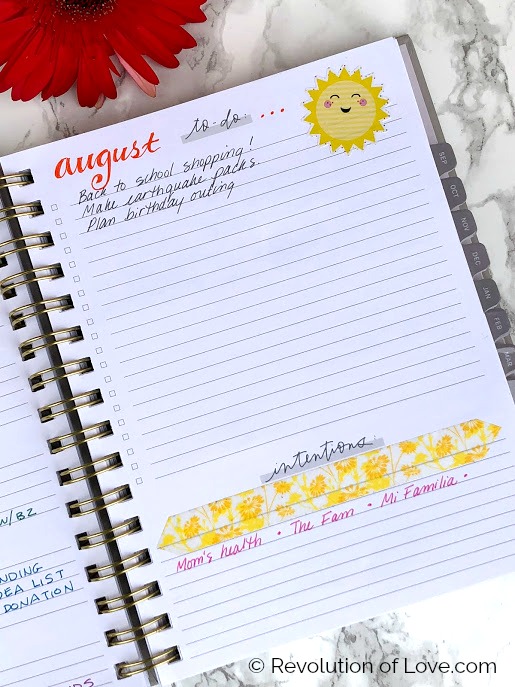
Next, at the beginning of the month I brainstorm all the things I need to do that month. Later I can assign those items to a specific week or day.
Lastly, I can add the prayer intentions that are on my heart that month. (And if you’re wondering, I refer to my immediate family – hubby and kids – as my fam. Mi familia is my extended family – parents, siblings, etc.) 🙂
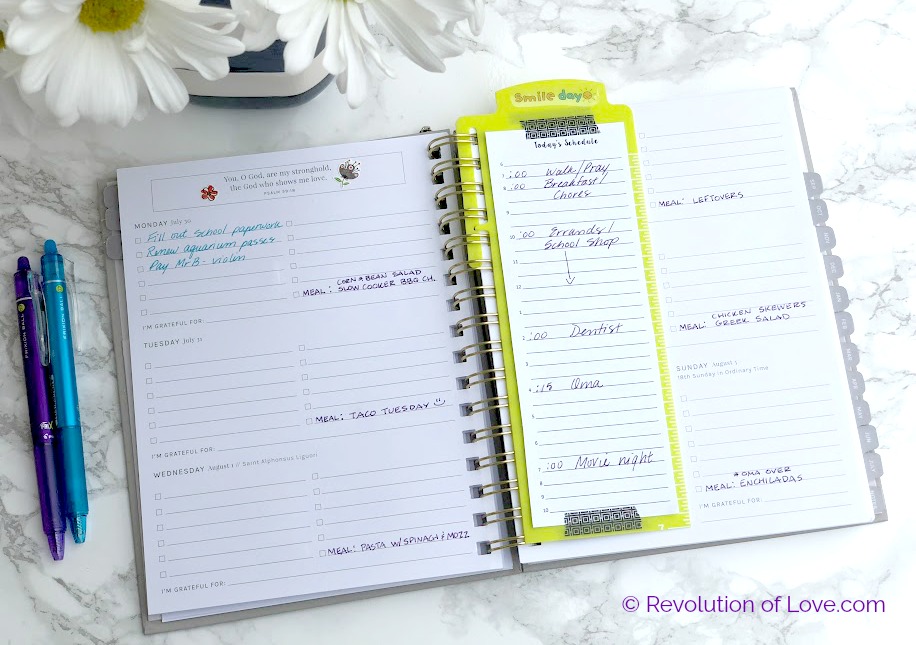
The weekly spread is where I will be spending the most time. I like that I can see the week at once and if I don;t finish Monday’s items I can just keep working on them Tuesday. I also love the boxes that allow me to check off items as I finish. (I’m a lists girl!) At the end of the day it is great to not just focus on the to dos and didn’t dos but to be thankful for the good that happened and record it in the gratitude section.
Now, the only drawback about getting the mini is that in order to keep it small, you have to give something up. The mini doesn’t have the same weekly overview – meal planner, grocery list and notes section – as the large planner. Plus, it does not have the daily hourly schedule. This is how I modified my planner to make up for that.
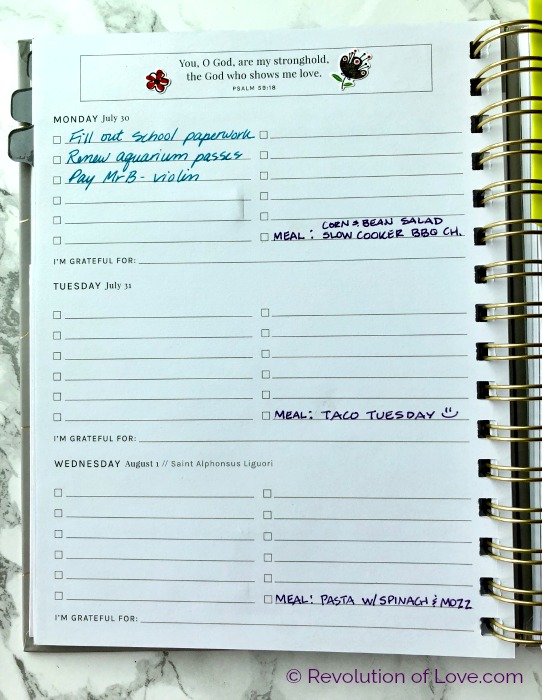
For my menu, I simply used the last line in each day’s list to add the dinner meal of the day.
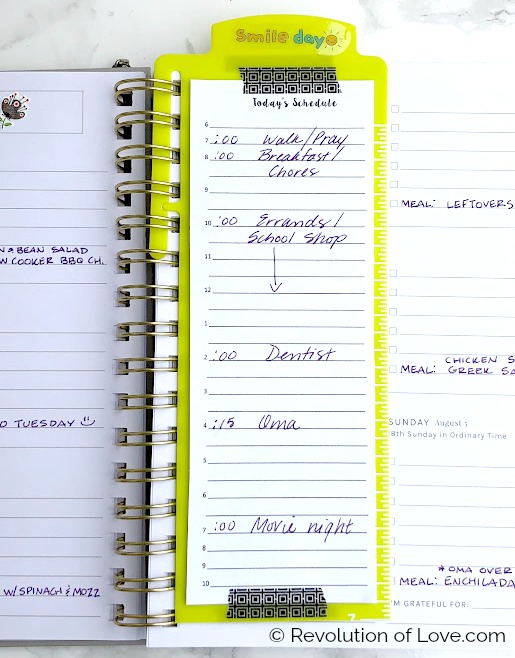
In my planner I usually use magnetic bookmarks to hold my place. This year I wanted to try a clip on bookmark. I couldn’t find one that worked well until I found these Write and Erase Spiral Slide-In Bookmarks from Avery. I ordered a pack from Amazon and at first they seemed too wide and definitely way too long. However, I simply cut off the bottom of the bookmark to make it shorter. Then I realized that it could also help me to solve the daily schedule issue.
While I did not always need a daily hourly section like the larger size planner had, there were some busier days when it would be really helpful. I decided to make my own hourly schedule. I was going to just paperclip it to the page but now the bookmark is a perfect spot for it! I simply made one in Word, printed it out, cut it to size and washi taped it to the bookmark. I keep extras in the back cover pocket for the days I need one and skip it on the days I don’t.
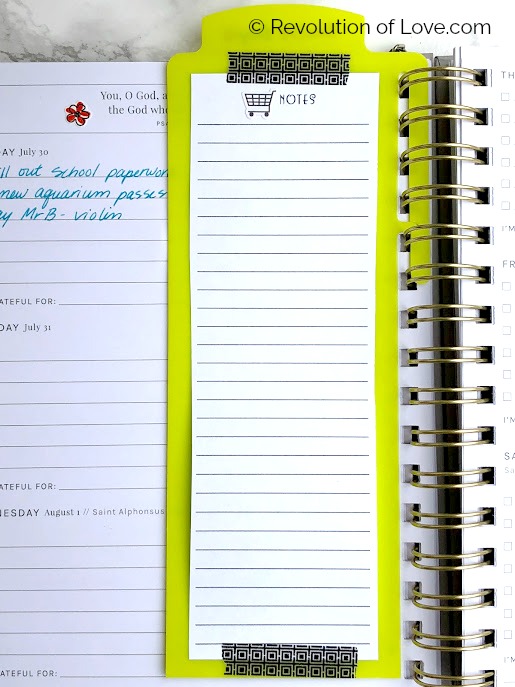
I also made a printable with a notes section for anything I needed to jot down, such as items to add to my shopping list or info to add to my bullet journal. The “notes” title is a little off to the right so I could add a sticker. (#nerd 😉 ) I washi taped it to the opposite side of my bookmark.
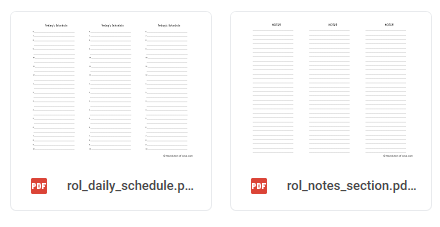
If you want to print out a copy for yourself, I made them available in my Google Drive folder. Here is the Daily Schedule and here is the Notes Section. Then you can order the same bookmark or simply us a paper clip to add it to your weekly section. (Note on the bookmark: It is a bit loose since the insert tab is shorter than the length but so far it hasn’t been a problem.)
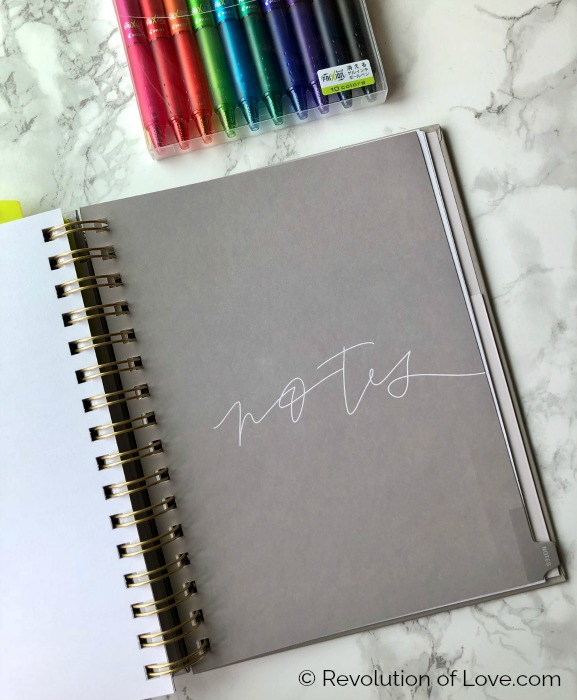
Lastly, in the back of the planner if a notes section with lined pages and another back pocket. Love it.
Well, that is the basics of the planner. If you use a section differently than I do, please share it with me. I love to get new ideas!
UPDATE: I walked through my planner on Instagram. You can find the planner story in my highlights here.
Planner Supplies
(NOTE: Revolution of Love is a participant in the Amazon Services LLC Associates Program, an affiliate advertising program designed to provide a means for sites to earn advertising fees by advertising and linking to Amazon.com. I purchased these items on my own and am sharing my honest opinion about them.)
I am constantly asked what kind of pens I use or where do I get my stickers. I have a whole post answering those questions here – My Favorite Stationary, Pens, Stickers and Planner and Hand Lettering Supplies.<.span> However, here are a few relevant items from the post.
Erasable Pens

 ***
***  ***
***
 When I write in my planner, I MUST be able to erase. I used to use pencil until I found these awesome erasable pens. I have three sizes:
The thicker Pilot Frixion Colors Erasable Markers. I like these for my bullet journal but not so much for my daily planner. I prefer a thinner point.
The thinner Pilot FriXion Pencil, 0.7mm Ballpoint Pen, 12 Colors Set. (Also available in the 24 pen set.) These are great.
However, my favorite for my daily planner is the thinnest version – Pilot Frixion Ball Knock Retractable Gel Ink Pen, 0.5mm, 10 Colors Set.
(One note: It has been said that the ink of these pens disappear in extreme heat but the ink will reappear if book is placed in the freezer. I have never had an issue but I also don’t live in extreme heat.)
Colored Pens


If you don’t want to use erasable, these are my favorite regular thin pens. – Staedtler Color Pen Set, Set of 36 Assorted Colors


If you don’t need as many as 26, this 20 pack of Staedtler pens is nice and it comes with a cool plastic case that can stand.
Pen/Pencil Cases
I’m (almost) embarrassed to tell you how many pencil pouches and cases I have! 😉 You can find them in stationary stores, the Target school section (I got a cute R2D2 one last year), cosmetic sections (yes, I’d rather have a bag of pens over a bag of makeup) or find something online. Here are a few of my favorites I ordered on Amazon.


Weapons of Mass Creation Pouch – Love this. It’s available in three sizes. 🙂
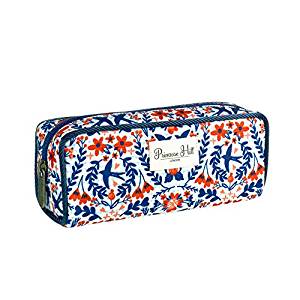
I just purchased this summery Primrose Hill Nautical Birds Collection Cosmetic Pencil Case. So cute!


I use this Designed for Arrangement pencil case as a little traveling pen/pencil holder when I need a variety of pens and office items to take out of the house.
Spiral Bookmark
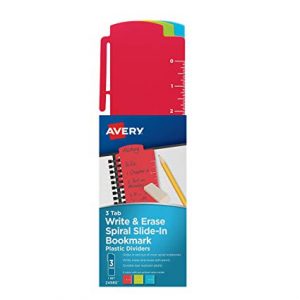
Avery Spiral Slide-In Plastic Bookmark Dividers – These are the ones from above. They come in a pack of three.
Magnetic Bookmarks/ Bookclips


London Magnetic Bookmarks – These little book magnets are cute ways to mark my pages. 🙂


Harry Potter Page Clips (I bought these at Target but they sell the double pack on Amazon.)

I LOVE these Star Wars book markers. I change them around my planner to suit my mood. (Darth Vader hangs out by the Mondays. Han by the Fridays. 😉 ) You can find them at HappyHelloCo at Etsy.
Charms
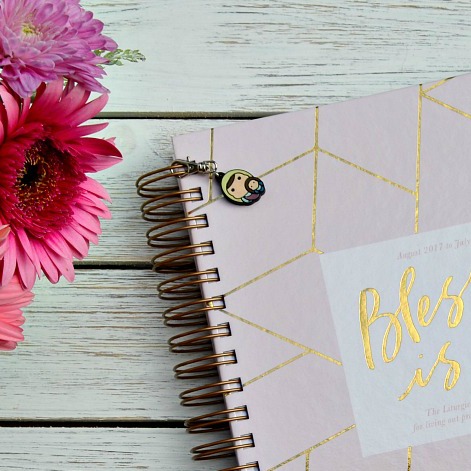
Tiny Saints Charm – (Pictured with last year’s planner.) We have lots of these cute saint charms on backpacks and adding my patron saint (also patron of mothers) to my planner seemed appropriate. 🙂
Monthly Sticker Subscriptions
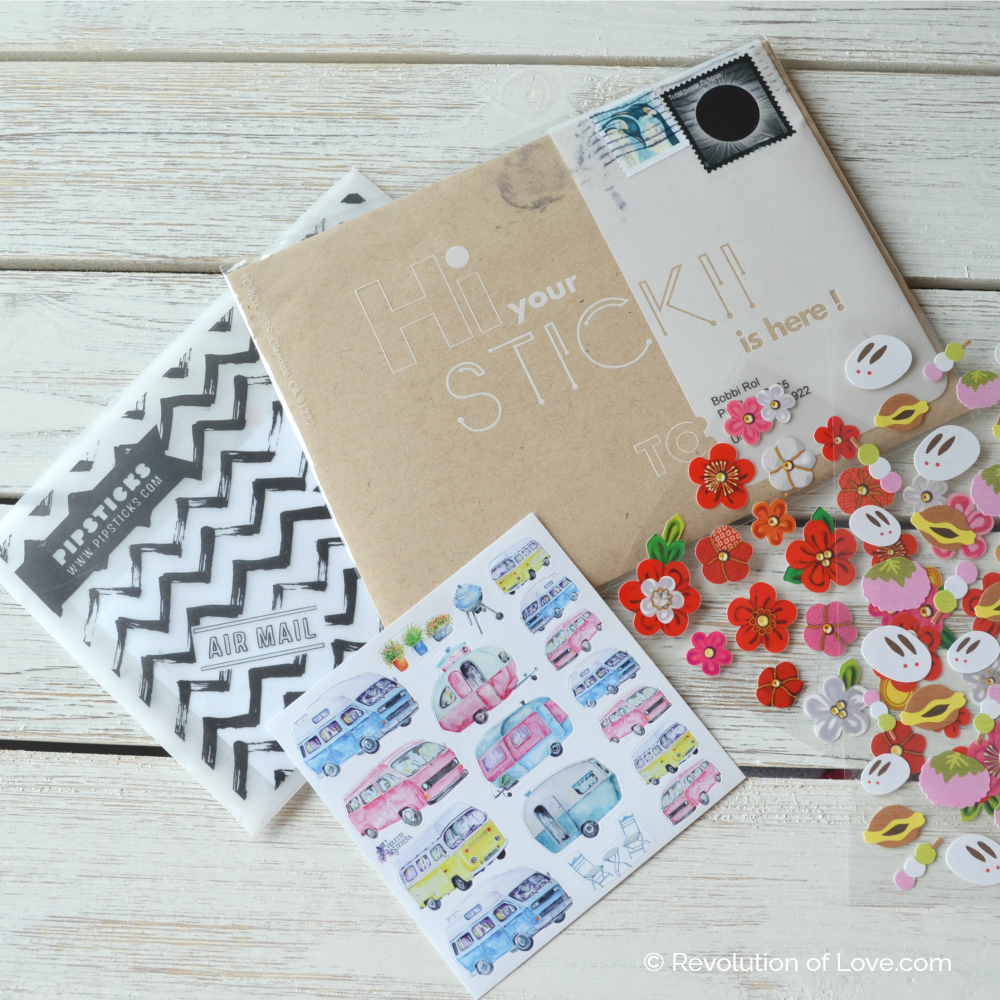
I re-live my childhood by continuing my sticker collection. I use them to decorate my planner, bullet journal, snail mail and more. These are two monthly sticker subscriptions that I love.
Pipsticks – There are two different subscription packs: Kids and Adults Pro Club. The Classic Pro Club pack includes 15 sheets of stickers, 1 postcard and 1 quote card. Cost is $14.95. The Pro Club Petite pack includes 7 sheets of stickers and 1 mini quote card. Cost is $9.95.
Stickii Club – There are three different subscription packs for you to choose from: Cute/ Retro/ Pop. Each pack includes 5 or more sticker sheets, 1 bag of sticker flakes, and sometimes an extra stationery item. Cost is $10 a month.
Planner Stickers
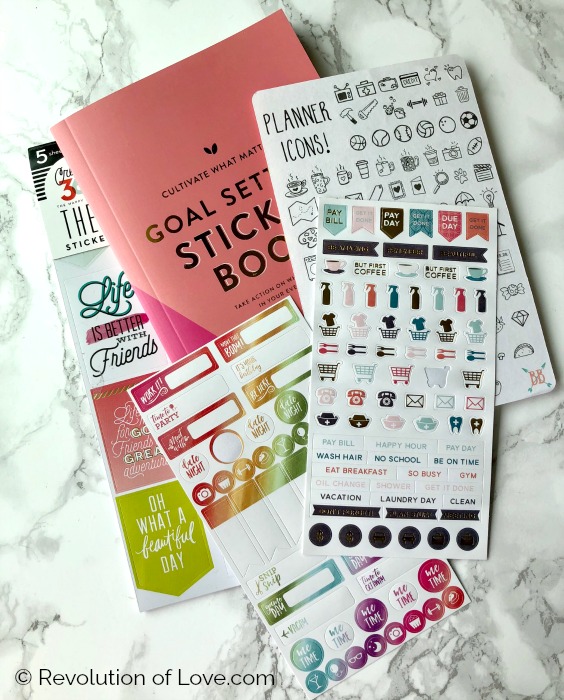
You can pick up booklets of planner specific stickers at many places. I have found my best luck at Michael’s and the Target Dollar Bin. I also use stickers planner from Lara Casey and BohoBerry.
Washi Tape
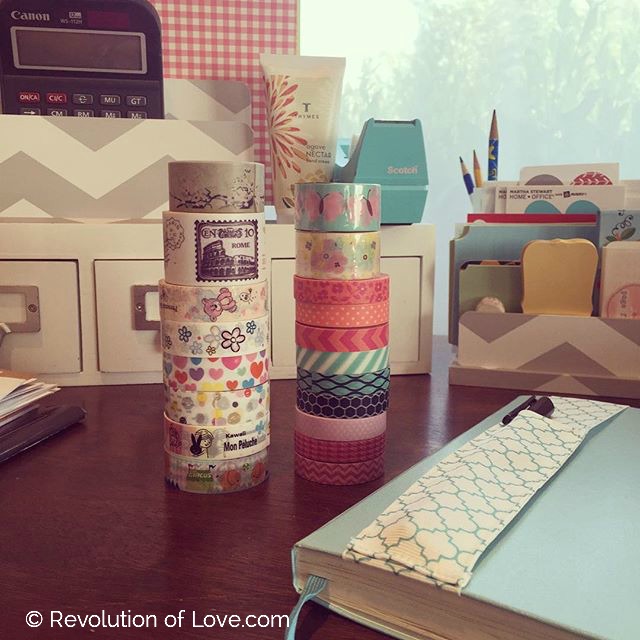
Washi tape can be found at most stores that carry stationary, including Target. I usually wait until Michael’s puts them on sale or clearance or use one of their weekly coupons. You can also order cute washi on Amazon.
I hope you enjoyed this overview! If you’d like to purchase the MINI Blessed is She Liturgical Academic Year Planner or the regular size, now is the time before they run out! Plus, right now there is free shipping on orders over $25. Can’t beat that!
Planner Goodies Giveaway
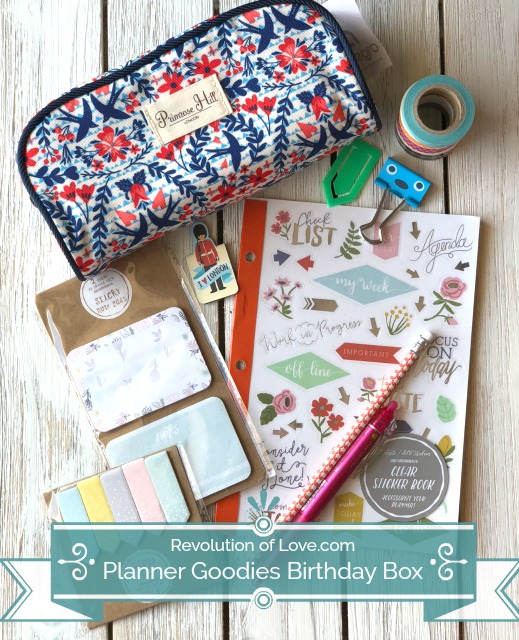
If you are already using the planner, I hope you have as much fun as I have been! And to make it a little more fun, I am doing a giveaway to celebrate my birthday month (August.) What better way to celebrate another year of life than with some fun planner goodies! (I told you I was a nerd.) 😉 You can enter using Rafflecopter. The prize is a package of planner goodies including – the Primrose Hills pencil case listed above, rolls of washi tape, planner stickers, a magnetic bookmark, page clips, pencil, and a Frixion pink erasable pen.
a Rafflecopter giveaway
UPDATE: Thanks to all that played along! Congrats to the winner Holly and the (added) second place winner Kristen. 🙂
Good luck and happy planning!

PS – You can follow RoL on Bloglovin, Feedly or another news feed. If you are a social media fan like me, we can stay in touch through Facebook, Twitter, Instagram, Pinterest, GoodReads, Letterboxd, or Spotify, 😉
PPS – Disclaimer: This post contains affiliate links.
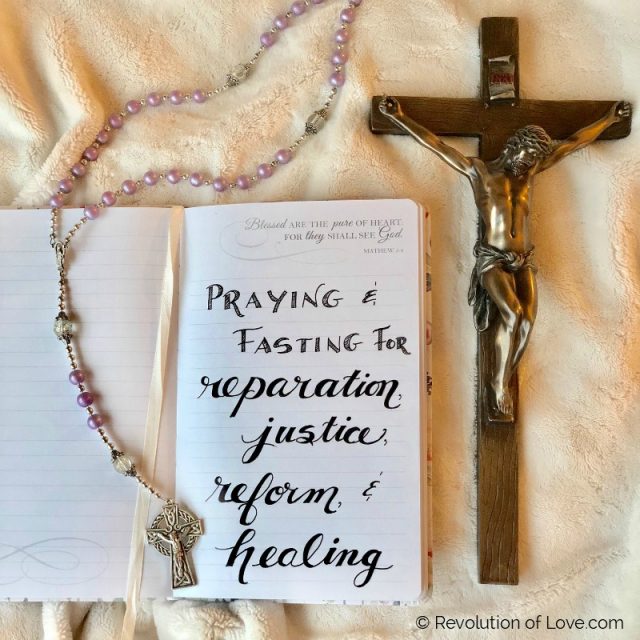


 Lastly, I know some of you who are reading this have been abused yourself and the news has triggered the trauma of reliving it. I am especially praying for you too. If you’d like me to pray for you by name, feel free to email (rol at revolutionoflove.com) or message me on social media. (You can find me at all the usual places as bobbi_rol. You can find the links below my signature.)