Sorry that I missed the last Pinterest Party. I have been on a blogging break but the party is back! This week I am sharing about one of my favorite blogging tools – PicMonkey. 🙂
Welcome to the RoL Pinterest Party. Join me every 2nd and 4th Tuesday as we link up and share how we made, cooked, baked, crafted, planned, organized, followed or created one of the pins on our Pinterest boards OR share something original that others can pin onto their boards.
Not on Pinterest? No problem. Link-up your own creation to inspire us so we can pin in to our own boards. It can be a recipe, sewing project, Catholic craft, homeschool project, organizing/ homemaking tip, themed birthday party, whatever you’d like.
Don’t have a post ready? The link-up will be open for 10 days so there’s still time. Plus, feel free to link up a new post or an older post that hasn’t had much traffic lately. 🙂
* * * * *
A fellow blogger was asking me how I liked PicMonkey and since I’m a big fan I thought a quick post about how I use it blogging would be fun. Although I have Photoshop, for my everyday blogging I use PicMonkey 99% of the time. Here are the top ways I use it.
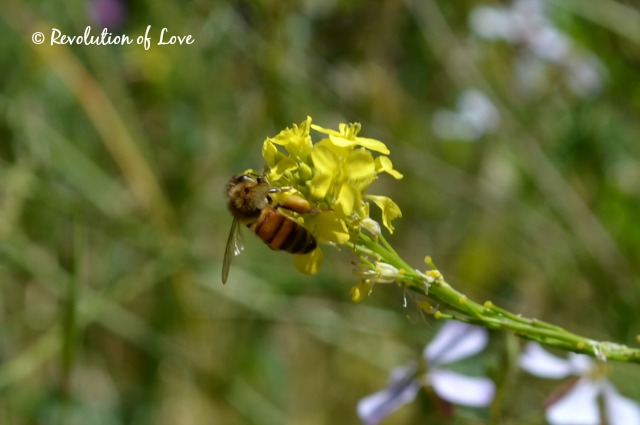
Crop & Edit
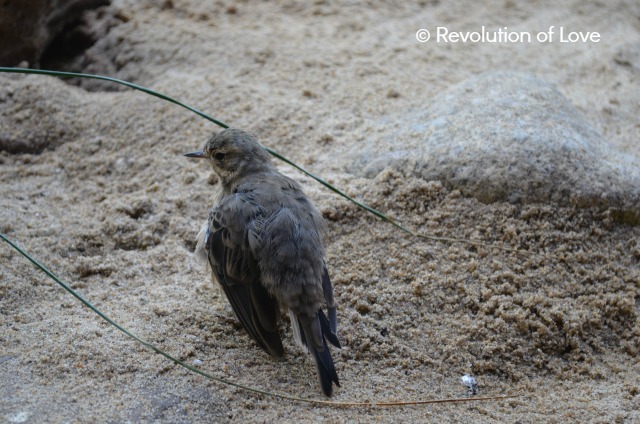
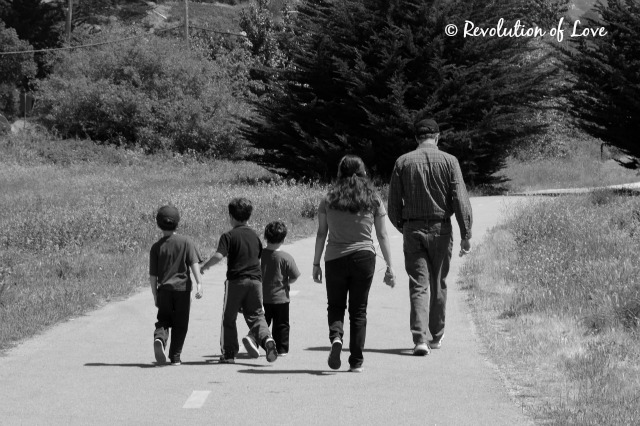
This was the original photo I took. I wanted to crop out the telephone wires and excess background.
I cropped it out and changed the color to black and white for a more classic feel.
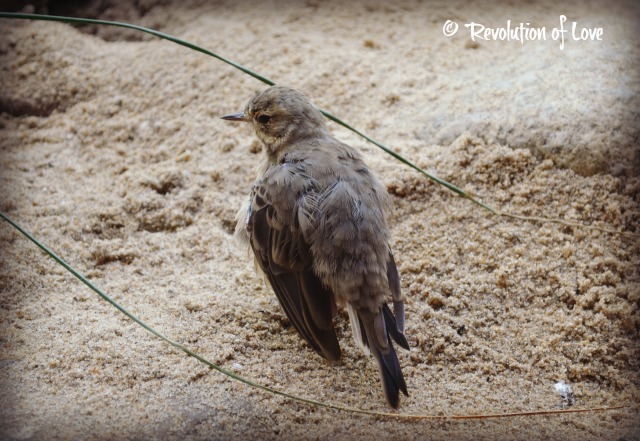
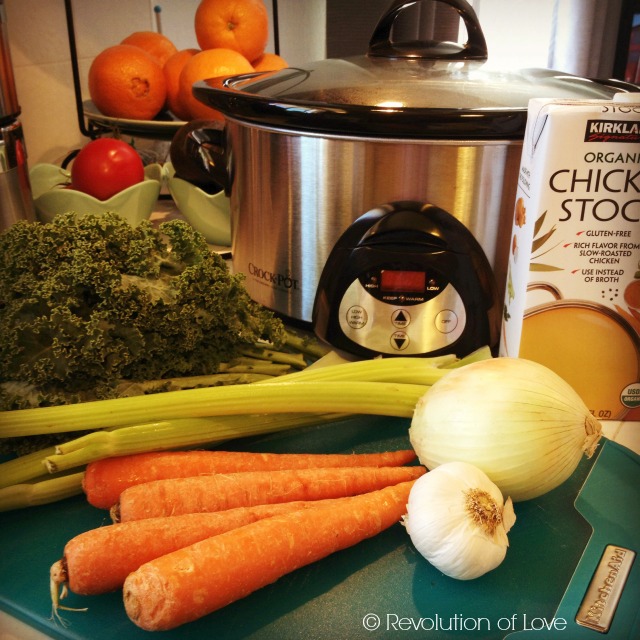
This is my original photo.
I cropped the photo, lightened it a little and used the Urban filter to get this.
SIZE NOTE: I usually post my regular phot0s to be 640 in length.
* * *
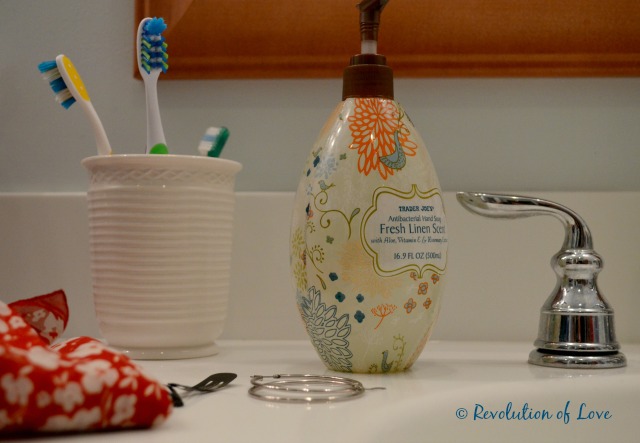
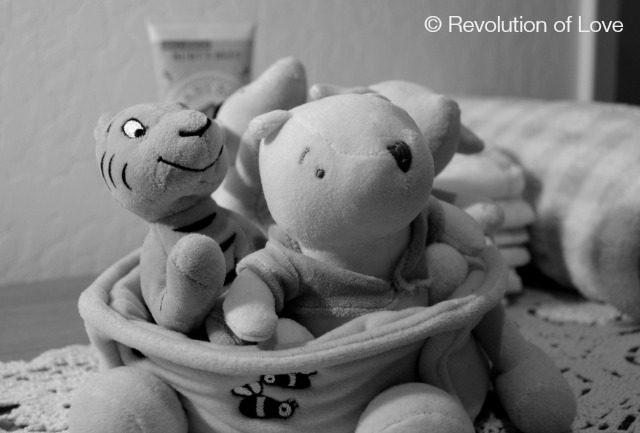
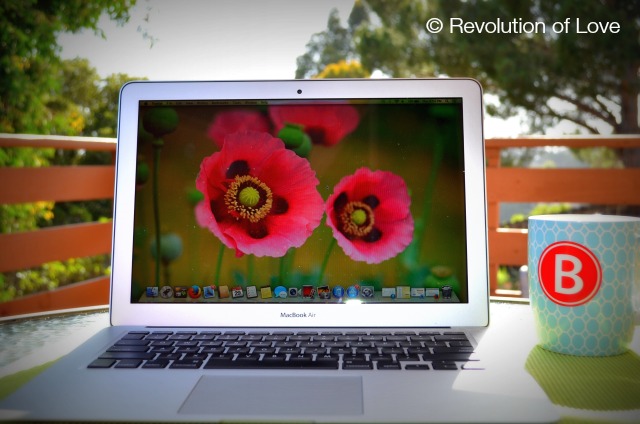
Add A Copyright
It is super easy to simply add a copyright using your choice of font.
* * *
Word Memes
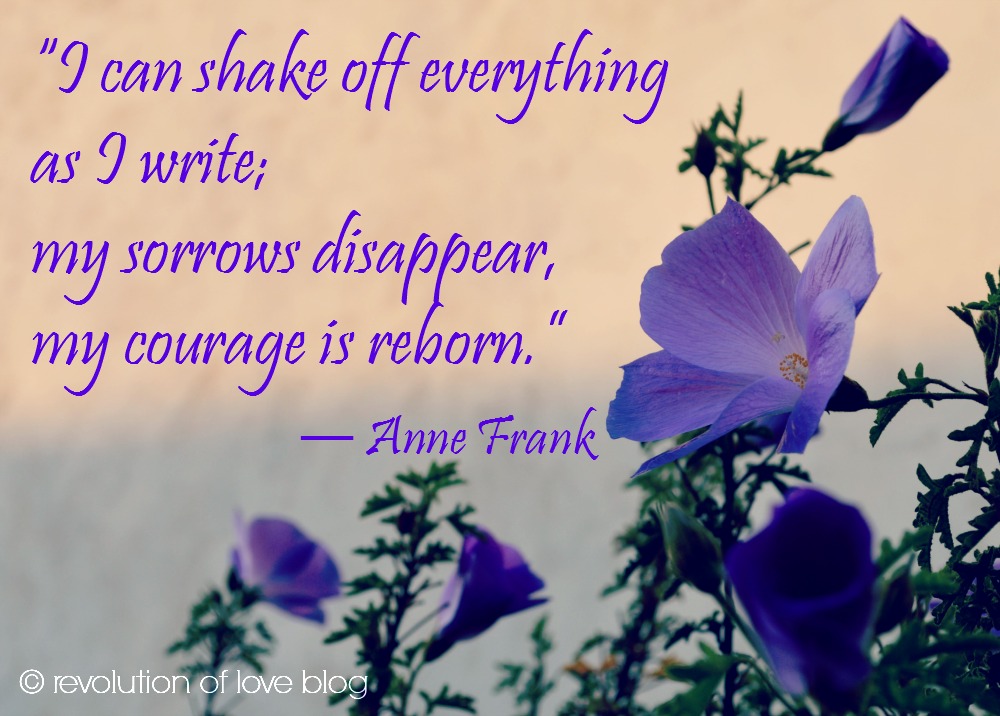
Like adding a copyright, PicMonkey makes it easy to add verses to your photos.
* * *
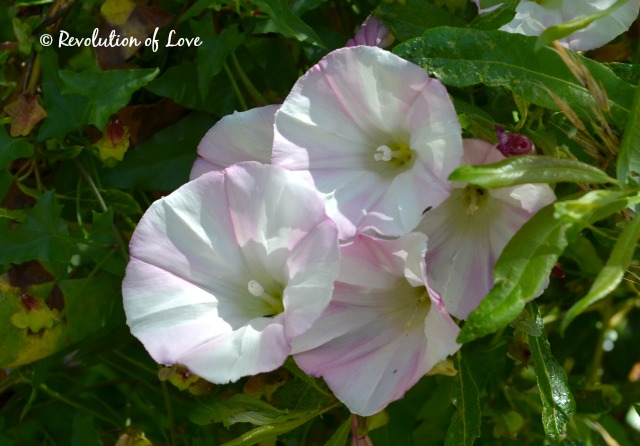
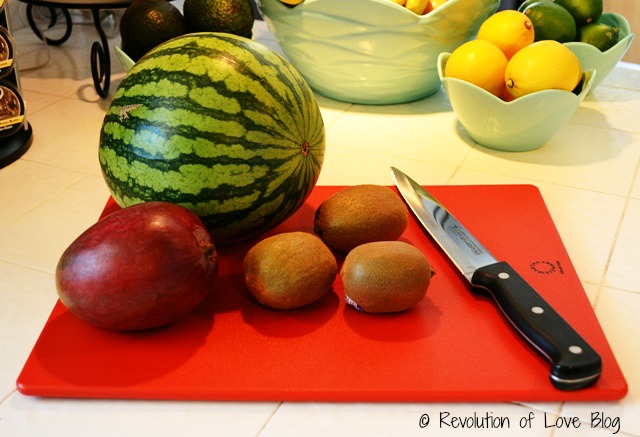
Make & Add A Watermark
Do you prefer to make a watermark? Here’s how I made a quick and easy one. In PicMonkey, I clicked the Design Tab. Then I clicked the Font tab and wrote Revolution of Love Blog using my signature font. Next I cropped it. Lastly I clicked the Canvas tab and clicked Transparent canvas. I now have a watermark.
To add that to a photo, I followed PicMonkey’s directions found here. It says:
1. Open a photo in PicMonkey.
2. Click the “Overlay” tab on the far left side of the panel (it’s the butterfly).
3. Click “Your Own” at the top of the list of overlays.
4. A box will pop up that allows you to select from the files on your computer. Select your previously created logo or watermark.
5. You can change the color, fade it, erase parts of it, and select one of the preset Blend Modes, or rotate the overlay.
Here is the final result.
* * *
Blog Post Buttons
I am reworking my blog’s side panel and I thought I’d make buttons for the Background Posts.
I chose a photo, resized it, cropped it, added the title, then rounded the corners using the Frame button. Done and done.
SIZE NOTE: My side bar buttons are 300 x 125.
* * *
Facebook Cover
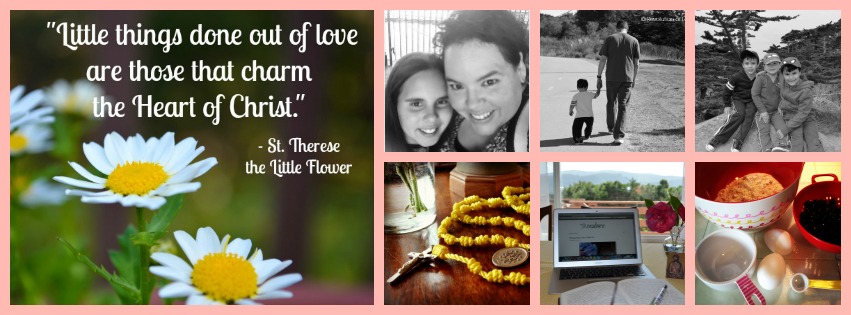
Making a Facebook banner is super easy. Here’s how I made mine. I clicked the Collage button then the FB Cover button. I chose my photos that I wanted to drop into the collage cells. (There are a number of different preset styles you can choose or you can change the cells to make your own style.) Lastly, I edited each photo until it looked right. Viola.
There are lots of ways you can design your collage but instead of giving you detailed instructions, just go to this PicMonkey tutorial page How to Make a Collage for details. 😉
* * *
Fun for Font Fans
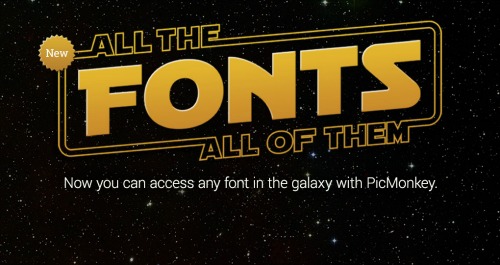
Photo Credit – PicMonkey
When I browse Pinterest I get giddy when someone posts various free fonts that can be downloaded. I love cute fonts! So I was excited when I found out that I was no longer limited to using the fonts offered on PicMonkey. Any font you have on your computer can be used in PicMonkey. Get the instructions here.
* * *
Making Invitations
Besides blogging, I have also used PicMonkey to edit my personal photos and to make crafts such as this birthday invitation from Bella’s last birthday. Bella wanted a Newsies (the musical) party so I took a copy of the handbill and using the overlay button (the butterfly) I added the banner and typed in the words “You Are Invited.” I also added the comic bubble and the “Extra! Extra!” bit.
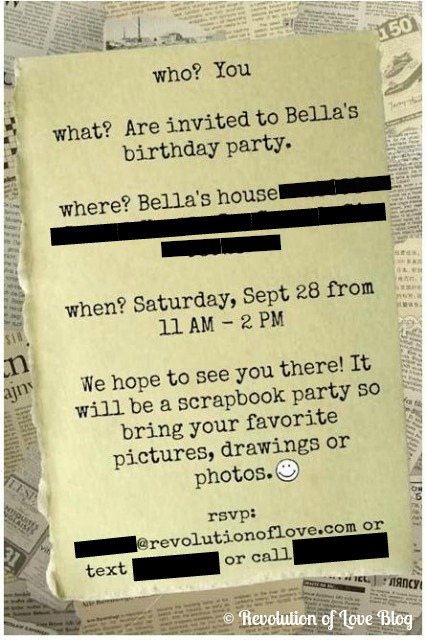
For the inside of the invitation I used as my foundation a photo of various newsprints. I placed the overlay “Paper scrap” over it. I enlarged it and tilted it. Then I typed out the party details.
When we were done we printed them and mailed them out. They came out really cute. 🙂
* * *
So these are some of the ways I use PicMonkey. I am such a fan I signed up for their affiliate program. Go check them out. You can use their basic features for free. If you want the extras and no ads, the Royale features are available for a monthly fee of $4.95 or $33 a year. Right now they are offering a week of Royale for free so you can give it a test run. Enjoy!
* * * * *
Now it’s your turn.
1. Choose your creation, share about it and snap a photo if you can.
2. In your post, link back the original blogger/idea, rather than your Pinterest pin. That way credit goes to the proper person. 🙂 (But feel free to add your Pinterest profile link so we can follow you!)
3. Add a link back here so others can play along.
4. If you want to use it, here is the html code for the logo:
<a href=”http://www.revolutionoflove.com/blog/?p=2157″><img title=”Revolution of Love Blog – Pinterest Party & Link-up” src=”http://www.revolutionoflove.com/blog/wp-content/uploads/2013/04/pinterest_2_medW32-300×240.jpg” alt=”” width=”300″ height=”240″ /></a>
5. Link up below. Make sure you’re sending us to your actual post, and not to your general blog address.
Lastly, you can follow me on Pinterest here: http://pinterest.com/rol_bobbi/. 🙂
The link up will be active for 10 days. Have fun!
PS – You can follow RoL on Bloglovin, Feedly or another news feed. If you are a social media fan like me, we can stay in touch through Facebook, Twitter, Pinterest, GoodReads, Letterboxd or Instagram. (It’s set to private but I’ll approve you.) 😉
PPS – This post may contain affiliate links.


