Revolution of Love

Revolution of Love

Do small things with great love.

Pinterest Party & Link-up (vol 12): Lower Fat Baked Mac and Cheese

It is busy, busy, busy here so for today’s Pinterest Party I am linking an updated post from two years ago that was damaged in the blog move. I’ve fixed the links and added some new photos. I hope you enjoy. 🙂

Welcome to the RoL Pinterest Party. Join me every 2nd and 4th Tuesday as we link up and share how we made, cooked, baked, crafted, did, or created one of the pins on our Pinterest boards.

Not on Pinterest? No problem. Link-up your own creation to inspire us so we can pin it to our own boards. It can be a recipe, sewing project, Catholic craft, homeschool project, organizing/ homemaking tip, themed birthday party, whatever you’d like. Don’t have a post ready? The link-up will be open for 10 days so there’s still time. Plus, feel free to link up a new post or an older post that hasn’t had much traffic lately. Don’t have a blog? No problem. Tell us about it in the comment box. Or post your photo and a description on the RoL Facebook page. 🙂

* * * * *

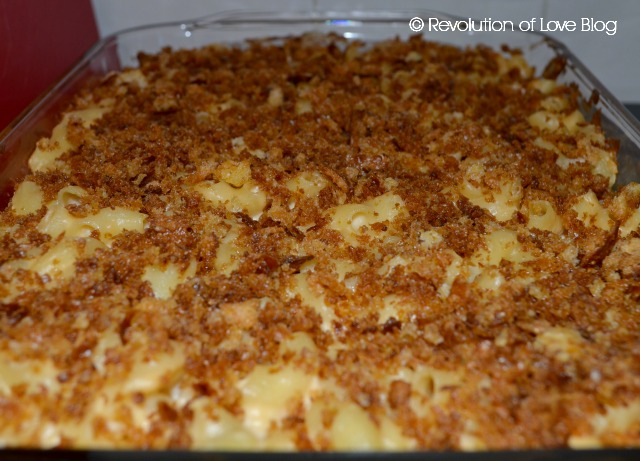
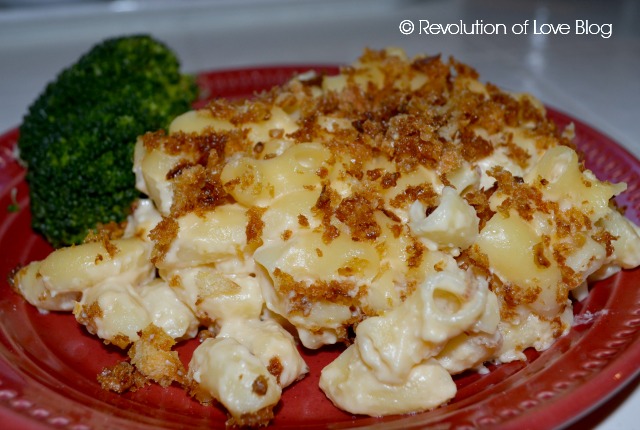
Yesterday I had an abundance of broccoli that I needed to use up so I decided to make macaroni and cheese. I am not a huge mac & cheese fan, only knowing the boxed kind but last year I made my first homemade version. It was a recipe I saw on Food Network’s “What Would Brian Boitano Make?” (Stop laughing. I actually liked his show. And not just because I had a crush on him 20 years ago.) His Cheese Cart Mac & Cheese was easy and delicious, although a bit on the “fancier” side as he used asiago, fontina and gouda. My bigger concern was how rich and fattening it was. I had to find a low fat version that the family would still eat. When Brian (my husband, not Boitano) saw me making the cheese sauce last night and he was excited until I told him it was a new lower fat recipe. He gave me “that look” and walked out of the kitchen mumbling something about “low fat, low flavor.” It was finally time for dinner and I served the mac & cheese with broccoli and Jennie-O Turkey Kielbasa. I’m happy to report that the meal was a hit (even Matthew had his first serving of mac) and everyone wanted seconds. (Which then brought up the debate of how low fat is it when you eat more than one serving…) If you want to try it out, I got the recipe from LiveStong.com. Here is the recipe. Ingredients

  • 3 tbsp olive oil
  • 3 tbsp of flour
  • 2 cups skim milk
  • 2 cups reduced-fat sharp cheddar cheese
  • 2 cups elbow macaroni (I have since started using whole wheat bow tie pasta instead of regular macaroni.)
  • 1/2 tsp salt
  • 1/4 tsp pepper
  • 1/4 tsp cayenne pepper
  • 1/2 cup dry bread crumbs
  • 2 tbsp low-fat margarine

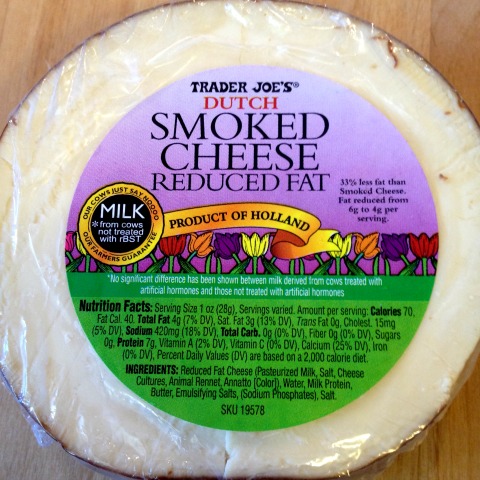
Note: I usually double this recipe so we’ll have leftovers. For the cheese I use 1/2 low fat sharp cheddar and 1/2 of this low fat smoked cheese from Trader Joe’s. It tastes similar to smoked gouda and it is delicious! Directions Preheat the oven to 350 degrees. Heat the milk in a saucepan over low heat until small bubbles form. In a separate saucepan, heat the olive oil over medium heat. Add the flour and stir for two minutes.
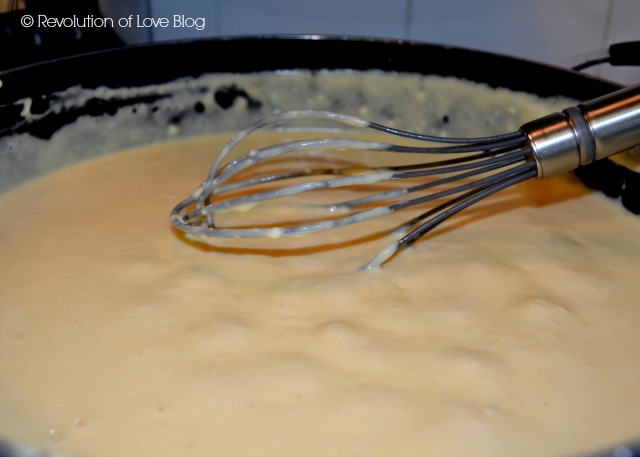
Slowly pour in the heated milk, whisking thoroughly. Stir over medium heat until the mixture thickens and begins to boil slightly. Reduce the heat to simmer. Stir in the cheese by handfuls until it is thoroughly melted. Stir in the salt, pepper and cayenne. Set aside.
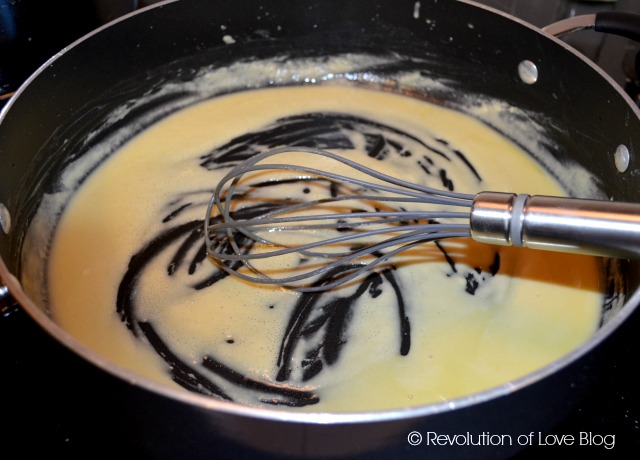
Boil 6 cups of water. Add in the elbow macaroni and boil as directed, generally 8 minutes. Drain well and pour into the cheese mixture. Lightly spray the casserole dish. Pour the macaroni into the dish.

Melt the margarine in a small frying pan over medium-high heat. Add the bread crumbs and stir constantly until they are lightly browned. Spoon over the macaroni. Bake uncovered for 20 minutes. Serve immediately.

Healthy Additions Stir chopped parsley, chopped, cooked broccoli or sliced mushrooms into the macaroni and cheese mixture before placing in the casserole dish to add color and flavor.

Considerations Make sure you cook the flour for the time directed; cooking thoroughly dissipates the flavor of the flour and enhances the flavor of the sauce. Carefully stir the cheese sauce until all the cheese is melted, monitoring the temperature to ensure that it does not scorch. Avoid adding foods containing any additional fats, such as crumbled bacon or butter, when serving. Garnish with parsley for additional color.

My note: I like to make this dish with Jennie-O Turkey Kielbasa or the chicken & apple sausages from Trader Joe’s and broccoli. Also, the recipe didn’t give serving size or nutritional info but when I used this online calculator to calculate this recipe serving about 6, the amount of calories was 300 and fat 16, which is not bad for homemade mac & cheese. (Also, that was a larger main dish size portion. A smaller 3/4 cup side portion what more than cut that in half.) Adding the Jennie-O Turkey Kielbasa/chicken sausage and broccoli would add roughly an extra 100 calories and 3 grams of fat per serving. It’s a nice (occasional) comfort food treat. 🙂

* * * * *

Now it’s your turn.

1. Choose your creation, share about it and snap a photo if you can.

2. In your post, link back the original blogger/idea, rather than your Pinterest pin. That way credit goes to the proper person. 🙂 (But feel free to add your Pinterest profile link so we can follow you!)

3. Add a link back here so others can play along. Here is the html code:

<a href=”http://www.revolutionoflove.com/blog/?p=2157″><img title=”Revolution of Love Blog – Pinterest Party &amp; Link-up” src=”http://www.revolutionoflove.com/blog/wp-content/uploads/2013/04/pinterest_2_medW32-300×240.jpg” alt=”” width=”300″ height=”240″ /></a>

4. Link up below. Make sure you’re sending us to your actual post, and not to your general blog address.

You have 10 days to post your link, so if you can’t get things done by Tuesday, no worries, put it up when you can. We’ll be here. Have fun!

Lastly, you can follow me on Pinterest here: http://pinterest.com/rol_bobbi/. 🙂

PS – You can follow RoL on Bloglovin, Feedly or another news feed. If you are a social media fan like me, we can stay in touch through Facebook, Twitter, Pinterest, GoodReads or Instagram. 😉


Meatless Meals (Vol 2): Minestrone Soup

(The link to the original post of this recipe, dated 2/25/23, was broken when we were updating posts from the old blog and I can’t fix it so I am just reposting it with a new link here. Thx.)

***


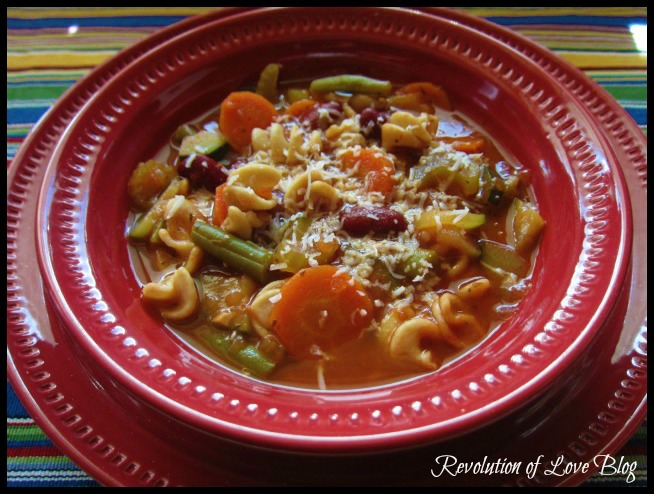
I originally got this Minestrone Soup recipe from my sis and pinned in on my Pinterest What’s Cooking board. I’ve made it a couple times before changing a few things to make it perfect for my family. The original recipe is on the thick side and we wanted a little more broth/liquid in our soup without diluting the flavor. Here is what I put in it.

Ingredients

3 tablespoons olive oil
4 cloves garlic, chopped
2 onions, chopped
2 cups chopped celery
2 cups sliced carrots
4 cups chicken or veggie broth*
1 cup water
4 cups tomato sauce
1 mini bottle of red wine or 1 cup of red wine**
1 cup canned kidney beans, drained
2 handfuls of fresh green beans, cleaned, prepped and blanched***
4 zucchinis, quartered and sliced
1 teaspoon oregano
2 teaspoons basil
salt and pepper to taste
1 cup small sized wheat pasta (ie. shells, rotini etc)
Grated Parmesan cheese for topping

Directions:

1. In a large stock pot, heat olive oil over medium-low heat. Add onion and sauté for 3 to 4 minutes. Add garlic and sauté for 1 to 2 minutes. Add celery and carrots, sauté for 1 to 2 minutes.
2. Add chicken broth, water and tomato sauce. Bring to boil, stirring frequently. Add red wine. Reduce heat to low. Add kidney beans, green beans, zucchini, oregano, basil, salt and pepper. Simmer for 30 to 40 minutes, the longer the better.
3. Meanwhile, cook the pasta until tender. Drain water and set aside.
4. Place a serving spoon of pasta in a bowl. Ladle soup on top of pasta and sprinkle Parmesan cheese on top. Enjoy!

* Obviously, for a Lenten meatless meal, I used veggie broth and it was still really good!

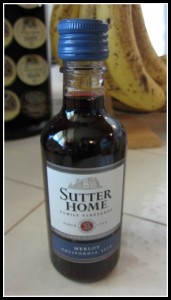
** We aren’t really wine drinkers so I hate opening a big bottle to cook with because we never finished it. Instead I bought a 4-pack of the mini wine bottles, such as the one below, which is a perfect for various recipes.

*** I always blanch my green beans for 7-8 minutes before adding it to the soup. I have never tried throwing them in raw so I don’t know if they’d be tender enough or still a little tough.

This soup is a huge hit with the family, especially when served with a slice of fresh baked bread or ½ a grilled cheese sandwich.

Revolution of Love Blog - minestrone soup

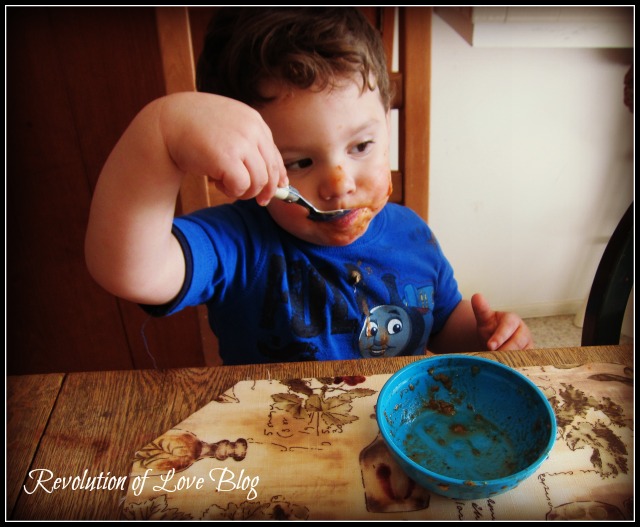
And, you may ask, is it kid friendly? I’ll let Matthew answer that question. 😉

I think those Popeye arms speak volumes. He likes his veggies and pasta!

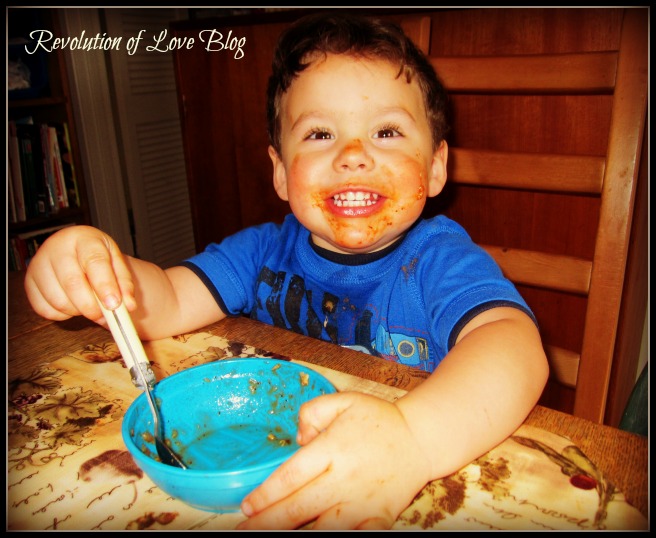
His messy smile proves it.

PS – You can follow RoL on Bloglovin, Feedly or another news feed. If you are a social media fan like me, we can stay in touch through Facebook, Twitter, Pinterest, GoodReads or Instagram. 😉


Recipe: Strawberry Pancakes

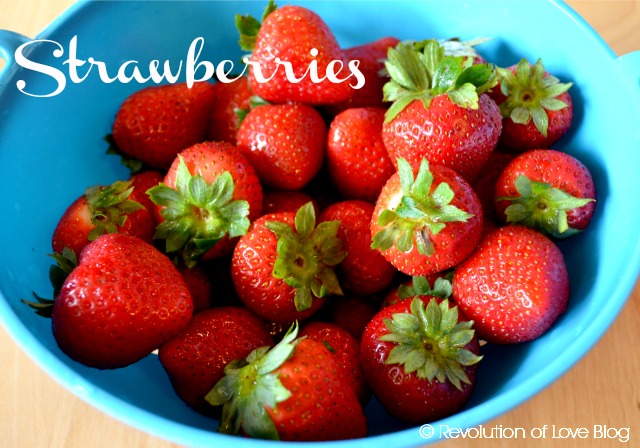
This week Tasha at A Clan’s Tale is hosting Mystery Ingredient Monday and the special ingredient is…

We love fresh strawberries but I don’t really cook or bake with them very much. I did make a Strawberry Coconut Cake for a previous Pinterest Party and it was delicious but for this week I decided to try strawberry pancakes. I am not much of a pancake eater but Brian loves them. Usually when he gets a craving he’ll buy a box of the ready made mix where you just add water and make himself a batch.

I wanted to surprise him and make some pancakes for him from scratch (for the first time!) and the mystery ingredient would be a perfect match.

I found this recipe for Strawberry Pancakes from Little Leopard Book.com and they looked delicious. The adorable Whitney also had a recipe for Cream Cheese Syrup, which sounded amazing but I didn’t have any cream cheese so I’ll have to save that for another time.

The Ingredients & Directions:

  • 1 1/4 cups flour
  • 1 tbsp granulated sugar
  • 2 tsp baking powder
  • 1/2 tsp salt
  • 1 large egg
  • 1 cup milk
  • 1 tbsp honey
  • 1/2 tsp vanilla extract
  • 1 tbsp unsalted butter (melted)
  • 1 pint strawberries (sliced)

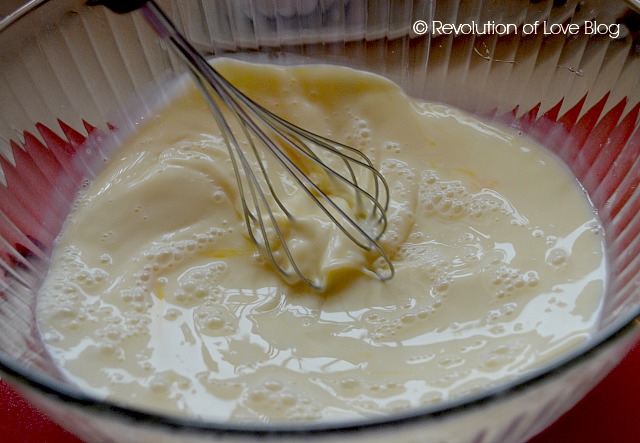
Prepare the pancake batter by combining the flour, sugar, baking powder and salt in a small mixing bowl.

Next, combine the egg, milk, vanilla and honey in a medium mixing bowl.


Add in the dry ingredients, stir to combine, then add the melted butter.

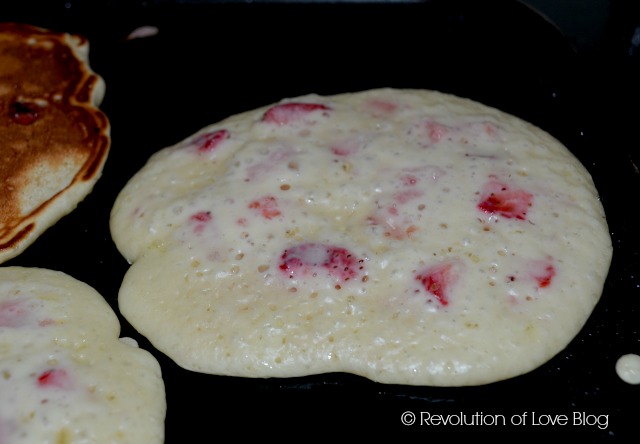
Gently fold the strawberries into the pancake batter.

Heat a griddle or large skillet to medium and spray lightly with cooking oil.

Pour the pancake batter by 1/4 cup onto the griddle.

Wait for the pancakes to be covered with small bubbles, then flip!

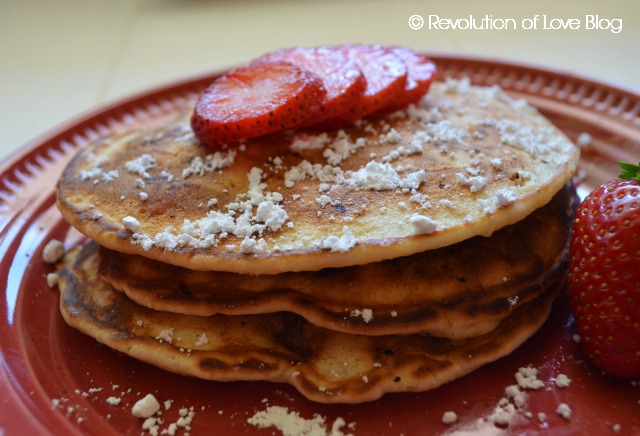
Well I made the pancakes and everyone loved them even if they were not as pretty as Whitney’s. 😉

Things I’ll remember next time:

  • Read the directions carefully. (I messed up the part about adding the butter after the dry ingredients. Instead I stuck it in with the wet ingredients.)
  • Consider a thicker milk than non fat.
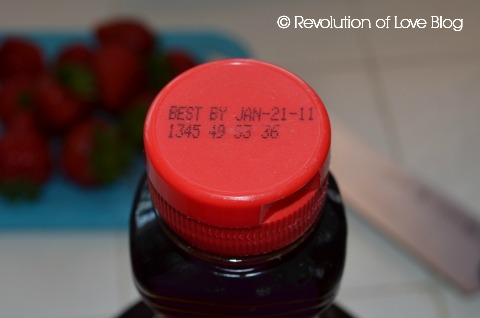
  • Make sure I have enough fresh syrup, especially since I don’t make pancakes often, otherwise I may find this in my cabinet…

  • Use a sieve to make sure my dusted powder sugar is dusted and not clumped.
  • When I buy that sieve hide it from the munchkins because they just may take it, us it as a Lego jail and them step on it like Godzilla was attacking the jail…again.
  • On second thought, forget the sugar and make Whitney’s Cream Cheese Syrup.

Well, despite the few snafus, it was still fun and tasty! Thanks to Tasha for hosting!

PS – You can follow RoL on Bloglovin, Feedly or another news feed. If you are a social media fan like me, we can stay in touch through Facebook, Twitter, Pinterest, GoodReads or Instagram. 😉


Recipe: Banana Blueberry (Lower Fat But Still Delicious) Muffins

This week Jessica at Housewifespice is hosting Mystery Ingredient Monday and the special ingredient is…

I wanted to try a new recipe for this link-up but alas, it never happened. So instead I whipped up a quick batch of the family’s favorite banana blueberry muffins. And since I am not one of you skinny-minny-running-a-marathon gals who can afford a high calorie muffin, I have to make mine with a little less of the good stuff. I got the original recipe in this book but modified it. (ie. I use half the amount of sugar it called required.)

Ingredients

1/2 cup sugar
1/2 cup canola oil (I use a little less than 1/2 cup.)
1 cup very ripe bananas (about 2-3)
1/2 cup apple sauce (or vanilla non-fat yogurt)
1 teaspoon vanilla
2 eggs
2 cup all-purpose flour (or 1/2 white, 1/2 wheat)
1 teaspoon baking soda (When I double this recipe I use 1 & 1/2 tsp)
1 teaspoon cinnamon
1/2 teaspoon nutmeg
1/3 teaspoon salt
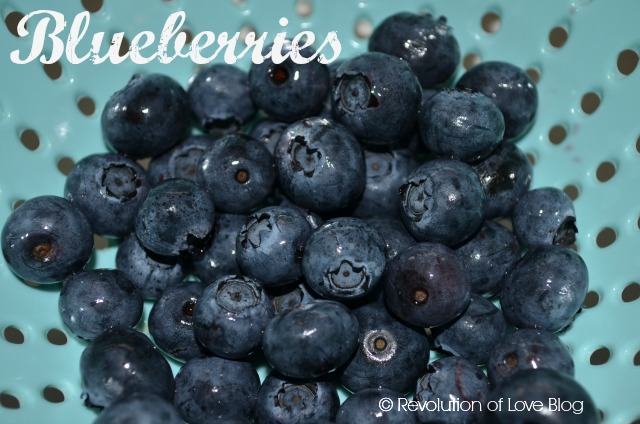
1 cup fresh blueberries (You could also use unthawed frozen but fresh is best. ;-))

NOTE: Now that we have cut out white flour and sugar from our diet, I’ve modified this and use whole wheat flour and instead of white sugar I use unprocessed coconut sugar. There is some difference but all together, still yummy.) 🙂

Directions:

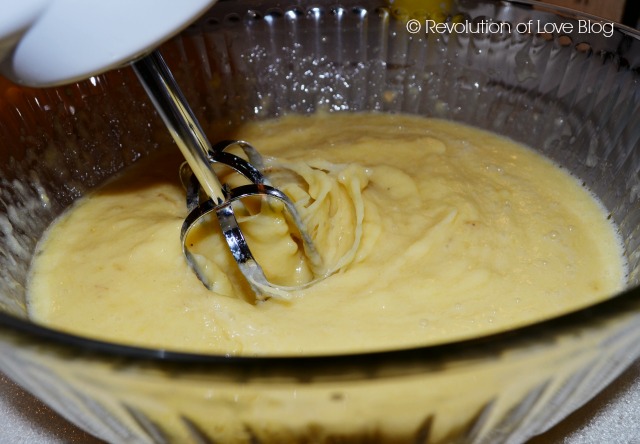
1. Heat oven 400 degrees. Lightly grease muffin pan.  In large bowl, combine sugar and oil; beat well. Add bananas, apple sauce (or yogurt), vanilla and eggs. Blend well.


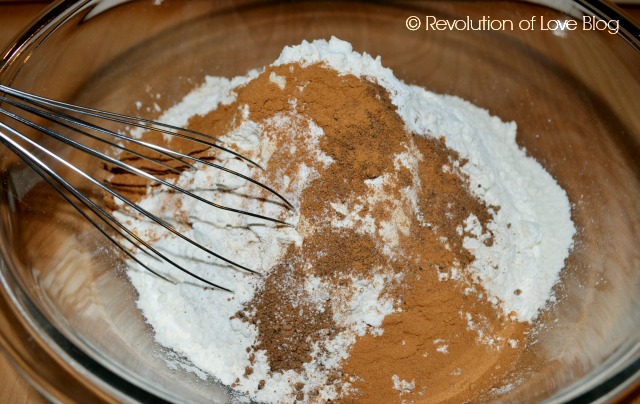
2. In a separate bowl whisk flour, baking soda, cinnamon, nutmeg and salt.

3. Add to wet ingredients. Stir just until dry ingredients are moistened. Gently stir in blueberries. Divide into muffins tins.

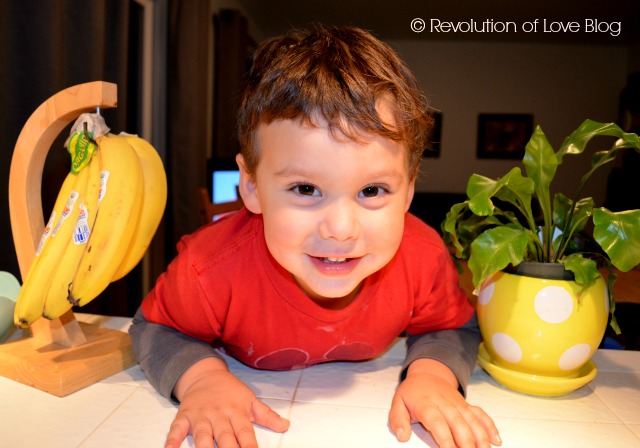
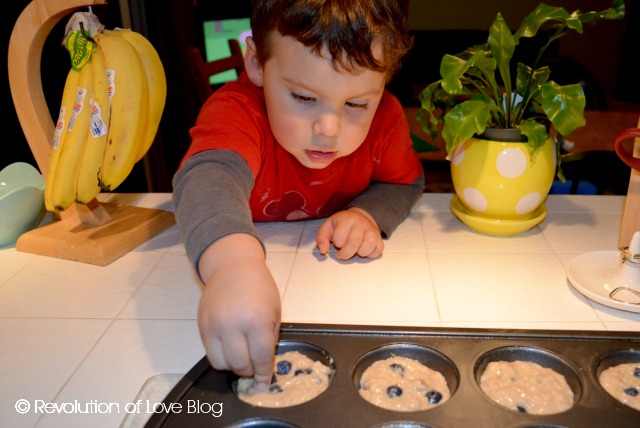
At this point of following the recipe, Matthew climbed up on the other side of the kitchen counter to see what I was doing.

He did not think I had enough blueberries so he added some to the top. (Actually, I didn’t realize how many berries the kids ate so I didn’t have as many for this recipe as I usually do.)

Okay, back to our recipe…

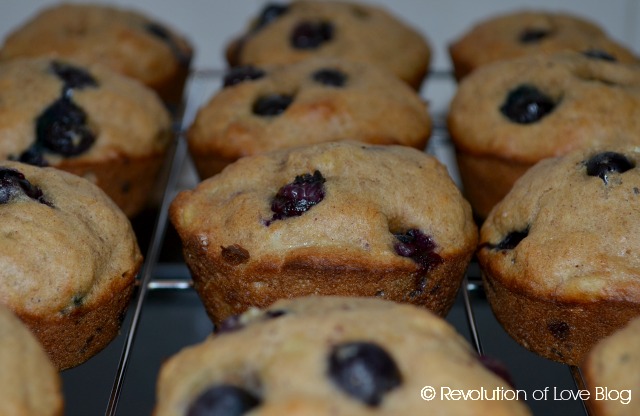
4. Bake at 400 degrees for 10-12 minutes. Cool 5 minutes. Transfer to a cooling rack. (The recipe makes 12 muffins but I stretch it out to 18 so they are more kid sized.)

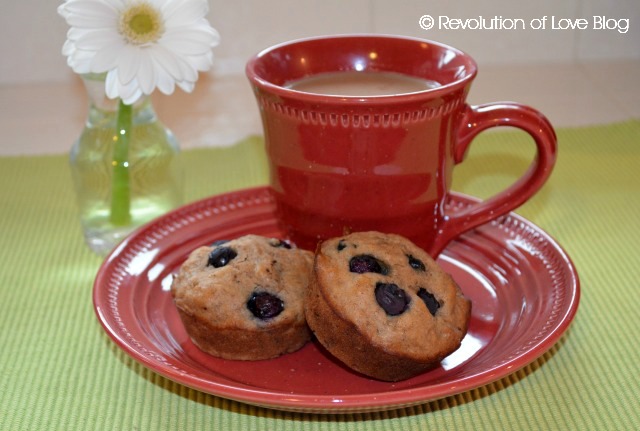
Viola!

A tasty treat to start your morning.

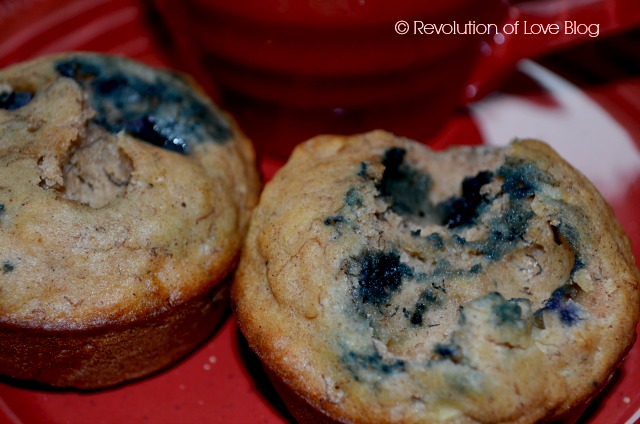
Just be forewarned. Eat your treat before your munchkins wake up.  I did not and when I turned my back for a moment someone  (cough…Matthew) stuck his questionable fingers into the muffins and poked out all the blueberries on top. Sigh.  😉

Now go check out a lot more blueberry recipes here.

PS – You can follow RoL on Bloglovin, Feedly or another news feed. If you are a social media fan like me, we can stay in touch through Facebook, Twitter, Pinterest, GoodReads or Instagram. 😉

Pinterest Party & Link-Up (vol 8): Corn & Tomato Relish

Welcome to the RoL Pinterest Party. Join me every 2nd and 4th Tuesday as we link up and share how we made, cooked, baked, crafted, did, or created one of the pins on our Pinterest boards.

Not on Pinterest? No problem. Link-up your own creation to inspire us so we can pin in to our own boards. It can be a recipe, sewing project, Catholic craft, homeschool project, organizing/ homemaking tip, themed birthday party, whatever you’d like.

Don’t have a post ready? The link-up will be open for 10 days so there’s still time. Plus, feel free to link up a new post or an older post that hasn’t had much traffic lately. (NOTE: Since there are 5 Tuesdays in July, I’m keeping the link open until Aug 6 so you have plenty of time. 🙂)

Don’t have a blog? No problem. Post your photo and a description on the RoL Facebook page. 🙂

* * * * *

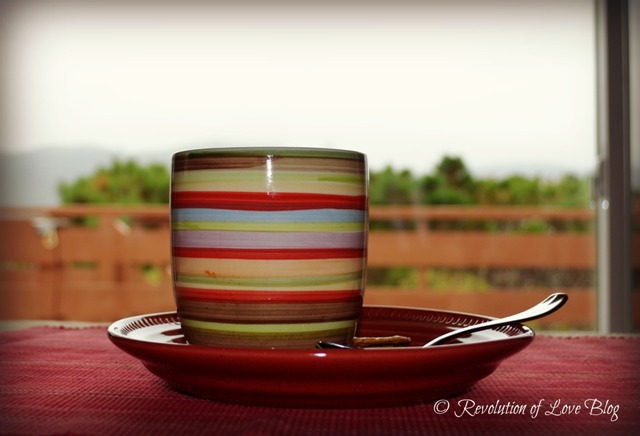
I know it is summer and I wish I could say that we have been frolicking at the beach and soaking in the sunshine but on the central coast of Cali we do not get our summer until fall. Right now it is cold, foggy and dreary. I’m looking out the window as I’m typing and there are two women walking by our house and one of them is wearing a parka. A parka, people!

So it is gray outside and I had a cup of hot soup for lunch. I’d share the soup recipe but I do not want those of you sweating out the heat to send me death threats so I’m going to fake it and pretend that the sun is shining and I see beautiful blue skies like this…

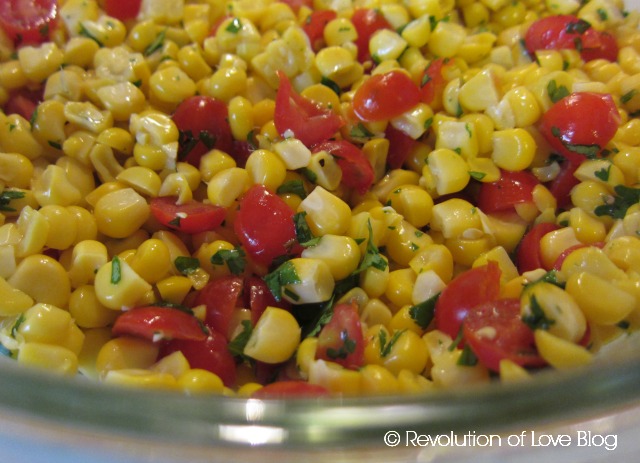
…and then I’ll share a quick and easy corn and tomato summer side dish. The original recipe is from Bobby Flay but I don’t think of it as a salsa since there are no chilies, making it perfect for my kiddos.

I make this all the time in summer since there is bountiful fresh corn and tomatoes waiting to be eaten. And it is a perfect dish to share at a beach or park potluck where food sits out in the sun.  You’ll find the original recipe here and my slightly altered version below.

Ingredients:

6-8 corn cobs, cleaned and cooked*
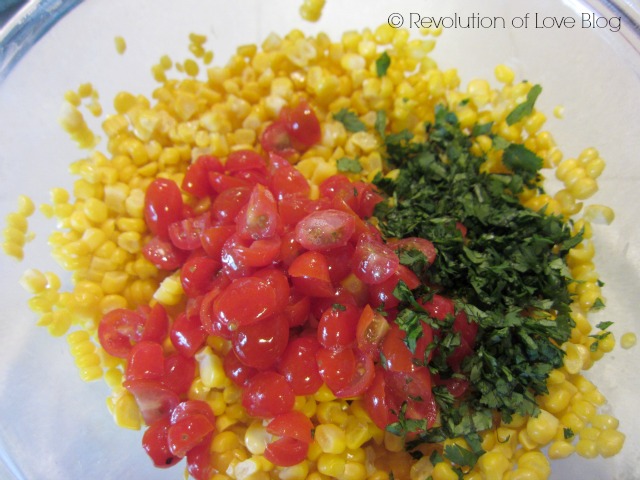
24 cherry tomatoes, chopped
2 garlic clove, minced
2 tablespoon chopped fresh cilantro leaves
2 tablespoon fresh lime juice
1 ½ tablespoon olive oil
Kosher salt and freshly ground black pepper

(To be honest, I don’t usually measure any of this. It is a handful or two of tomatoes, 1/2  a bunch of cilantro, 1/2 a lime, a couple dashes of olive oil, etc. So play around with it. Next I want to try it with roasted corn and add avocado.)

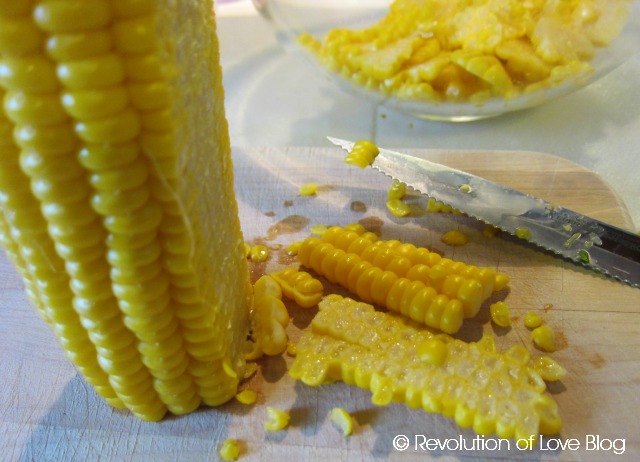
Directions: Chop the tomatoes then toss them in a colander with ½ teaspoon of kosher salt. Let drain for 10-15 minutes. Clean the corn and cook in boiling water for 6 minutes. Cool. When done, remove the corn from the cob. Combine the corn, tomatoes, garlic, cilantro, lime and olive oil. Mix well. Season with kosher salt and freshly ground black pepper. Enjoy!

* Note: Although you can also use thawed frozen corn, nothing beats the incredible taste of fresh corn!

* * * * *

Now it’s your turn.

1. Choose your creation, share about it and snap a photo if you can.

2. In your post, link back the original blogger/idea, rather than your Pinterest pin. That way credit goes to the proper person. 🙂 (But feel free to add your Pinterest profile link so we can follow you!)

3. Add a link back here so others can play along. Here is the html code:

<a href=”http://www.revolutionoflove.com/blog/?p=2157″><img title=”Revolution of Love Blog – Pinterest Party &amp; Link-up” src=”http://www.revolutionoflove.com/blog/wp-content/uploads/2013/04/pinterest_2_medW32-300×240.jpg” alt=”” width=”300″ height=”240″ /></a>

4. Link up below. Make sure you’re sending us to your actual post, and not to your general blog address.

You have 10 days to post your link, so if you can’t get things done by Tuesday, no worries, put it up when you can. We’ll be here. Have fun!

Lastly, you can follow me on Pinterest here: http://pinterest.com/rol_bobbi/. 🙂

Follow on Bloglovin