Revolution of Love

Revolution of Love

Do small things with great love.

Recipe: Banana Blueberry (Lower Fat But Still Delicious) Muffins

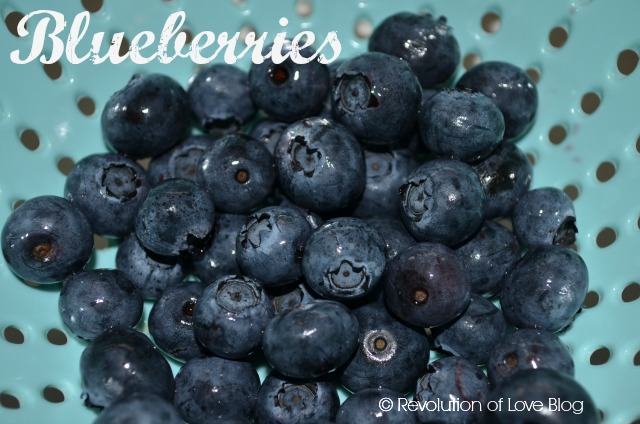
This week Jessica at Housewifespice is hosting Mystery Ingredient Monday and the special ingredient is…

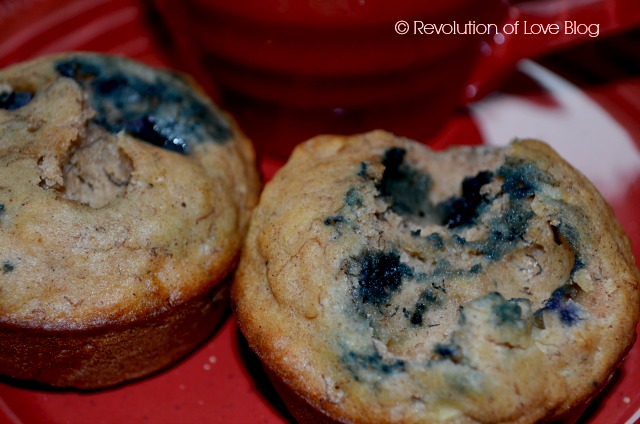
I wanted to try a new recipe for this link-up but alas, it never happened. So instead I whipped up a quick batch of the family’s favorite banana blueberry muffins. And since I am not one of you skinny-minny-running-a-marathon gals who can afford a high calorie muffin, I have to make mine with a little less of the good stuff. I got the original recipe in this book but modified it. (ie. I use half the amount of sugar it called required.)

Ingredients

1/2 cup sugar
1/2 cup canola oil (I use a little less than 1/2 cup.)
1 cup very ripe bananas (about 2-3)
1/2 cup apple sauce (or vanilla non-fat yogurt)
1 teaspoon vanilla
2 eggs
2 cup all-purpose flour (or 1/2 white, 1/2 wheat)
1 teaspoon baking soda (When I double this recipe I use 1 & 1/2 tsp)
1 teaspoon cinnamon
1/2 teaspoon nutmeg
1/3 teaspoon salt
1 cup fresh blueberries (You could also use unthawed frozen but fresh is best. ;-))

NOTE: Now that we have cut out white flour and sugar from our diet, I’ve modified this and use whole wheat flour and instead of white sugar I use unprocessed coconut sugar. There is some difference but all together, still yummy.) 🙂

Directions:

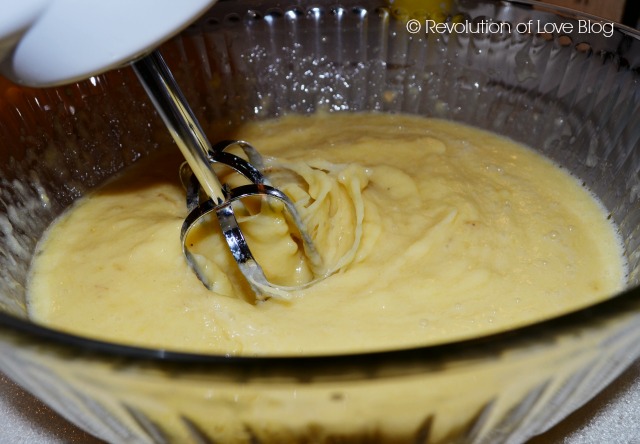
1. Heat oven 400 degrees. Lightly grease muffin pan.  In large bowl, combine sugar and oil; beat well. Add bananas, apple sauce (or yogurt), vanilla and eggs. Blend well.

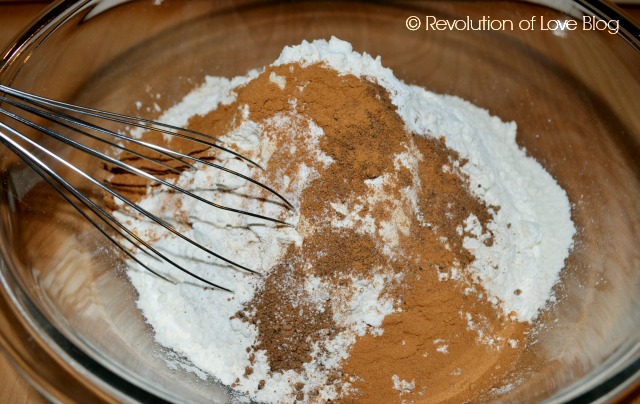
2. In a separate bowl whisk flour, baking soda, cinnamon, nutmeg and salt.

3. Add to wet ingredients. Stir just until dry ingredients are moistened. Gently stir in blueberries. Divide into muffins tins.

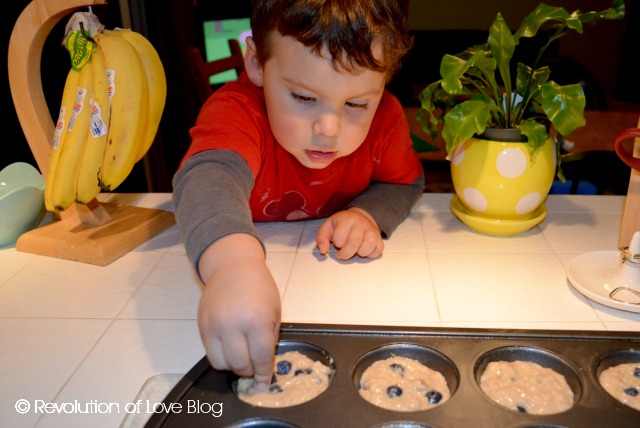
At this point of following the recipe, Matthew climbed up on the other side of the kitchen counter to see what I was doing.

He did not think I had enough blueberries so he added some to the top. (Actually, I didn’t realize how many berries the kids ate so I didn’t have as many for this recipe as I usually do.)

Okay, back to our recipe…

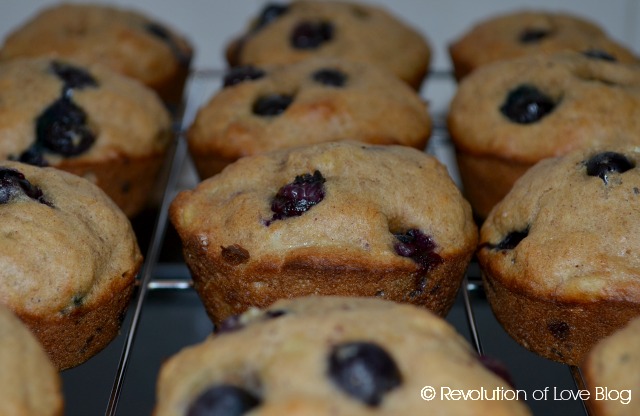
4. Bake at 400 degrees for 10-12 minutes. Cool 5 minutes. Transfer to a cooling rack. (The recipe makes 12 muffins but I stretch it out to 18 so they are more kid sized.)

Viola!

A tasty treat to start your morning.

Just be forewarned. Eat your treat before your munchkins wake up.  I did not and when I turned my back for a moment someone  (cough…Matthew) stuck his questionable fingers into the muffins and poked out all the blueberries on top. Sigh.  😉

Now go check out a lot more blueberry recipes here.

PS – You can follow RoL on Bloglovin, Feedly or another news feed. If you are a social media fan like me, we can stay in touch through Facebook, Twitter, Pinterest, GoodReads or Instagram. 😉


Pinterest Party & Link-Up (vol 8): Corn & Tomato Relish

Welcome to the RoL Pinterest Party. Join me every 2nd and 4th Tuesday as we link up and share how we made, cooked, baked, crafted, did, or created one of the pins on our Pinterest boards.

Not on Pinterest? No problem. Link-up your own creation to inspire us so we can pin in to our own boards. It can be a recipe, sewing project, Catholic craft, homeschool project, organizing/ homemaking tip, themed birthday party, whatever you’d like.

Don’t have a post ready? The link-up will be open for 10 days so there’s still time. Plus, feel free to link up a new post or an older post that hasn’t had much traffic lately. (NOTE: Since there are 5 Tuesdays in July, I’m keeping the link open until Aug 6 so you have plenty of time. 🙂)

Don’t have a blog? No problem. Post your photo and a description on the RoL Facebook page. 🙂

* * * * *

I know it is summer and I wish I could say that we have been frolicking at the beach and soaking in the sunshine but on the central coast of Cali we do not get our summer until fall. Right now it is cold, foggy and dreary. I’m looking out the window as I’m typing and there are two women walking by our house and one of them is wearing a parka. A parka, people!

So it is gray outside and I had a cup of hot soup for lunch. I’d share the soup recipe but I do not want those of you sweating out the heat to send me death threats so I’m going to fake it and pretend that the sun is shining and I see beautiful blue skies like this…

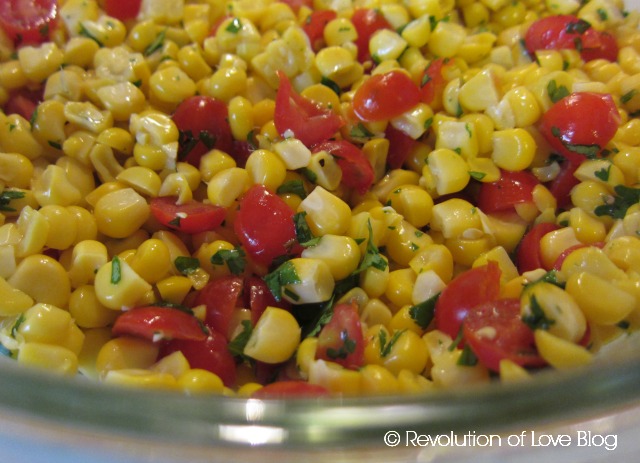
…and then I’ll share a quick and easy corn and tomato summer side dish. The original recipe is from Bobby Flay but I don’t think of it as a salsa since there are no chilies, making it perfect for my kiddos.

I make this all the time in summer since there is bountiful fresh corn and tomatoes waiting to be eaten. And it is a perfect dish to share at a beach or park potluck where food sits out in the sun.  You’ll find the original recipe here and my slightly altered version below.

Ingredients:

6-8 corn cobs, cleaned and cooked*
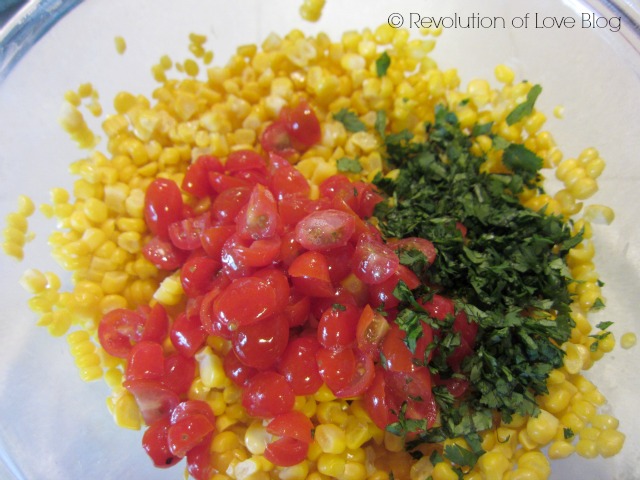
24 cherry tomatoes, chopped
2 garlic clove, minced
2 tablespoon chopped fresh cilantro leaves
2 tablespoon fresh lime juice
1 ½ tablespoon olive oil
Kosher salt and freshly ground black pepper

(To be honest, I don’t usually measure any of this. It is a handful or two of tomatoes, 1/2  a bunch of cilantro, 1/2 a lime, a couple dashes of olive oil, etc. So play around with it. Next I want to try it with roasted corn and add avocado.)

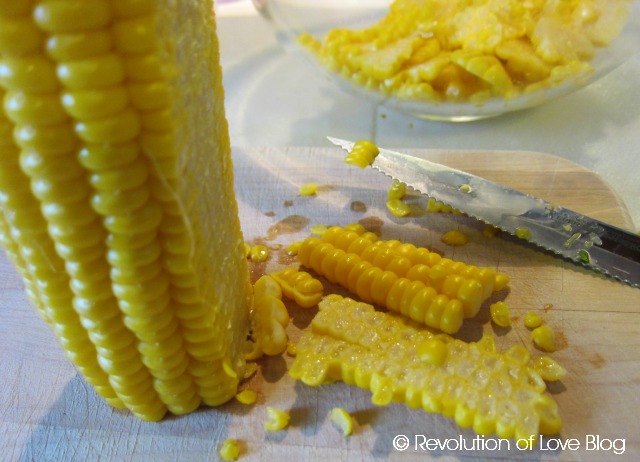
Directions: Chop the tomatoes then toss them in a colander with ½ teaspoon of kosher salt. Let drain for 10-15 minutes. Clean the corn and cook in boiling water for 6 minutes. Cool. When done, remove the corn from the cob. Combine the corn, tomatoes, garlic, cilantro, lime and olive oil. Mix well. Season with kosher salt and freshly ground black pepper. Enjoy!

* Note: Although you can also use thawed frozen corn, nothing beats the incredible taste of fresh corn!

* * * * *

Now it’s your turn.

1. Choose your creation, share about it and snap a photo if you can.

2. In your post, link back the original blogger/idea, rather than your Pinterest pin. That way credit goes to the proper person. 🙂 (But feel free to add your Pinterest profile link so we can follow you!)

3. Add a link back here so others can play along. Here is the html code:

<a href=”http://www.revolutionoflove.com/blog/?p=2157″><img title=”Revolution of Love Blog – Pinterest Party &amp; Link-up” src=”http://www.revolutionoflove.com/blog/wp-content/uploads/2013/04/pinterest_2_medW32-300×240.jpg” alt=”” width=”300″ height=”240″ /></a>

4. Link up below. Make sure you’re sending us to your actual post, and not to your general blog address.

You have 10 days to post your link, so if you can’t get things done by Tuesday, no worries, put it up when you can. We’ll be here. Have fun!

Lastly, you can follow me on Pinterest here: http://pinterest.com/rol_bobbi/. 🙂

Follow on Bloglovin


Pinterest Party & Link-up, Vol 5: Easy 5-Minute Salsa

Welcome to the RoL Pinterest Party. Join me every 2nd and 4th Tuesday as we link up and share how we made, cooked, baked, crafted, did, or created one of the pins on our Pinterest boards.

Not on Pinterest? No problem. Link-up your own creation to inspire us so we can pin in to our own boards. It can be a recipe, sewing project, Catholic craft, homeschool project, organizing/ homemaking tip, themed birthday party, whatever you’d like.

Don’t have a post ready? The link-up will be open for a week so there’s still time. Plus, feel free to link up a new post or an older post that hasn’t had much traffic lately.

Don’t have a blog? No problem. Post your photo and a description on the RoL Facebook page. 🙂

* * * * *

Here is what I made this week…

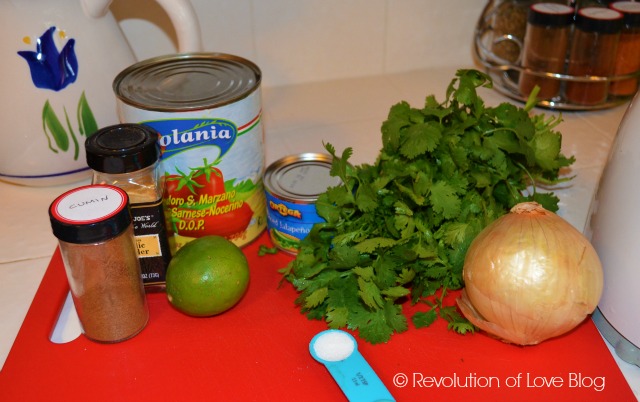
I have often made chunky salsa but I have never tried making one in the blender. I was excited when I saw the recipe for Chili’s Copycat Salsa from the Six Sister’s because it looked so easy. I know there are other recipes that use only fresh ingredients but when you need to make a quick salsa in five minutes, this is perfect. I changed the recipe a little to suit our taste – less heat, more lime and added fresh cilantro – and the family loooves it. Here’s what I used.

Ingredients:

  • 1  28 oz can of diced tomatoes, drained (The original recipe called for whole tomatoes but I found that diced tomatoes makes a much better consistency.)
  • 1 small can of jalapenos (I had a can of diced jalapenos and used only about a teaspoon of it to keep the salsa mild.)
  • 1 onion, quartered
  • 1 lime
  • 1/2 a bunch of cilantro, stems removed (I like a lot of cilantro and used about 1/2 of what you see in the photo.)
  • 1/2 teaspoon sugar
  • 1/2 teaspoon salt
  • 1 teaspoon garlic powder
  • 1 teaspoon cumin

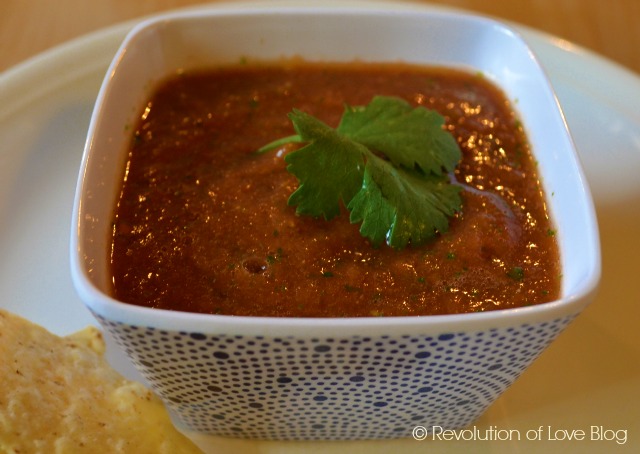
Mix the ingredients in a blender and puree until smooth. See? Super easy.

Yum! Pass the chips. 😉


* * * * *

Now it’s your turn.

1. Choose your creation, share about it and snap a photo if you can.

2. In your post, link back the original blogger/idea, rather than your Pinterest pin. That way credit goes to the proper person. 🙂 (But feel free to add your Pinterest profile link so we can follow you!)

3. Add a link back here so others can play along. Here is the html code:

<a href=”http://www.revolutionoflove.com/blog/?p=2157″><img title=”Revolution of Love Blog – Pinterest Party &amp; Link-up” src=”http://www.revolutionoflove.com/blog/wp-content/uploads/2013/04/pinterest_2_medW32-300×240.jpg” alt=”” width=”300″ height=”240″ /></a>

4. Link up below. Make sure you’re sending us to your actual post, and not to your general blog address.

You have a week to post your link, so if you can’t get things done by Tuesday, no worries, put it up when you can. We’ll be here. Have fun!

Lastly, you can follow me on Pinterest here: http://pinterest.com/rol_bobbi/. 🙂

Follow on Bloglovin


Pinterest Party & Link-up, Vol 4: Pineapple Mango Salsa

Welcome to the new RoL Pinterest Party (formerly Making It Count.) Join me every 2nd and 4th Tuesday as we link up and share how we made, cooked, baked, crafted, did, or created one of the pins on our Pinterest boards.

Not on Pinterest? No problem. Link-up your own creation to inspire us so we can pin in to our own boards. It can be a recipe, sewing project, Catholic craft, homeschool project, organizing/ homemaking tip, themed birthday party, whatever you’d like.

Don’t have a post ready? The link-up will be open for a week so there’s still time. Plus, feel free to link up a new post or an older post that hasn’t had much traffic lately.

Don’t have a blog? No problem. Post your photo and a description on the RoL Favebook page. 🙂

* * * * *

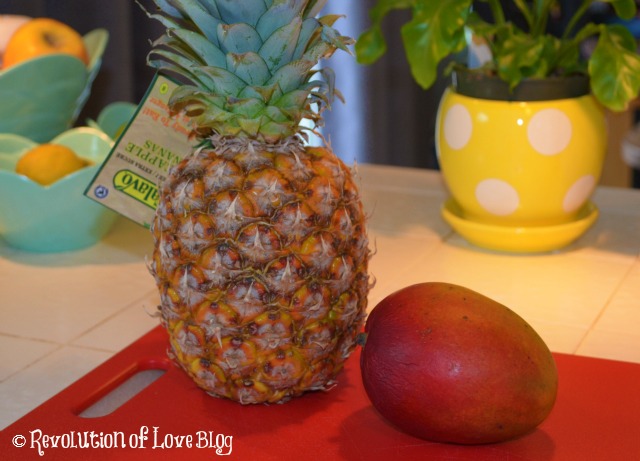
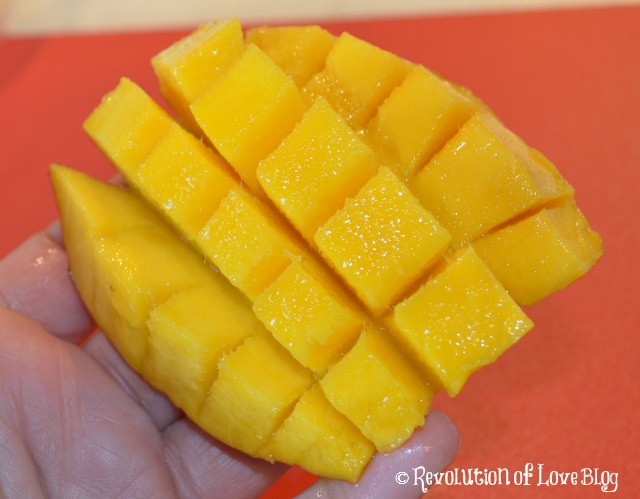
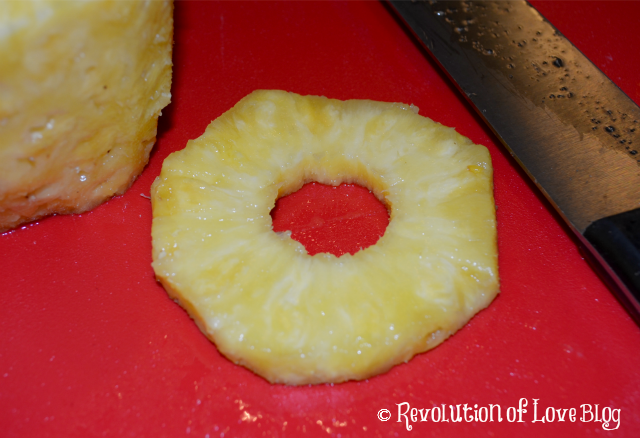
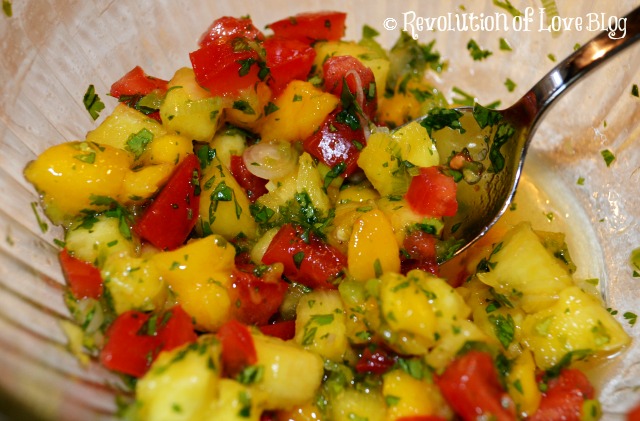
At the beginning of the month I posted about How to Choose Ripe Fruit. I experimented with buying a kiwi, mango and watermelon. I made a comment about only eating canned pineapple and Andrea encouraged me to try a fresh one. I read her post about cutting a pineapple and went for it. I had a mango that was really ripe and needed to be eaten so I decided to make Six Sister’s Pineapple Mango Salsa.

I started with cutting my fruit then I followed the recipe.


Six Sisters Stuff:  Mango Salsa

Ingredients:
1 mango, peeled and chopped
1 cup fresh pineapple, diced (or 1 cup pineapple tidbits, drained)
1 roma tomato, diced
1 teaspoon dried cilantro (or 2 tablespoons fresh cilantro)
2 green onions, sliced
2 tablespoons lime juice
1 tablespoon lemon juice (Note: I actually left of the lemon.)
1 jalapeno pepper, seeded and diced very small

Directions:
“Mix all ingredients together in a bowl. Store covered in the fridge. If you let this sit for a couple of hours before you eat it, the flavors really meld together and taste amazing!”

* * * * *

I followed the directions and it really was tasty! I served it with teriyaki chicken and the combination of sweet from the fruit and heat from the pepper was delicious. I didn’t use the seeds of the pepper so it was not too hot for the kids.

My tip for de-seeding chilies? Use a pair of gloves! I keep a box of latex type gloves in the kitchen and always use them when I cook with chili to keep the juice from getting on my fingers because that would be no bueno!

* * * * *

Now it’s your turn.

1. Choose your creation, share about it and snap a photo if you can.

2. In your post, link back the original blogger/idea, rather than your Pinterest pin. That way credit goes to the proper person. 🙂 (But feel free to add your Pinterest profile link so we can follow you!)

3. Add a link back here so others can play along. Here is the html code:

<a href=”http://www.revolutionoflove.com/blog/?p=2157″><img title=”Revolution of Love Blog – Pinterest Party &amp; Link-up” src=”http://www.revolutionoflove.com/blog/wp-content/uploads/2013/04/pinterest_2_medW32-300×240.jpg” alt=”” width=”300″ height=”240″ /></a>

4. Link up below. Make sure you’re sending us to your actual post, and not to your general blog address.

You have a week to post your link, so if you can’t get things done by Tuesday, no worries, put it up when you can. We’ll be here. Have fun!

Lastly, you can follow me on Pinterest here: http://pinterest.com/rol_bobbi/. 🙂

Follow on Bloglovin


Pinterest Party & Link-up, Vol 1: Strawberry Coconut Cake

Welcome to the new RoL Pinterest Party (formerly Making It Count.) Join me every 2nd and 4th Tuesday as we link up and share how we made, cooked, baked, crafted, did, or created one of the pins on our Pinterest boards.

Not on Pinterest? No problem.  Link-up your own creation to inspire us so we can pin in to our own boards. It can be a recipe, sewing project, Catholic craft, homeschool project, organizing/ homemaking tip, themed birthday party,  whatever you’d like.

Don’t have a post ready? The link-up will be open for a week so there’s still time. Plus, feel free to link up a new post or an older post that hasn’t had much traffic lately. 🙂

* * * * *

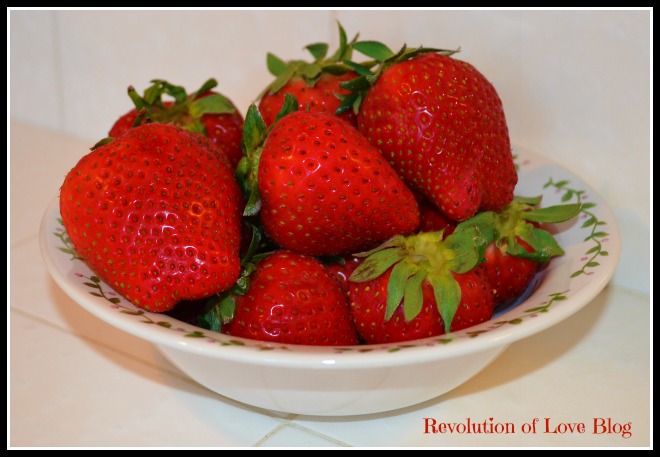
For my contribution this week I wanted to make the family a dessert where I wasn’t worried about calories or fat content. I wanted to make something to celebrate Easter and the warmth of spring and give them a special treat. My father-in-law always goes to to the Farmer’s Market on the weekend and brings us back a big bag of fruit and veggies. This weekend he brought us three containers of fresh strawberries and I knew which pinned recipe I would try to make. It was the Strawberry Coconut Cake I had on my “What’s Baking” Board. The recipe is originally from Candy Jammies and I followed Michele’s recipe, except that I did not have any coconut extract so I just used extra vanilla.

Michelle lists the following Ingredients & Directions.

1 (18.5 ounce) box white cake mix
4 T. strawberry gelatin powder
2 T. all-purpose flour
1 t. baking powder
2 T. granulated sugar
3/4 cup vegetable oil
4 eggs
1/4 c. water
1/2 c. pureed strawberries
1 t. vanilla
1/2 t. coconut extract
1/2 cup fresh strawberries, finely diced
1 c. coconut, finely shredded in food processor
several strawberries to fill cake and garnish

Preheat the oven to 350 degrees F.

Combine dry ingredients in mixer bowl and stir together. Beat in oil, eggs, water, strawberry puree, vanilla, and coconut extract. Mix well. Stir in diced strawberries and coconut. Pour into two 8- or 9-inch round pans, greased and floured. Bake for 25-35 minutes, or until a tooth pick inserted into the center of the cakes comes out clean and the cakes are pulling away from the sides of the pans.

Put pans on wire racks and cool for 10 minutes. Remove from pans and leave on racks to cool completely. While cooling, make icing.

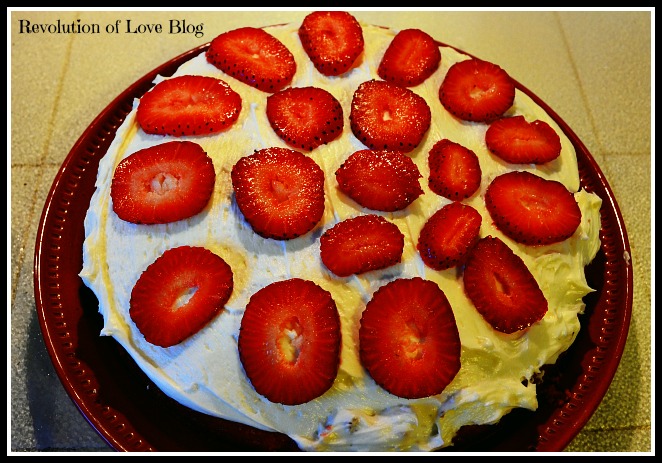
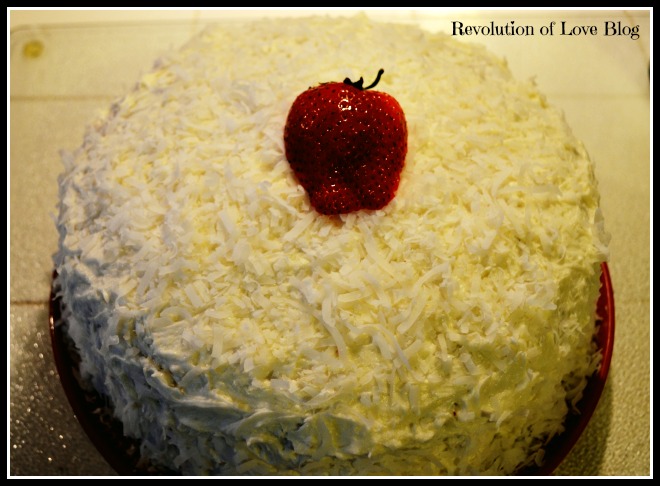
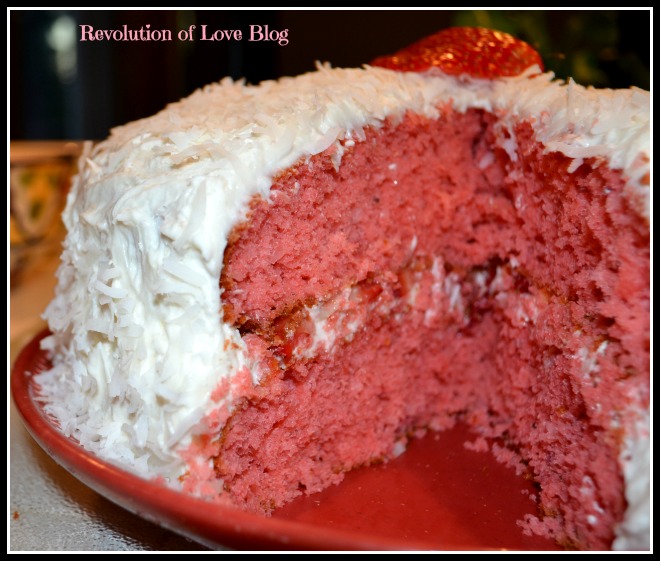
Spread some icing on first layer, then top with sliced strawberries. Place second layer on top and ice the rest of the cake. Cover entire cake in shredded coconut and garnish with fresh strawberries. I don’t tint my coconut pink like in the original recipe, because I think it’s so pretty to cut into the white cake and have the surprise of bright pink inside. I like the contrast of the white icing/coconut and pink cake.

The first time I made this, I did cupcakes. They’re really pretty with a small strawberry on each one.

Cream Cheese Frosting

8 ounces cream cheese, softened
2 sticks (1 cup) butter, softened
2 16-oz. boxes powdered sugar
1 teaspoon vanilla extract

Beat butter and cream cheese until smooth. Add vanilla. Slowly beat in powdered sugar until desired consistency. Add a tablespoon or so of milk if icing is too thick.

* * * * *

Originally I was going to make a sheet cake or cupcakes like Michelle mentioned because the one time I tried a two layer cake it was so bad, I had to erase it from my memory. I didn’t want my debut post to be a total flop but I figured heck, go big or go home. So I went big. I got my first layer done.

And my second layer done.

It was very amateur, somewhat sloppy and looked nothing like Michelle’s fabulous photo but if you took a few steps back and squinted it didn’t look half bad for a rookie. Best of all, it tasted delicious.

* * * * *

Now it’s your turn.

1. Choose your creation, share about it and snap a photo if you can.

2. In your post, link back the original blogger/idea, rather than your Pinterest pin. That way credit goes to the proper person. 🙂 (But feel free to add your Pinterest profile link so we can follow you!)

3. Add a link back here so others can play along. Here is the html code:

<a href=”http://www.revolutionoflove.com/blog/?p=2157″><img title=”Revolution of Love Blog – Pinterest Party &amp; Link-up” src=”http://www.revolutionoflove.com/blog/wp-content/uploads/2013/04/pinterest_2_medW32-300×240.jpg” alt=”” width=”300″ height=”240″ /></a>

4. Link up below. Make sure you’re sending us to your actual post, and not to your general blog address.

You have a week to post your link, so if you can’t get things done by Tuesday, no worries, put it up when you can. We’ll be here. Have fun!

Follow on Bloglovin