Revolution of Love

Revolution of Love

Do small things with great love.

Pinterest Party & Link-up (Vol 23): Whole Wheat Baked Chocolate Donuts

Welcome to the RoL Pinterest Party. Join me every 2nd and 4th Tuesday as we link up and share how we made, cooked, baked, crafted, planned, organized, followed or created one of the pins on our Pinterest boards OR share something original that others can pin onto their boards.

* * * * *

This post was definitely a trial and error project. Now that we are trying to eat a healthier diet, one of the things Brian and the kids miss the most is their Sunday morning after Mass donut. I decided to try and make my own baked version, keeping in mind that we are staying away from white flour and refined sugar. (And stop asking, so what’s the point?)  I scanned Pinterest for a recipe and found this one –  Whole Wheat Baked Pumpkin Donuts.

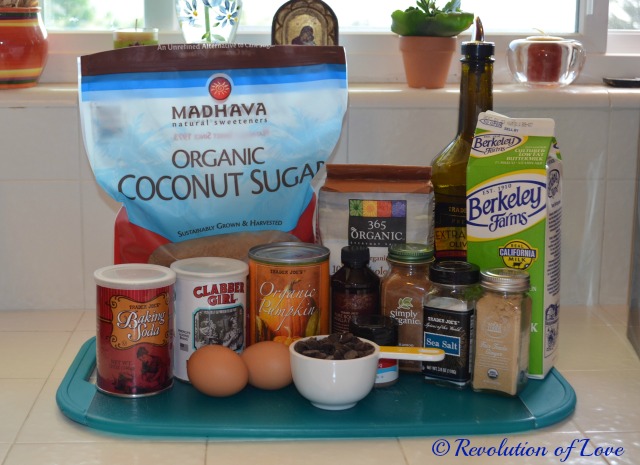
First I got together all the ingredients, substituting lowfat buttermilk for the almond milk and using unrefined coconut sugar instead of brown sugar.

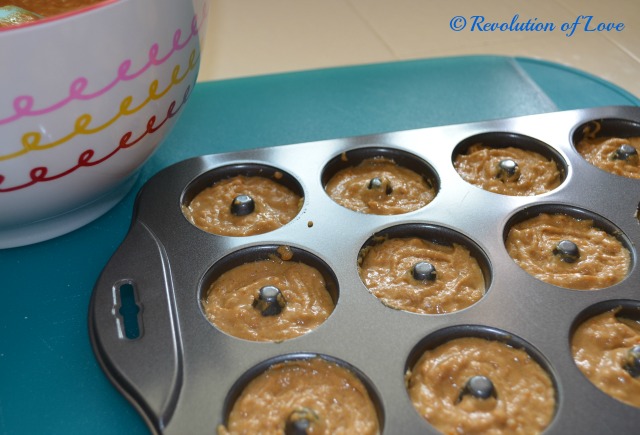
I used my new mini-donut pans.

I cooled them off and followed Nichol’s directions for icing them.

I microwaved 4 oz. chocolate  chips and 1 1/2 TBS of oil in small bowl on medium-high heat for 1-2 minutes, stirring every 20 seconds. I dunked the top side of each donut into the chocolate, allowing excess to drop off. For me, the chocolate set in about 20 minutes.

They came out looking great buuuuuut…… I didn’t like the way they tasted. Maybe it was the substitutions but they tasted more like a not very sweet muffin with chocolate. I wasn’t expecting it to taste like a real donut but my version was no bueno.

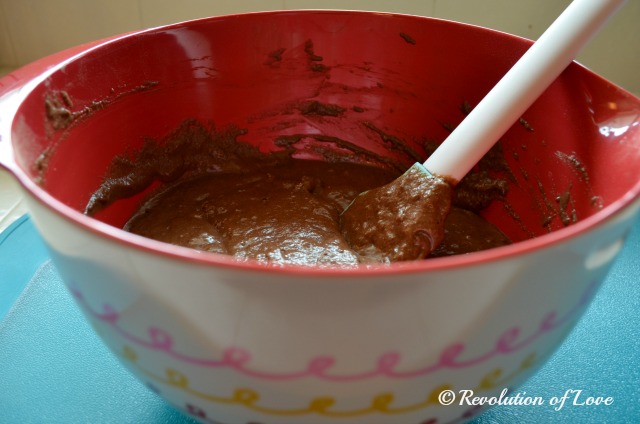
I decided to give it another try with another recipe. This one was for Glazed Chocolate Donut Holes. I didn’t want to do the glaze so I adapted it and made a few changes so I could make Baked Chocolate Wheat Donuts.

Ingredients

  • 2 cups whole wheat flour (or half wheat, half all-purpose)
  • 1 cup unrefined coconut sugar
  • 1/2 cup (64 grams) unsweetened cocoa powder
  • 1 teaspoon baking powder
  • 1 teaspoon baking soda
  • 1/4 teaspoon salt
  • 2 large eggs, beaten (room temperature)
  • 3/4 cup low fat buttermilk (room temperature*)
  • 1/4 cup non-fat vanilla yogurt
  • 2 teaspoons vanilla extract
  • 3 Tablespoons coconut oil

Once I tweaked the ingredients, I followed Sally’s directions.

Preheat oven to 350F degrees.  Spray pan with nonstick spray. Set aside.

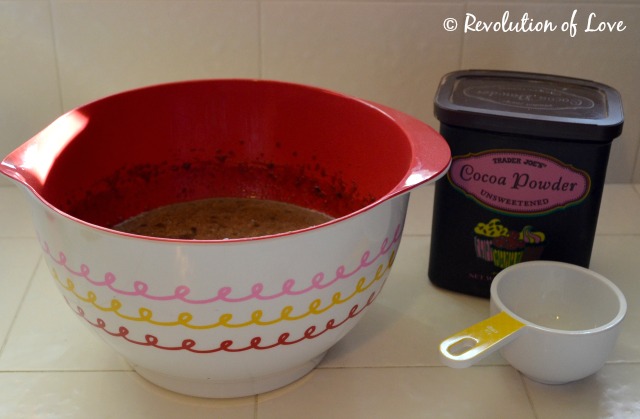
Make the donuts. Sift the flour, sugar, and cocoa powder together in a large bowl.  Sifting is important; you want to remove any clumps of cocoa. Mix in the baking powder, baking soda, and salt. Set aside.

In a medium bowl, whisk the beaten eggs, buttermilk, yogurt, and vanilla together until completely smooth.  Whisk in the melted coconut oil until combined.  Slowly fold the wet ingredients into the dry ingredients. Careful not to overmix.  Mix the two together only until no flour pockets remain. Over-handling this batter will make your donuts dense and tough.

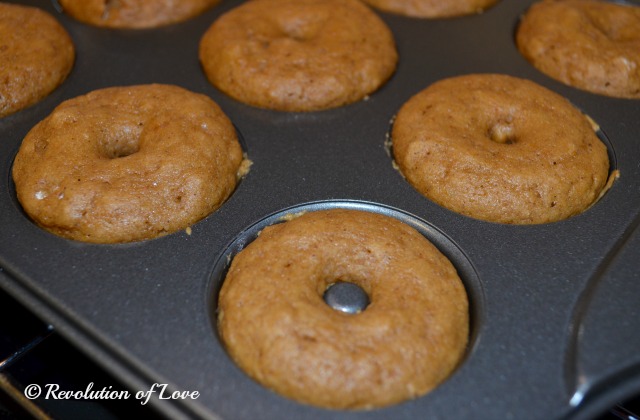
Spoon batter into the mini donut tins, only about 3/4 of the way full. Bake for 8-10 minutes, or until a toothpick inserted in the center comes out clean. Do not overbake them; they burn easily.  Allow the donuts to cool for 5 minutes in the pan and then transfer to a wire rack to cool.

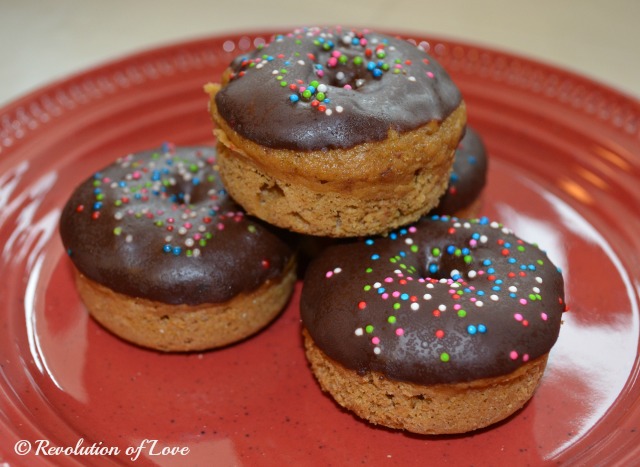
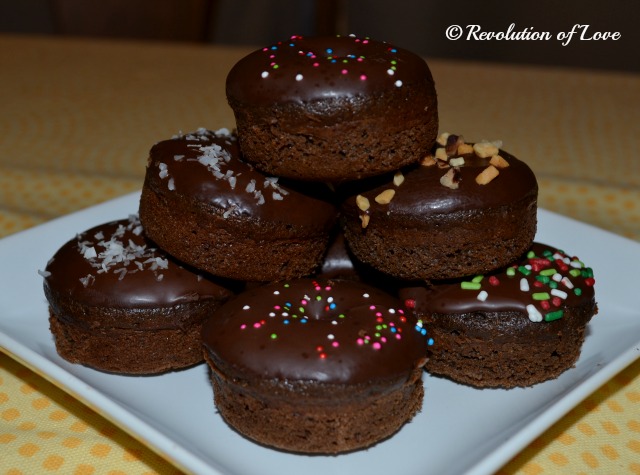
Here is the finished product…

… and they actually tasted good. Okay so you wouldn’t think they came from Dunkin Donuts but the one topped with coconut was especially tasty! The kids loved the mini donuts. I cheated and used some contraband sprinkles that weren’t considered a real or whole food but, come on, we’re eating freaking baked wheat donuts for crying out loud. What more do you expect?!  😉

Seriously, they are good but they are best eaten within a day or so, as they do not keep well. With my kiddos, that wasn’t a problem since they were happy to polish them off.

Well, that was my creation. What have you been creating lately?

Oh, and since there is an extra Tuesday this month I’ll keep the link open for an extra week. If you are on Pinterest, let me know so I can follow you. You can find me here: http://pinterest.com/rol_bobbi/. 🙂

* * * * *

Now it’s your turn.

1. Choose your creation, share about it and snap a photo if you can.

2. In your post, link back the original blogger/idea, rather than your Pinterest pin. That way credit goes to the proper person. 🙂 (But feel free to add your Pinterest profile link so we can follow you!)

3. Add a link back here so others can play along.

4. If you want to use it, here is the html code for the logo:

<a href=”http://www.flove.com/blog/?p=2157″><img title=”Revolution of Love Blog – Pinterest Party &amp; Link-up” src=”http://www.revolutionoflove.com/blog/wp-content/uploads/2013/04/pinterest_2_medW32-300×240.jpg” alt=”” width=”300″ height=”240″ /></a>

5. Link up below. Make sure you’re sending us to your actual post, and not to your general blog address.

The link up will be active for 17 days. Have fun!

PS – You can follow RoL on Bloglovin, Feedly or another news feed. If you are a social media fan like me, we can stay in touch through Facebook, Twitter, Pinterest, GoodReads, Letterboxd or Instagram. 😉


Pinterest Party & Link-Up (Vol 22): Emergency Car Bins & Operation Clean and Organize (Vol 18)

This post is serving as double duty.  I am using the idea for the Pinterest Party but since it also comes under organizing, I’ll also include it in Operation Clean and Organize. 🙂

**Taming the procrastinating, ADD, mess cat within me.**

Welcome to the RoL Pinterest Party. Join me every 2nd and 4th Tuesday as we link up and share how we made, cooked, baked, crafted, planned, organized, followed or created one of the pins on our Pinterest boards OR share something original that others can pin onto their boards.

* * * * *

We have three of the four kids in school now and John-Paul attends a Catholic pre-school about 20 minutes from our house. Last year once or twice I was rushing out the door (shocking, I know!) and I forgot to grab John-Paul’s backpack with his lunch box. I debated whether I should drive home and get it but that would mean 20 minutes to go back and get it, 20 minutes to drive back to school and another 20 to go back home. A whole hour wasted on a blasted forgotten lunch. Ugh. Instead I went to the local market and bought him some items for lunch. However, it also meant buying a package of brown paper bags, napkins, plastic spoons for his apple sauce etc. I told myself I should just keep a few spare items in the car in case I ever forgot again. (Yeah, I know I could avoid all this by getting out of the house earlier and making sure I have his bag and yada, yada, yada, but I also know myself. It’ll happen again.)

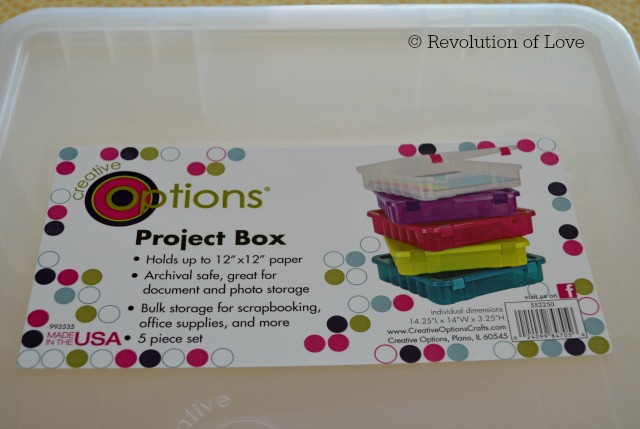
Shortly after I found these scrapbooking/ craft bins at Costco. There are some similar ones on Amazon.

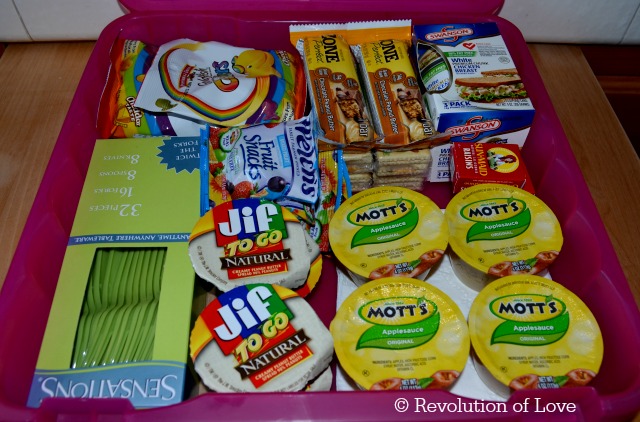
There wasn’t a heck of a lot of room in our mini van so I loved the large flat size because they would fit perfectly under the back seat of our mini van. Well, the bins sat in our garage for months collecting dust. I kept telling myself, “Yeah, I’ve got to fix those bins up one day…” Well, last week we had a crazy day and I was lucky enough to get JP to school on time but… you guessed it, I thought he grabbed his backpack and lunch but he did not. There I was back at the local market buying another pack of brown paper bags, napkins, etc. I then came home, dusted off the dust-covered bins and started gathering our emergency lunch items.

It also got me to thinking that I had prepared my garage with supplies for a natural disaster but as much time as we spend in our car, what if a big earthquake hit while we were driving. (God forbid that it happens while I’m driving under an underpass. Being crushed to death in a tunnel during an earthquake is a secret fear. Don’t laugh!) We already had water bottles, a First Aid Kit, a flash light and some extra blankets in the car but no food. So I stocked the box up with plastic utensils, napkins and paper lunch bags, just in case and non-perishables like canned chicken, peanut butter, crackers, apple sauce, raisins etc.

Since we have recently changed our diets and switched to healthy foods without additives and preservatives, I used our old snacks for the emergency stash. I figured if there was a natural disaster or zombie apocalypse we wouldn’t be too concerned about whether or not our food had GMO’s in it and we’d be more concerned about not getting our brains devoured by the undead.

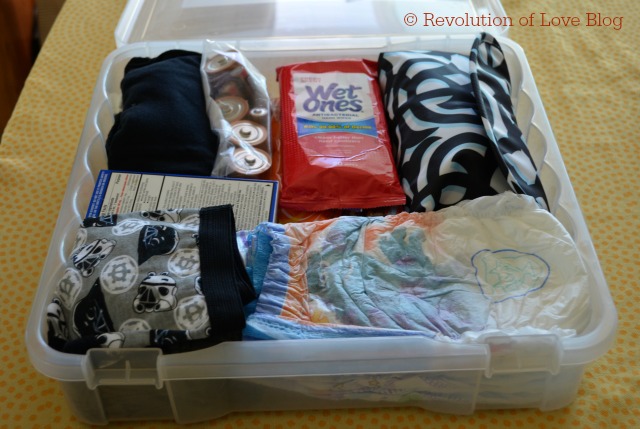
Lastly, I took a second bin and filled it with a make up bag filled with toiletries like toothpaste, deodorant, hand sanitizer, feminine products etc, extra diapers/pull ups and underwear (and change of pants for the potty trainers), baby wipes, some basic meds and spare batteries for the flashlights.

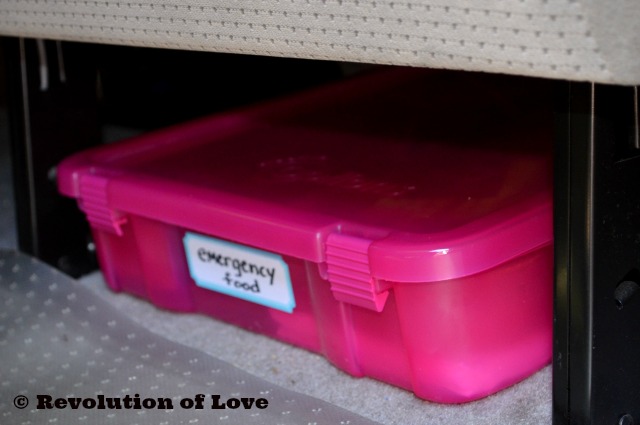
I slipped the pink box under the back seat and I put the white box in the trunk with the blankets and first aid kit. To make sure things stay fresh and are the right size, whenever we change our clocks forward or back I open up the boxes and replace what’s getting old. So far it’s worked out well. In fact, last week I ran out of the house and then realized I forgot to put on deodorant but no worries. I just used the one in the car stash. Hey, Ms-Always-on-Time-and-Organized, don’t judge. 😉

The pin for this post is here.

Lastly, you can follow me on Pinterest here: http://pinterest.com/rol_bobbi/. 🙂

* * * * *

Now it’s your turn.

1. Choose your creation, share about it and snap a photo if you can.

2. In your post, link back the original blogger/idea, rather than your Pinterest pin. That way credit goes to the proper person. 🙂 (But feel free to add your Pinterest profile link so we can follow you!)

3. Add a link back here so others can play along.

4. If you want to use it, here is the html code for the logo:

<a href=”http://www.revolutionoflove.com/blog/?p=2157″><img title=”Revolution of Love Blog – Pinterest Party &amp; Link-up” src=”http://www.revolutionoflove.com/blog/wp-content/uploads/2013/04/pinterest_2_medW32-300×240.jpg” alt=”” width=”300″ height=”240″ /></a>

5. Link up below. Make sure you’re sending us to your actual post, and not to your general blog address.

The link up will be active for 10 days. Have fun!

PS – You can follow RoL on Bloglovin, Feedly or another news feed. If you are a social media fan like me, we can stay in touch through Facebook, Twitter, Pinterest, GoodReads, Letterboxd or Instagram. 😉



Pinterest Party & Link-up (Vol 21): Sneaky Spaghetti Sauce with Pureed Veggies

Welcome to the RoL Pinterest Party. Join me every 2nd and 4th Tuesday as we link up and share how we made, cooked, baked, crafted, planned, organized, followed or created one of the pins on our Pinterest boards OR share something original that others can pin onto their boards.

* * * * *

Sneaky Spaghetti with Pureed Veggies


The original recipe appeared on Mommy’s Kitchen.net.

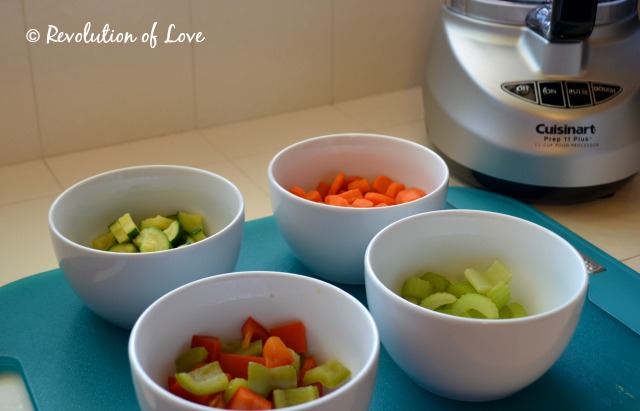
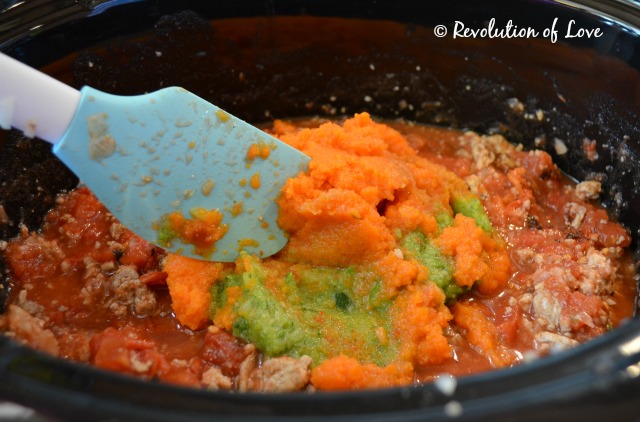
When I saw this recipe on Pinterest I thought it would be perfect for certain kiddos of mine that have a hard time eating their veggies. I was also excited to try out my new food processor so choosing this sneaky spaghetti was a no brainer. I started out by steaming the veggies I would be using in the sauce – zucchini, carrots, celery, red and green peppers. Here is the recipe with my notes.

Ingredients:
1 – lb ground turkey
2 – sweet Italian sausage links, remove casings (I used chicken sausage with no additives/nitrates.)
1 – small to medium onion, chopped
2 – cloves garlic, minced (I doubled the garlic.)
1 – orange, green or yellow bell pepper, seeded and pureed
1/2 – cup carrots, shredded or pureed
1/2 – cup zucchini, shredded or pureed
1 – medium rib of celery, chopped or pureed
1 – 28 oz can Italian style tomatoes in puree
1 – 14 oz can Italian diced tomatoes, with juice (I didn’t have Italian style so I used fire roasted tomatoes and just added a bit more basil.)
1 – 6 oz can tomato paste
1/2 – cup water (if using frozen pureed veggies omit the water)
2 – 3 tablespoon sugar (I used unrefined coconut sugar.)
1 – bay leaf
1 – teaspoon dried basil
1/2 – tablespoon dried oregano
1/2 – teaspoon crushed thyme
1 – teaspoon salt
1 – 16 oz package spaghetti noodles (I used whole wheat pasta.)

Directions:

In a large sauce pan, crumble the turkey and Italian sausage. Add the onion and garlic and cook over medium heat until the meat is cooked through. Drain off any fat. Add the meat mixture to a 4 – 6 qt crock pot.

Stir in the tomato paste and all the canned tomatoes. Use a large spoon to break up the whole tomatoes. Stir in the pureed vegetables (bell pepper, carrots, zucchini, celery).

Add the spices, sugar, water and bay leaf. Cover and cook on low for 6 – 8 hours. Stirring occasionally. Serve over cooked pasta.

Shredded Vegetables:
If using shredded vegetables add the carrots, celery and zucchini when the meat mixture is fully cooked and drained. Continue to cook, stirring, until the vegetables are limp, about 5 minutes.

Recipe yields: 6 -8 servings

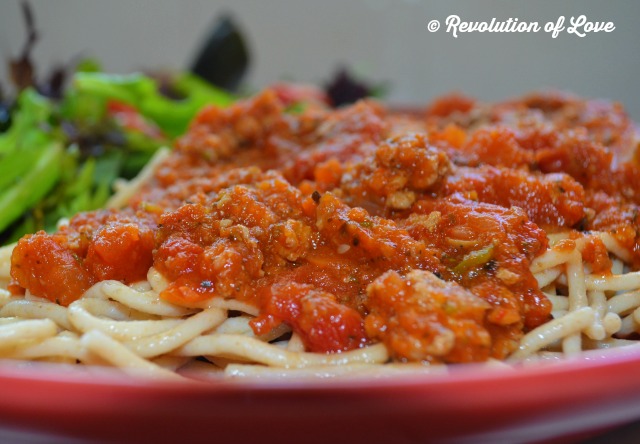
The spaghetti was thick, chunky and delicious. Although there is a little more prep time to this recipe, everyone loved it and it tasted even better as leftovers. This will now be my go to recipe for spaghetti, especially if I have extra veggies I need to use up. 🙂

If you have any other favorite recipes for sneaking in veggies, let me know in the comments.

If you are on Pinterest, let me know so I can follow you. You can find me here: http://pinterest.com/rol_bobbi/. 🙂

* * * * *

Now it’s your turn.

1. Choose your creation, share about it and snap a photo if you can.

2. In your post, link back the original blogger/idea, rather than your Pinterest pin. That way credit goes to the proper person. 🙂 (But feel free to add your Pinterest profile link so we can follow you!)

3. Add a link back here so others can play along.

4. If you want to use it, here is the html code for the logo:

<a href=”http://www.flove.com/blog/?p=2157″><img title=”Revolution of Love Blog – Pinterest Party &amp; Link-up” src=”http://www.revolutionoflove.com/blog/wp-content/uploads/2013/04/pinterest_2_medW32-300×240.jpg” alt=”” width=”300″ height=”240″ /></a>

5. Link up below. Make sure you’re sending us to your actual post, and not to your general blog address.

The link up will be active for 10 days. Have fun!

PS – You can follow RoL on Bloglovin, Feedly or another news feed. If you are a social media fan like me, we can stay in touch through Facebook, Twitter, Pinterest, GoodReads or Instagram. 😉


Pinterest Party & Link-up (Vol 20): Gluten Free Black Bean Brownies


Welcome to the RoL Pinterest Party. Join me every 2nd and 4th Tuesday as we link up and share how we made, cooked, baked, crafted, planned, organized, followed or created one of the pins on our Pinterest boards OR share something original that others can pin onto their boards.

* * * * *

THE PIN: Gluten Free Black Bean Brownies


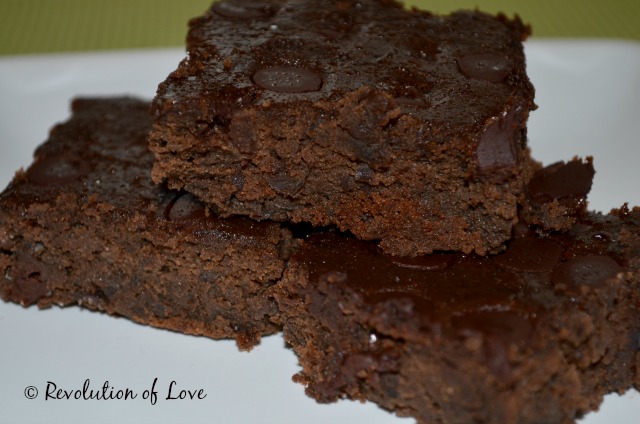
I first saw this recipe on my sister-in-law Maria’s Facebook page and I was less than enthused. Black beans?? Sounds gross. But I couldn’t help but wonder how something that looks so yummy be that bad.Curiosity got he best of me and I decided to make a batch for the kids’ Sunday treat. I didn’t want to use a recipe with regular sugar but I figured I had better follow it the first time then I could experiment the second time. So for the sugar I used 1/2 the amount white sugar and 1/2 the amount unrefined coconut sugar.

The original recipe appeared on Hip2Save.com.

Ingredients

1 (15.5 ounce) can black beans, rinsed and drained
3 eggs
3 tablespoons coconut oil or vegetable oil
1/4 cup unsweetened cocoa powder
3/4 cup sugar
1 teaspoon vanilla
1/2 teaspoon baking powder
1 pinch salt
1/2 cup chocolate chips

Directions:

Preheat oven to 350 degrees and grease an 8×8 pan. Place beans in food processor and process until mashed. Add eggs, vanilla, cocoa powder, baking powder, salt, sugar and oil. Process until smooth. Pour into pan and sprinkle chocolate chips on top. Bake for 30-35 minutes.


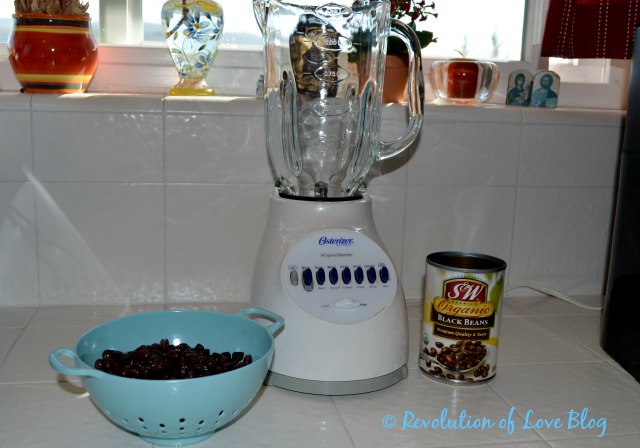
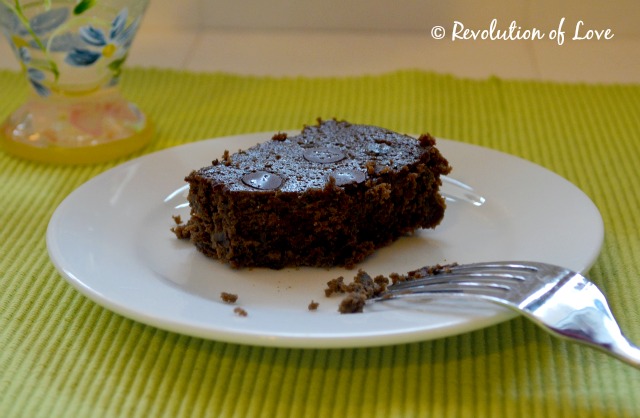
The recipe is really easy but unfortunately I do not have a food processor. I tried using my blender but it wasn’t strong enough. I landed out mashing the heck out the beans with a fork. It worked fairly well, except that there were a few small pieces of bean skin that I had to pick out. As far as taste, they were actually really good. The texture was different from a normal brownie, it was more crumbly, best eaten with a fork.


However, the kids had no issues with them and gobbled them up! 🙂


* * * * *

Now it’s your turn.

1. Choose your creation, share about it and snap a photo if you can.

2. In your post, link back the original blogger/idea, rather than your Pinterest pin. That way credit goes to the proper person. 🙂 (But feel free to add your Pinterest profile link so we can follow you!)

3. Add a link back here so others can play along.

4. If you want to use it, here is the html code for the logo:

<a href=”http://www.flove.com/blog/?p=2157″><img title=”Revolution of Love Blog – Pinterest Party &amp; Link-up” src=”http://www.revolutionoflove.com/blog/wp-content/uploads/2013/04/pinterest_2_medW32-300×240.jpg” alt=”” width=”300″ height=”240″ /></a>

5. Link up below. Make sure you’re sending us to your actual post, and not to your general blog address.

The link up will be active for 10 days. Have fun!

Lastly, you can follow me on Pinterest here: http://pinterest.com/rol_bobbi/. 🙂


PS – You can follow RoL on Bloglovin, Feedly or another news feed. If you are a social media fan like me, we can stay in touch through Facebook, Twitter, Pinterest, GoodReads or Instagram. 😉


Pinterest Party & Link-up (Vol 19): Banana Honey Oatmeal Cookies

This is Day 2 of my participation in Jen’s 7 Posts in 7 Days Challenge.

Welcome to the RoL Pinterest Party. Join me every 2nd and 4th Tuesday as we link up and share how we made, cooked, baked, crafted, planned, organized, followed or created one of the pins on our Pinterest boards OR share something original that others can pin onto their boards.

* * * * *

THE PIN: Banana Honey Oatmeal Cookies

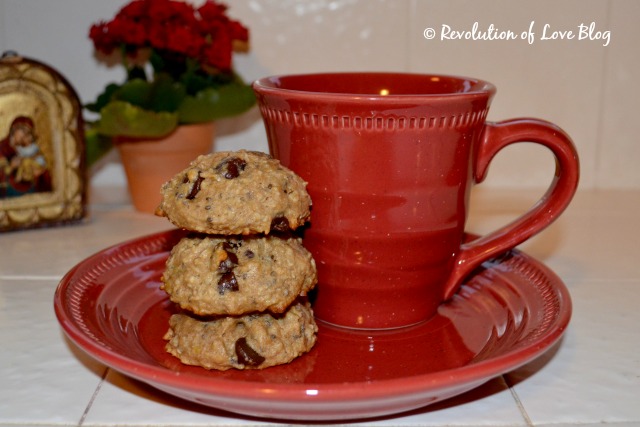
We continue our journey to cut down/cut out the processed food and eat “real” food and I am cooking from scratch more. I have been looking for baked treats I can make the kids that don’t use white flour or sugar and yet doesn’t taste like sawdust. My sister sent me a recipe of cookies that her family loves. We tried them and they were delicious. Here it is.

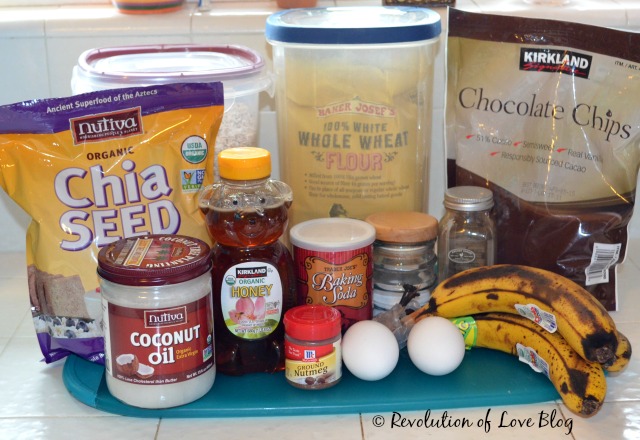
Banana Honey and Oatmeal Cookies Preparation

Mix in large bowl…

3 cups whole wheat flour
1 tsp baking soda
1 tsp salt
1/2 tsp nutmeg
1 1/2 tsp cinnamon
1 cup honey

Cut in…

1 cup coconut oil (you don’t need to melt it first)

In a separate bowl mix…

2 eggs (room temp)
2 cups mashed bananas

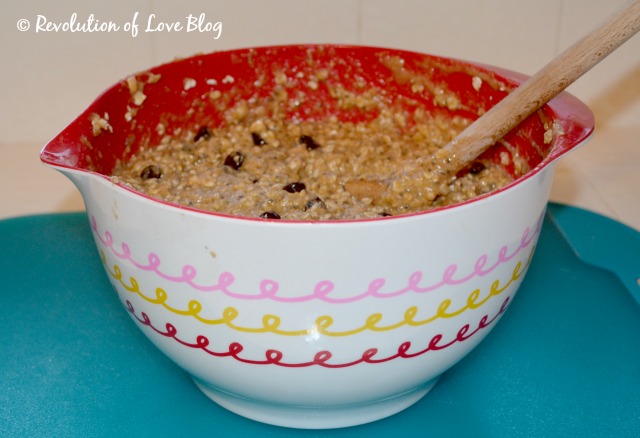
Add egg mixture to flour/coconut oil mixture.

Stir in…

3 1/2 cups of old fashioned oatmeal
1 cup chocolate chips
1/4 cup of chia seeds

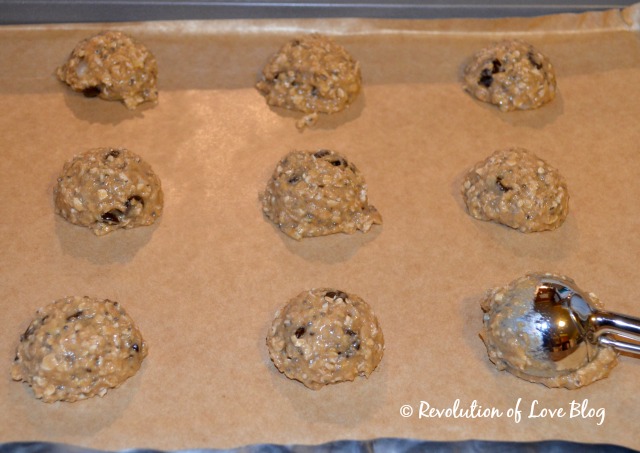
Scoop them with a little ice cream scoop and bake for 8-10 mins at 375 degrees.

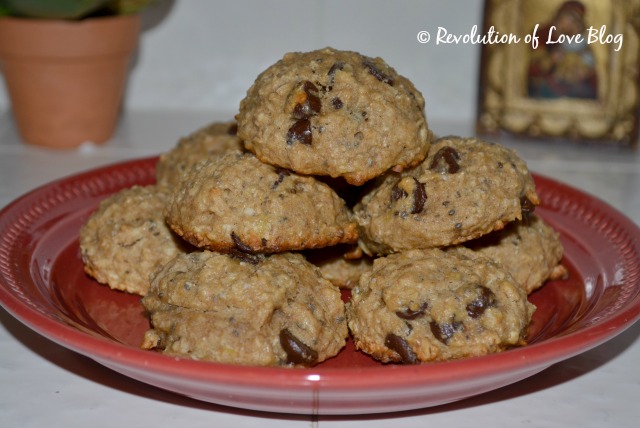
Yum!! I followed the directions except that I landed out using 1/2 coconut oil and 1/2 canola oil. They still came out fine and everyone loved them. Thanks for the recipe, sis!

* * * * *

Now it’s your turn.

1. Choose your creation, share about it and snap a photo if you can.

2. In your post, link back the original blogger/idea, rather than your Pinterest pin. That way credit goes to the proper person. 🙂 (But feel free to add your Pinterest profile link so we can follow you!)

3. Add a link back here so others can play along.

4. If you want to use it, here is the html code for the logo:

<a href=”http://www.revolutionoflove.com/blog/?p=2157″><img title=”Revolution of Love Blog – Pinterest Party &amp; Link-up” src=”http://www.revolutionoflove.com/blog/wp-content/uploads/2013/04/pinterest_2_medW32-300×240.jpg” alt=”” width=”300″ height=”240″ /></a>

5. Link up below. Make sure you’re sending us to your actual post, and not to your general blog address.

The link up will be active for 10 days. Have fun!

Lastly, you can follow me on Pinterest here: http://pinterest.com/rol_bobbi/. 🙂

PS – You can follow RoL on Bloglovin, Feedly or another news feed. If you are a social media fan like me, we can stay in touch through Facebook, Twitter, Pinterest, GoodReads or Instagram. 😉