Welcome to the RoL Pinterest Party. Join me every 2nd and 4th Tuesday as we link up and share how we made, cooked, baked, crafted, did, or created one of the pins on our Pinterest boards.
Not on Pinterest? No problem. Link-up your own creation to inspire us so we can pin in to our own boards. It can be a recipe, sewing project, Catholic craft, homeschool project, organizing/ homemaking tip, themed birthday party, whatever you’d like.
Don’t have a post ready? The link-up will be open for a week so there’s still time. Plus, feel free to link up a new post or an older post that hasn’t had much traffic lately.
Don’t have a blog? No problem. Post your photo and a description on the RoL Facebook page. 🙂
* * * * *
We just returned from a fun trip to Lake Tahoe and since so many of us will be traveling this summer I thought I’d share a few tips that made our trip smoother.
Disclaimer – I am naturally disorganized and a bit scatterbrained so it took me awhile to get organized in regards to traveling. I have used these tips successfully, even though I still over pack waaaay too much, I am always running late (it’s hard to pack when all the clothes are still in the dirty laundry) and I stress out about getting it all done until we are rolling out of the driveway!
PACKING/VACATION INFO
Packing List – Years ago I typed up a packing list on the computer with everything I need for a trip – clothes, toiletries, kitchen items for the hotel, beach items, etc. I have been printing off the same one every year and updating as we go along. (Although, I haven’t updated it recently since it still listed a binky and diapers for John-Paul. :-)) There are many you can print off from Pinterest but I have found making my own with the exact items we use is much more convenient.
As for packing clothes, I followed my sister’s packing tip and packed outfits for each person to wear each day. It made it a lot easier in the hotel to just hand the kids their whole matching outfit. (Although I always pack an extra outfit for each person and include in the outfit shorts and pants for changeable weather.)
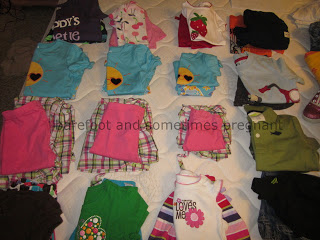
Photo credit: Barefoot & Sometimes Pregnant Blog
Vacation Binder – I used to keep vacation info in my regular Family Binder but this year I started a separate binder just for our Lake Tahoe trips because it was taking up too much space.

I found a binder at Target and purchased some Avery Worksaver Big Tab Plastic Dividers with Slash Pocket (11903). I like these because they have a built in file to store papers in each tab. (Note: these tabs are extra wide so they will stick out of a regular sized binder.)

In the binder I have 8 dividers.
- Directions/Notes – Although we have GPS on our phones I like to have a hard copy of the directions to our hotel at Lake Tahoe. I have actually been using the same copy over the last decade! (I think it’s about time to print off a fresh copy.) On the directions I’ve made notes of the highway exits with the best places to eat or clean restrooms so we have that info the following year. (Otherwise next year it’s a game of “Which offramp did we take to get to that McDonald’s with the super clean restrooms??”)
- Hotel Info -That’s pretty self explanatory.
- General/Church Info – Here was general info about Tahoe and I kept a bulletin from the local church with Mass times, etc.
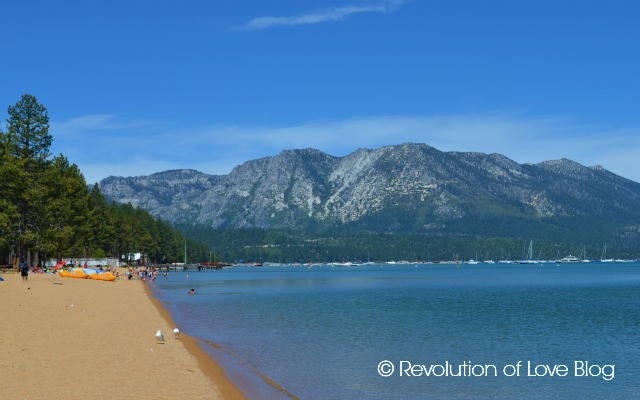
- Places to Visit – This was our first year of going to Lake Tahoe without my in-laws so I thought it would be fun to try some new places to visit. I kept my info in this section. For example, there is a beach right next to our hotel but it is small, busy and not the best place for the kids to run around. I researched reviews and found the perfect place to set up camp for the day to play in the water, BBQ and picnic.
Note: If you ever go to South Lake Tahoe I HIGHLY recommend Pope Beach off of Hwy 50 & 89. It is perfect!)
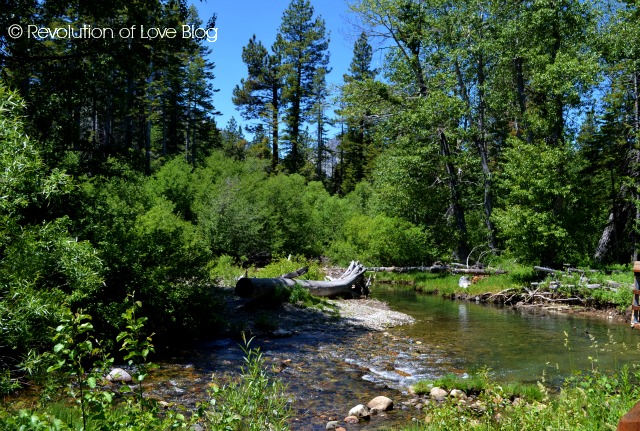
I also recommend the nature trail at the Taylor Creek Visitor’s Center. It’s beautiful!
THE ROAD TRIP
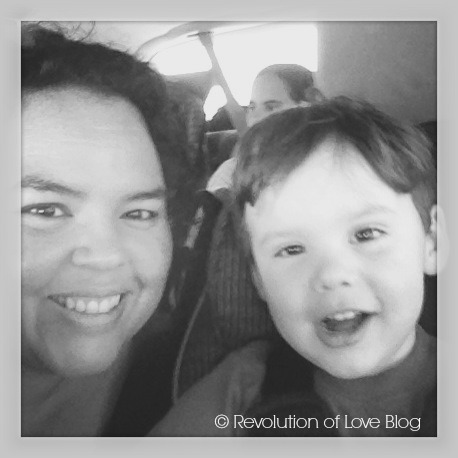
In years past, whenever we went to Lake Tahoe (300 miles north of us) or So Cal (400 miles south of us) Brian and I would get up at 3:30 AM and carry the kids into the car so we could drive while they were sleeping. However, this year we had a change of schedule and we thought we’d try driving with the kids during the day like normal people.
Travel Games & Printables
I went on Pinterest and looked up travel games for the car ride. I found a pin of Jen’s blog My Delicious Ambiguity that had a number of travel game printables. I’m a little leery about downloading printables from sites I am unfamiliar with so we stuck to the big name sites like Nick Jr. This car bingo was really cute and fun.
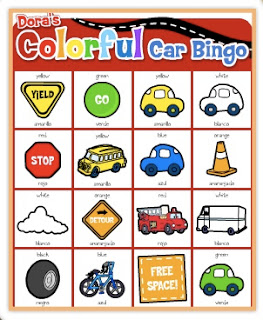
Dora’s Colorful Car Bingo
There are also a lot of coloring pages and puzzles you can print off.
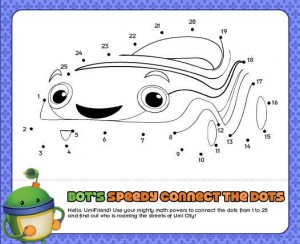
Andrew likes Team Umizoomi so I printed this Connect the Dots and Color page.
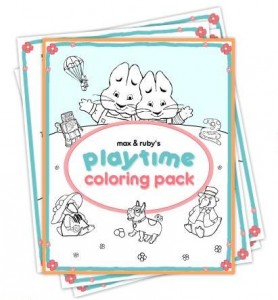
John-Paul loves Max and Ruby so this Coloring Pack was perfect for him.
You can find others on the Nick Jr Printable Pages.
There are also cute printables on the Disney Channel’s Coloring Pages
If you don’t watch TV and are unfamiliar with these characters you can google coloring pages, buy a coloring book or give your child blank paper to create their own drawings.
Treat Bags
After gathering all my printables I put together a bag of treats to give the kids. I usually wait to give it to them at the half way point. By then the novelty of the trip has worn off and the treats help them get through the second half. You can make it as elaborate or as simple as you’d like, depending on your budget.
Here is a sample treat bag.
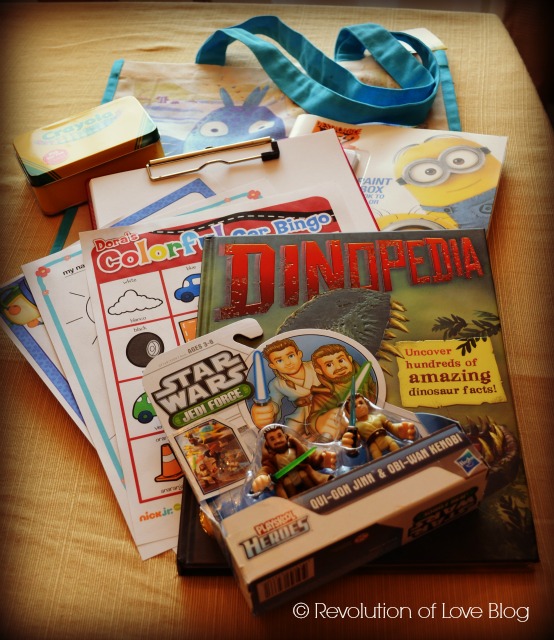
It contains a clip board with blank paper, printable games and coloring pages, a coloring book, new crayons, a book to read with lots of pages, and a small toy. Normally, my treat bags are much simpler but this was part travel treat, part celebrating graduating to the next class and part reward for getting a good report card so I splurged more than I normally would.
Movie Time
I must also admit that I am a huge fan of watching movies during long trips. Our old portable DVD player broke after years of use so it was time to get a new one. I decided to get the RCA Twin Mobile DVD player with 9″ screens from Target. (Here is the 7″ screen version from Amazon.) It was a little pricey but so worth it!


They hook to the back of the seat headrests and the best feature is that you can choose to have both DVD players play the same movie or separate movies. There are a number of cords to connect the DVD players so it may not be ideal for little ones that cannot resist pulling them out. In our Sienna mini-van we set up the DVD’s in the back row using the plug in car power adapter in the trunk area. Bella, Andrew and John-Paul were able to watch their movies there without any problems. The one negative for this player is that while it does have a small flip out stand to place it on a table, my version did not come with an AC adapter. (Although one can be purchased separately.) However, so far we have not taken out of the car so it hasn’t been an issue.
Also, there were two versions of the dual player. When we turned off the car the less expensive one had the ANNOYING feature of not remembering where the DVD left off. So when you turned the car back on the DVD went back to the beginning. Yeah, we returned that one. The one that was a little more expensive remembered where you left off and went back to that spot when you tuned the car back on. It was worth the extra for that.
Well, these little things made the six hour drive unbelievably smooth. At one point I told Brian I feel like these aren’t my kids, they are being so good. Now granted, once we got to the hotel they were bouncing off the walls and making me wish we never came but as soon as they had a chance to get their energies out properly, the rest of the trip was a bast. And I can’t wait to do it again next year! 🙂
Do you have any traveling tips? Share them in the comments! Plus, I’ll add more photos from Tahoe in Thursday’s {pretty, happy, funny, real} post. 🙂
* * * * *
Now it’s your turn.
1. Choose your creation, share about it and snap a photo if you can.
2. In your post, link back the original blogger/idea, rather than your Pinterest pin. That way credit goes to the proper person. 🙂 (But feel free to add your Pinterest profile link so we can follow you!)
3. Add a link back here so others can play along. Here is the html code:
<a href=”http://www.revolutionoflove.com/blog/?p=2157″><img title=”Revolution of Love Blog – Pinterest Party & Link-up” src=”http://www.revolutionoflove.com/blog/wp-content/uploads/2013/04/pinterest_2_medW32-300×240.jpg” alt=”” width=”300″ height=”240″ /></a>
4. Link up below. Make sure you’re sending us to your actual post, and not to your general blog address.
You have a week to post your link, so if you can’t get things done by Tuesday, no worries, put it up when you can. We’ll be here. Have fun!

PS – You can follow RoL on Bloglovin, Feedly or another news feed. If you are a social media fan like me, we can stay in touch through Facebook, Twitter, Instagram, Pinterest, GoodReads, Letterboxd, or Spotify, 😉
PPS – Disclaimer: “Revolution of Love.com is a participant in the Amazon Services LLC Associates Program, an affiliate advertising program designed to provide a means for sites to earn advertising fees by advertising and linking to Amazon.com.”
In other words, if you click on my affiliated links and make a purchase, I get a small compensation that goes towards keeping the blog online. Big hugs to those who click and help support the blog! xoxo 🙂
